Survival can easily depend on the strength of a knot. A climber, a sailor, a diver with a lifeline, all live and die by their knots. Here is a list of the most useful knots, and some more advanced stuff which will come in handy as you progress through your survival training, and making your own gear.
Before you go elsewhere, yes this list is longer than others on the internet, and this is intentional. All you gear-junkies out there know the value of having the right tool for the job, and knowledge weighs nothing.
The old adage ‘if you can’t tie a knot, just tie a lot’ is great until you need a knot which will save your life, but don’t know how to make it.
Anatomy of a Knot
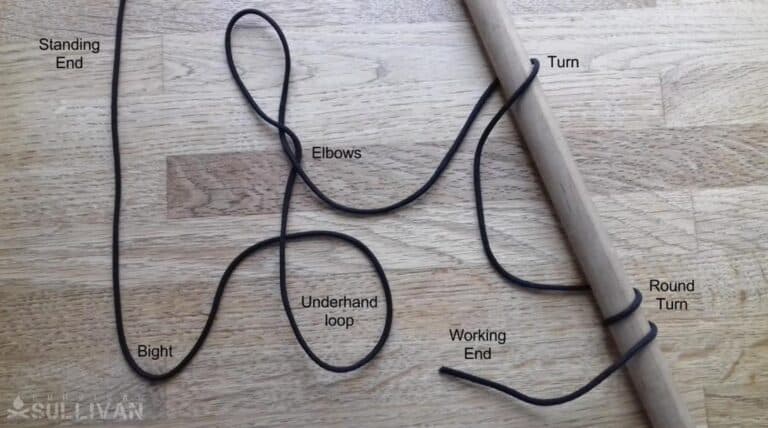
As you can see in the photo below, there are a few elements to any knot, namely:
- ✅ the standing end
- ✅ blight
- ✅ elbows
- ✅ underhand loop
- ✅ turn
- ✅ round turn
- ✅ and the working end
Ropework, like everything else, has its own specialist jargon. Obviously this isn’t too useful in some situations (like when you’re the only one who understands it), but if you’re talking to someone who really knows their stuff (most sailors and climbers) it’s really worth it.
The picture above displays the component parts of a knot and associated jargon.
A Note on Materials
There are a lot of different materials for knots out there. Before anything else, you should know that ‘rope’ is a term technically denoting a raw material, before it is cut, whipped / taped or given a purpose. ‘Line’ is the technical term for what rope becomes once it has been cut or given a purpose.
Ropes of different materials and different constructions have different attributes.
The three main types are: ‘laid’ (which most people would think of twisted, made up of different ‘strands’), ‘braided’ (what it sounds like), and ‘kernmantle’ (which is made up of a strong ‘core’, surrounded by a braided ‘jacket’, which provides a good exterior surface for tying) Paracord is a kernmantle rope.
All of these can be referred to as cord, or line, or rope. Yes, it is confusing and ambiguous
Bends
A bend is any knot which is used to securely connect the ends of two pieces of line. The difference tends to be in which type of line is being joined to what, as different materials and thicknesses of line interact differently.
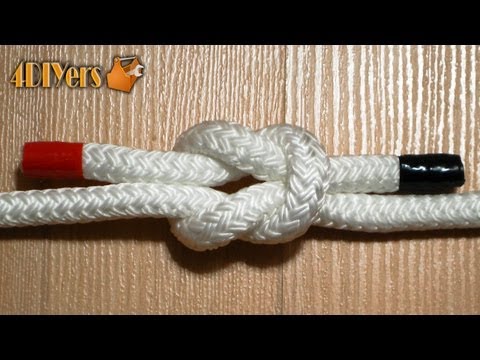
Reef Knot (or Square Knot)
The Reef knot (also called the Square Knot) is a bend used for securely fastening together two pieces of rope of equal diameter and the same type. It’s a very strong knot, but also easy to undo, and should be your first call for joining lines.
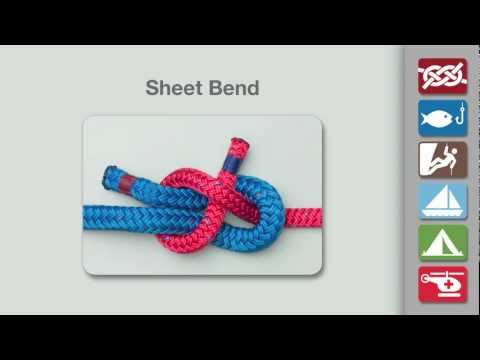
Sheet Bend (and Double Sheet Bend)
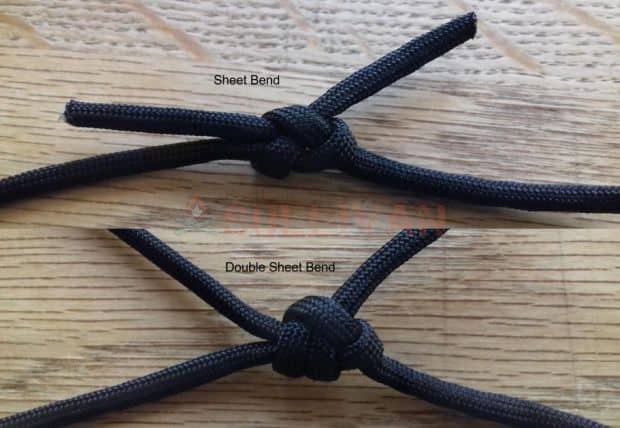
The Sheet Bend (and its variation, the Double Sheet Bend) is a bend used to join the ends of two pieces of line which would slip out of any other bend, because they are of such different types. For example, it’s often used in fishing, to secure a thin liner or monofilament to a heavier line (though it is shown here with line of constant thickness, for the sake of demonstration).
The Double Sheet Bend in particular is useful for joining lines where strength is of the utmost importance, or a very slim line to a very thick one, where even a treble or quadruple (just add more wraps for each) bend may be a good idea.
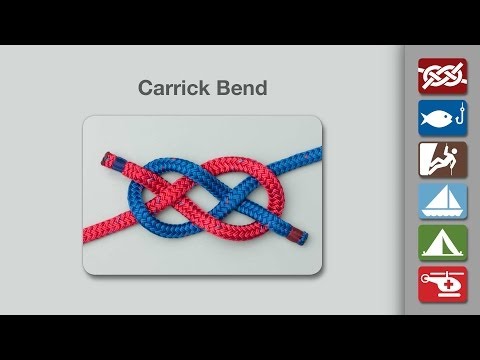
Carrick Bend
The carrick bend is primarily a suspension knot, used to connect lines running vertically. This means that it’s often used by fishiermen for lines left in the water for a long period, and in net making.
Surgeon’s knot
The Surgeon’s knot is probably the most versatile knot on this page. It joins two line ends of similar thickness, simply by tying two intersecting overhand knots
Hitches
Hitches are knots which are tied around something, a post, column, tree-branch etc. They are most commonly used for holding a load to the post, such as a boat to a bollard, or a horse to a tree.
They are not to be confused with lashings, which hold multiple posts, sticks etc. together, although often the best way to secure the line to one of those posts in order to begin the lashing is to use a hitch of some kind. In general, the standing end is attached (probably also with some kind of hitch) to the load, then the working end is attached to the post with a hitch as well.
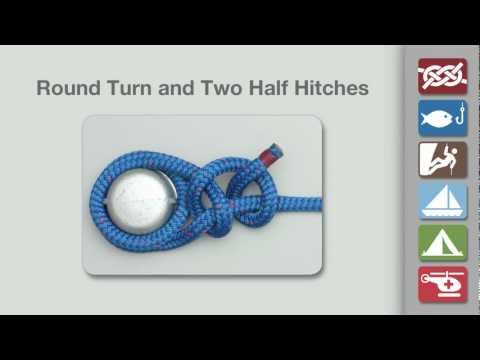
Round Turn and two Half-Hitches
Round Turn and two Half-Hitches is a very strong knot. Easy to tie, and can be strengthened still further by adding more half hitches to the load bearing end. The downside is that it takes (comparatively) a long time to tie and untie, and is quite bulky when done.
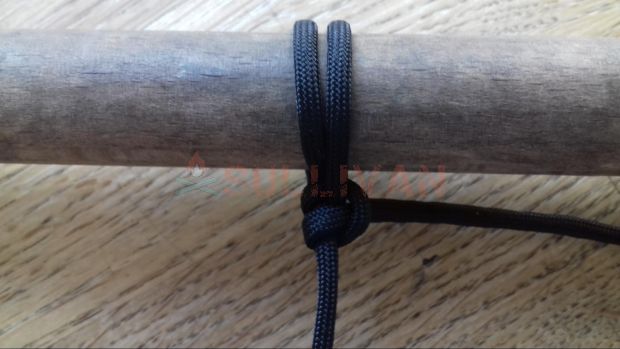
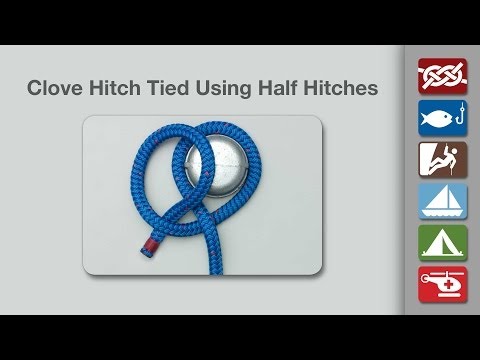
Clove Hitch
This is the ideal knot for tying around a post, when the line then do something else close by. The most common use is for starting lashings, as you’ll see in that section.
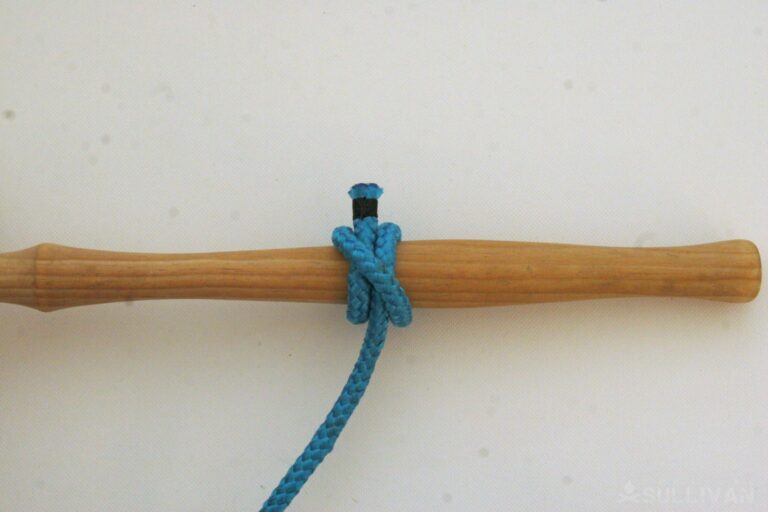
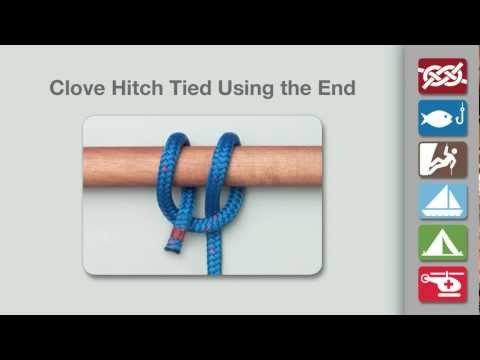
The Clove hitch can be used a binding knot, for example to secure a bundle together, but isn’t particularly strong for that. A timber hitch is probably a better bet in that case. There are three common methods of tying the Clove Hitch:
Using the end of the line:
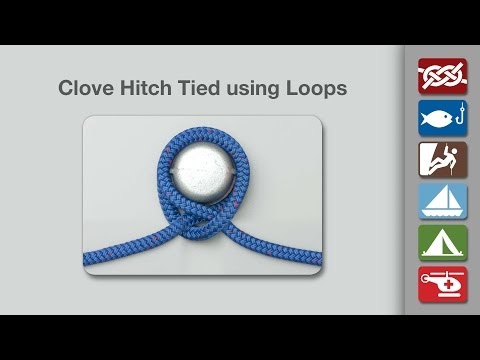
Using two loops:
Using two half hitches:
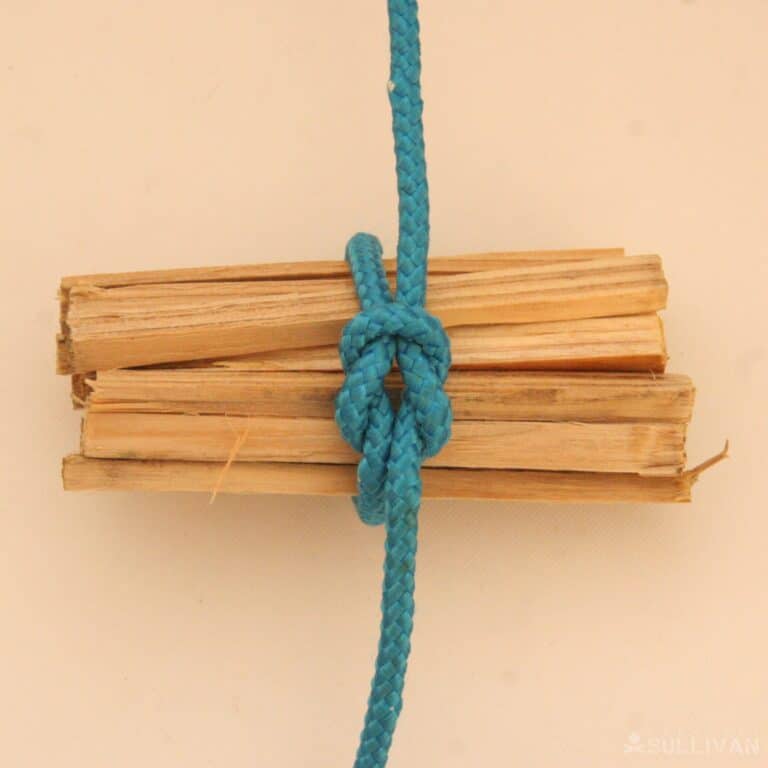
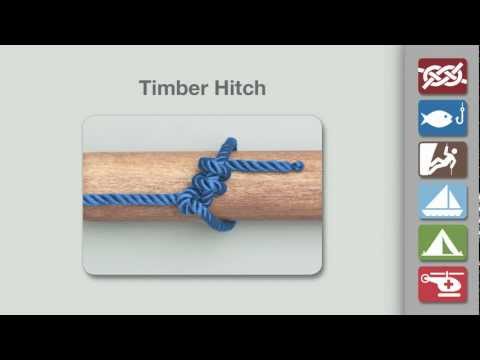
Timber Hitch
The great advantage of the Timber Hitch is that it only remains strong while under tension. This means that even after heavy use (for dragging, rigging etc.), it can be easily untied.
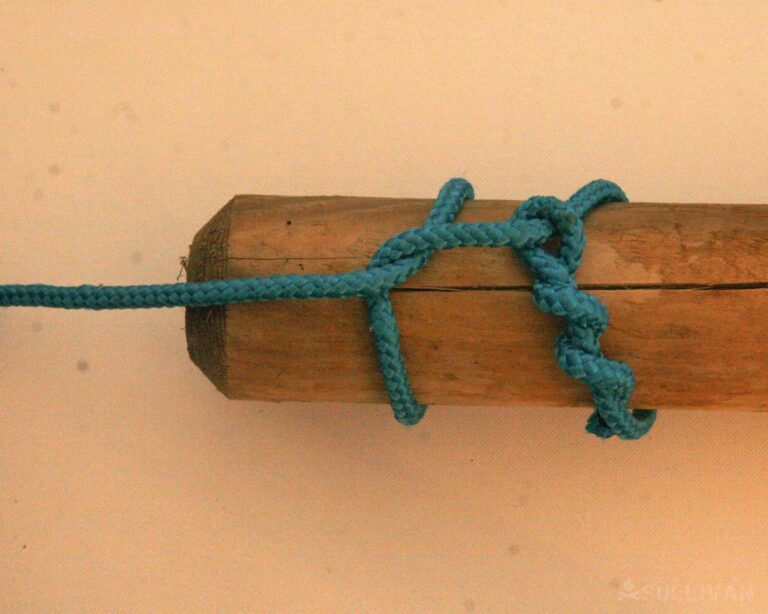
This knot is mostly useful for securing bundles of wood, or tying to a post where the use of tension is appropriate to the task.
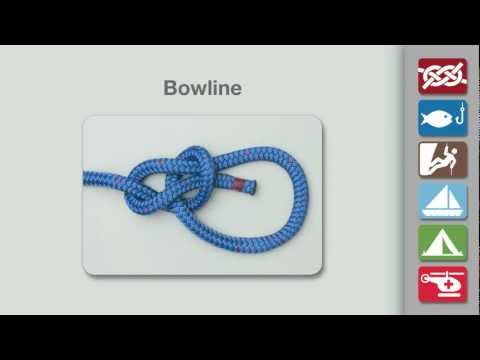
Bowline
Technically, this is not a hitch, actually being categorized as a loop-type knot. I include it with the hitches because in practical terms it is most often tied around something to which it is to be secured, so in practice is used as a hitch.
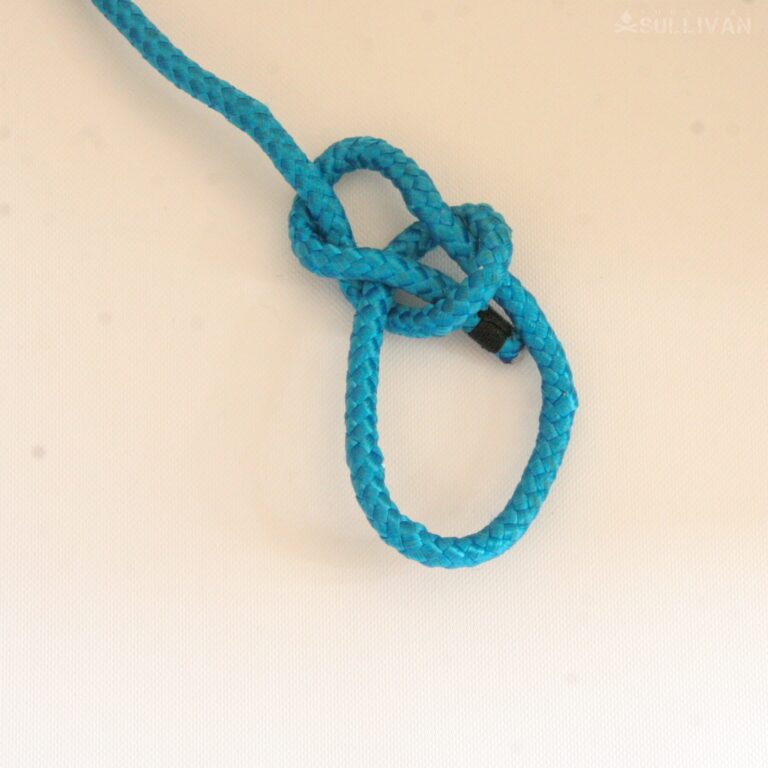
Traditionally, the knot’s name is pronounced BO-Lin, though which is the correct pronunciation will probably never move beyond a campfire disagreement. The knot is fantastically useful as a loop, because it will keep the same tension as it was tied with, regardless of how hard it is pulled.
Pulling the first bight off the standing end will break the knot immediately, making it very easy to untie. It is shown slightly loosened here, because of all the knots here, the bowline is the most famously difficult to tie.
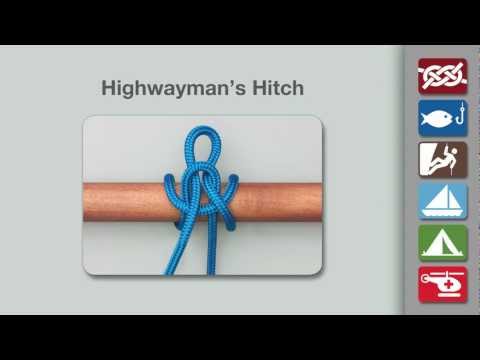
Highwayman’s Hitch (also called the Siberian Hitch)
It’s really important to know that there are very many variations of this knot, I present here the one I was taught first (probably because it was the only one my scout leader knew). Its also called the Siberian Hitch.
Supposedly this knot was independently invented by Siberian horsemen, who needed a knot which could be tied and untied quickly to secure a horse to a branch, without removing their mittens.
Lashings
Lashings are knots which are used to secure two (or more) posts / columns to each other, in different configurations. These are great for slightly more advanced campcraft skills.
For example, a good cooking setup can be built with a green stick, balanced in the crooks of two tripods, one at either end of a long fire. Even better, make one end of the fire bigger and hotter, and have a gradiated cooking system, built with seven sticks and two pieces of line.
Lashings are also intrinsic to construction of good shelters and buildings if you plan to stay anywhere medium to long term. There are only three lashings you are ever likely to really need:
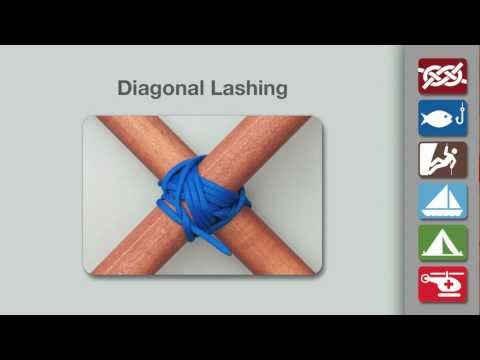
Square Lashing (Also called the Diagonal Lashing, not to be confused with the Square Knot, another name for the Reef Knot)
The Square Lashing is used to secure two rod-shaped things (branches, gun barrels, knife handles, whatever) to each other at right-angles. In the picture (though it’s obscured by the actual square lashing) I used a clove hitch to secure the line to the lower rod, then go over the higher rod, under the lower, etc., in a circle.
The ‘frapping turns’ (the tightening / cinching turns at the end, before you tie the working end off) are very important and not to be left out. They tighten the knot, keeping everything at the right angle, which is important if you don’t want your house to fall over.
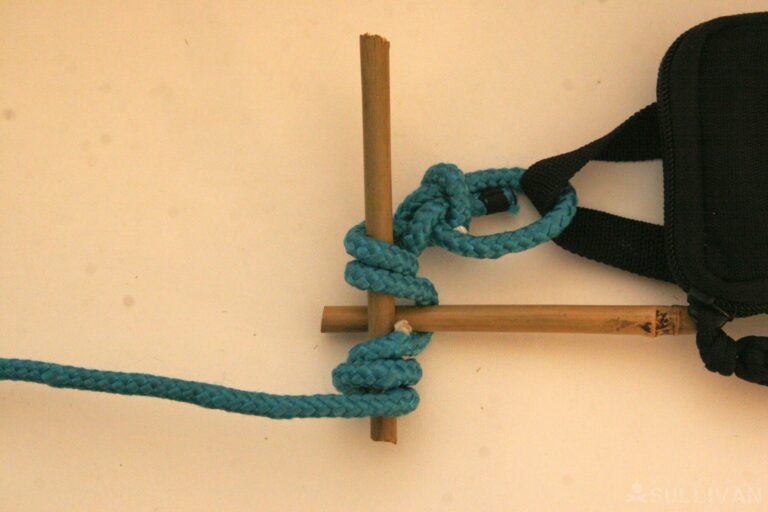
Tripod Lashing
This lashing is used to construct tripods. Once again, though you can see it better here, I have used a Clove Hitch to begin the lashing. Once the knot has been tied, pick up the non-tied end of the middle rod and pull it over the knot, twisting the lines between the rods around each other.
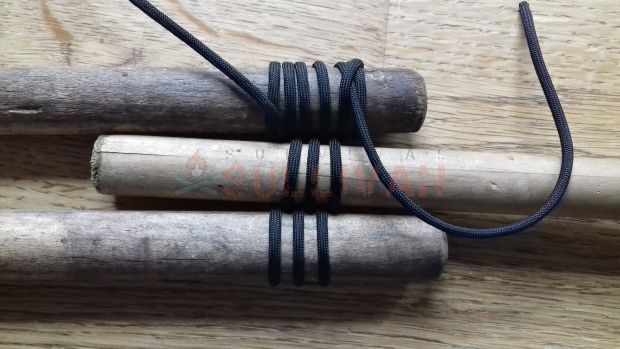
Depending on how tight you have tied your lashing, you may be able to keep twisting for a full turn, or maybe just a half. Either way, the outer two rods should meet at the top, and the feet of all three should be more or less equally spaced.
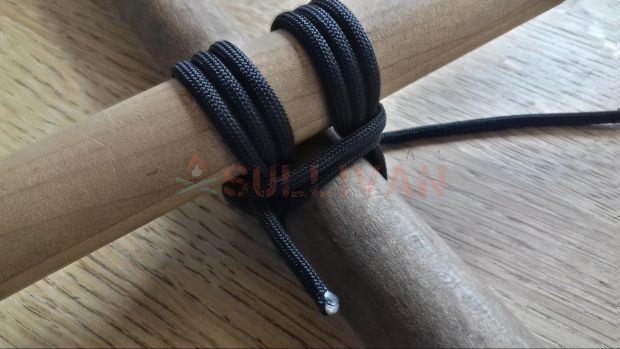
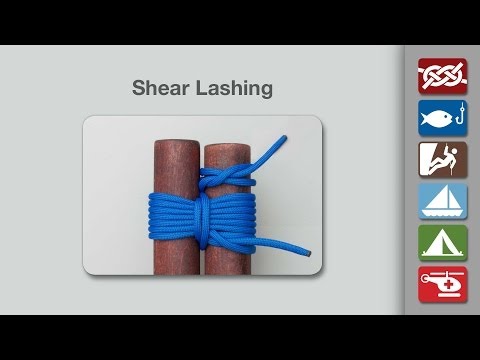
Shear Lashing
The Shear Lashing is used to secure two rods (or something to a rod) together inline. This might not seem too useful at first, until you consider how you will lash a spearhead to its handle, or how you will make a straight pole of great length. The shear lashing isn’t particularly difficult, and needs to be secured with a clove or timber hitch at the beginning and end.

The only danger is when smooth or potentially slippery materials are used (for example, paracord being used to tie a shiny blade to a smooth pole). In this instance, it’s a good idea to provide a better gripping surface for the lashing, by roughing up the wood with a knife, or using rougher line, such as hemp.
A good rule of thumb is that more natural, more dry materials tend to be rougher and ‘grippier’ but also more likely to irritate. On the other hand, man-made materials are generally stronger than natural ones.
Other
These are the knots which defy classification (the monkey fist), or which are not really knots. These are the knots I felt had to be included in the list, but didn’t really fit anywhere else.
Simple (or Common) Whipping
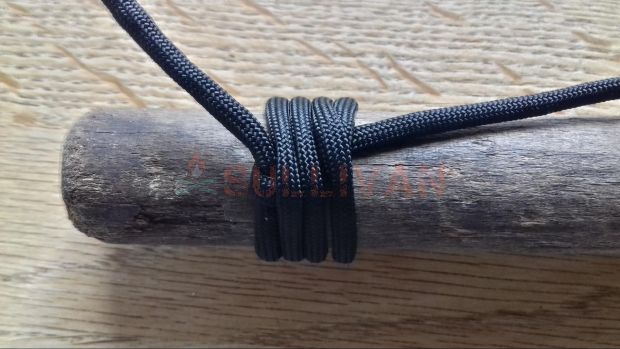
The Simple or Common Whipping knot is a good way to finish the end of lines to stop them unravelling, or a very quick (though not as strong) substitute for the shear lashing, it is also excellent for wrapping handles.
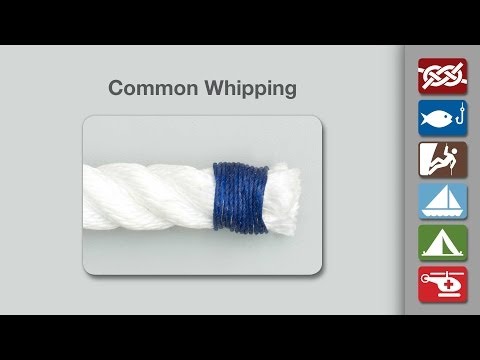
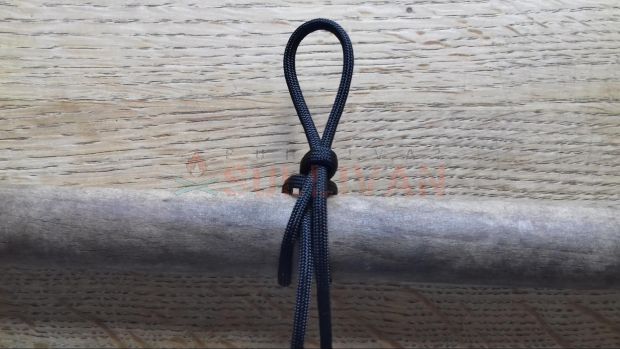
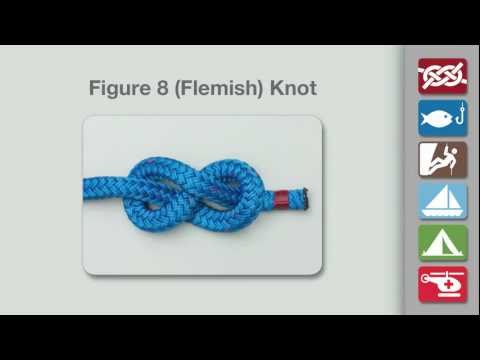
Figure of Eight
This is a very commonly known knot, that deserves mention because of its great utility in climbing. Tied on its own in the middle of a line, it’s a useful stopper knot, tied on a bite, it makes a loop which will only strengthen as it is pulled, making it great for climbing or abseiling.
Monkey Fist
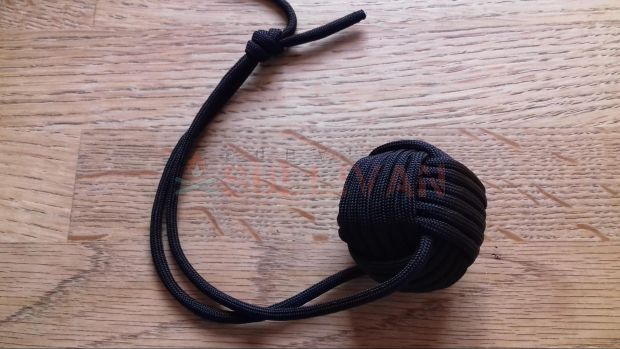
It would be criminal to make a list of survival knots without including the Monkey Fist Knot. Certainly, it is not particularly useful for much, but it’s satisfying to make, and can (if tied around a decent weight such as a ball bearing) make a good self-defense tool when swung on a long line.
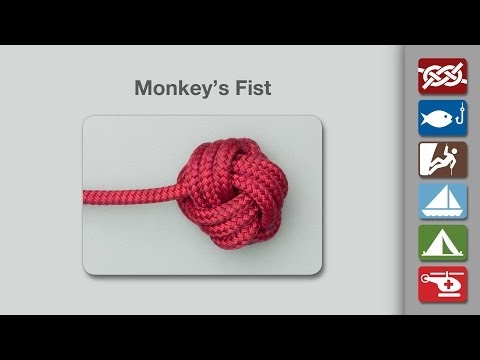
Another good use is a fishing weight if tied around a stone, or a fancy floater if made around a piece of cork or buoyant wood.
Survival Bracelets
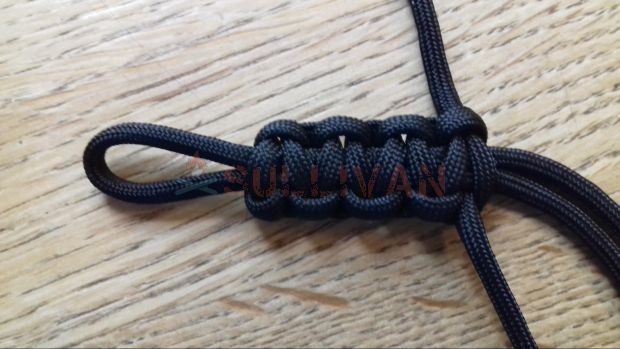
Knotwork Survival Bracelets (the weave pictured, which is the most common, is the Square Knot Weave, or Cobra Stitch) are great. They look great, they often support a good cause (Help for Heroes in the UK sell them). But it is important to realise that there is a common misconception that they can be unravelled in an instant, to save lives, guaranteed.
The first problem with this is that (unless the bracelet is made with the Slatt’s method [see next knot]), they are generally very fiddly and long-winded to untie, and can’t really store that much line, compared with perhaps a survival belt, or just having a coil of paracord in your bag (see last knot).
The second is that paracord (which they are most often made of) is a thin, slippery cord, not particularly suited to life saving. It’s certainly better than nothing, but a thick alpine cord or similar is much preferable.
Survival bracelets are nice and can also include other useful stuff (like a handcuff key in a clasp), just don’t stake your life on them. Having said that, here are some tutorials about how to make them:
- DIY Single Strand Knot and Loop Paracord Bracelet
- DIY Snake Knot Paracord Bracelet
- DIY Easiest Paracord Bracelet for Beginners
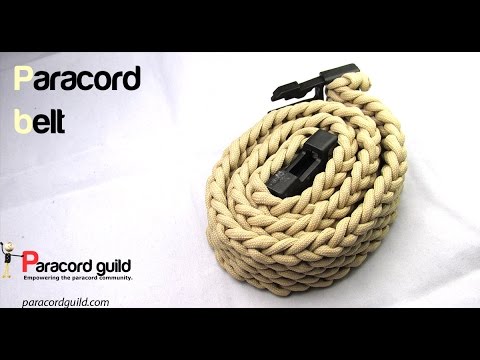
Slatt’s Survival Belt

The Slatts survival belt is the answer to the survival bracelet’s problems. It unravels in a few seconds, can store a large amount of line in a compact format, and looks good.
My survival belt (pictured) was made with 80 feet of paracord, woven into a Slatt’s belt on a clasp which contains a hidden handcuff key. This setup is great for urban survival but for the more bushcraft minded, the clasp taken from something like this might be preferable, with a compass and a fire striker.
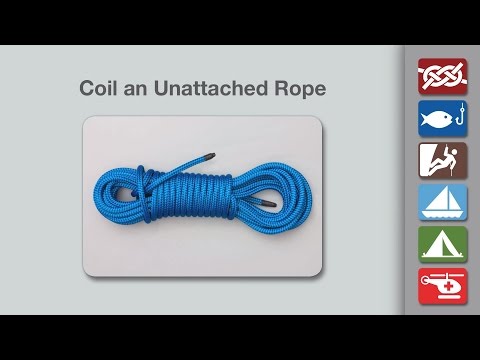
Storage
Coiling line to store it is probably the most important thing you can learn right now. Being able to quickly access your line makes life a lot easier if you need to get to it in a survival situation. There are a few different ways you can do, the easiest being a simple soil and wrap:
Taking it Further…
This list will give you the important basics and some more advanced knots, but is by no means exhaustive.
There’s the fisherman’s bend, the double and treble versions of many of these knots, splicing, the sheepshank, the rolling hitch, the sailmaker’s whipping, various sinnetts and weaves, the list could easily go on forever.
There are even more DIY paracord knots with varying degrees of complexity you can try, such as:
- Trucker’s Hitch Knot
- Grip Hitch Knot
- Barrel Hitch Knot
- Directional Figure of Eight Knot
- Poldo Tackle Knot
- Quick Trucker’s Hitch Knot
- Lightning Bowline Knot
- Kalmyk Loop Knot
- Kalmyk Loop Free in Hand With the Anchor Behind You
- Flip Flop Winch Knot
- Icicle Hitch (With the Loop) Knot
- Icicle Hitch (With the End) Knot
- Constrictor Knot with the Twisting Method
- Constrictor Knot
- Double Constrictor Knot
- Fast Bowline
- Alpine Butterfly Loop
- Zeppelin Bend Knot
- Bowline Knot One Handed with Anchor in Front
- Boom Hitch Knot
- Versatackle Knot
- Single Fisherman’s Bend Knot
If you’re interested, your first port of call should ideally be a good knots book. Any well reviewed one is a good start, but for truly encyclopedic information, the Ashley Book of Knots known as the ABOK) is the only way to go.
It uses a reference number system which is commonly used to refer to unusual knots, which may not even have names. After that, here are some blogs and websites which I can thoroughly recommend:
- Animated Knots, a website with animated instructions for hundreds of knots, divided by type and use. Incredibly useful, and free.
- Stormdrane a really brilliant knotworker’s blog, an excellent source of inspiration and learning especially about decorative knots.
- Frayed Knot Arts, the very best website out there about complex ‘fancywork’, decorative knot work generally composed of very fine line in many complex knots.
Nick O’Law has been exposed to survival from a very young age. In his teenage years, he learned A LOT about bushcrafting, such as making snares and traps, and even how to make DIY knives.
If you haven’t ye read and tried his knot-making articles on Survival Sullivan, you should definitely check them out.