Disclosure: This post has links to 3rd party websites, so I may get a commission if you buy through those links. Survival Sullivan is a participant in the Amazon Services LLC Associates Program. As an Amazon Associate, I earn from qualifying purchases. See my full disclosure for more.
The Reef knot (also called the Square Knot or Double Knot) is easy to remember and probably the widest taught and widest used knot as a bend.
It is also not a bend, and should never be used as such. Clifford Ashley (author of the Ashley Book of Knots) wrote:
“The REEF KNOT is probably responsible for more deaths and injuries than have been caused by the failure of all other knots combined.”
Clifford Ashley
However, for situations (generally where two ends of the same line are being used) such as tying up parcels or bundles (of firewood for example) the Reef Knot is quick and easy, and will do perfectly well.
For these purposes ONLY and as a warning so you might know it when you see it and correct it’s use, the Reef Knot is taught here. If you see someone using it to join lines, say something! You might even save a life.
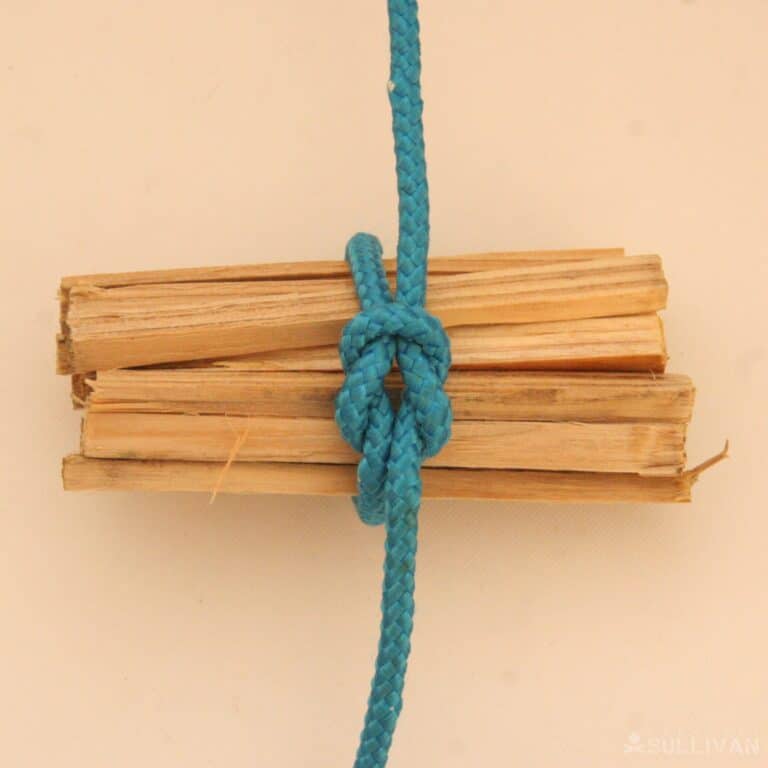
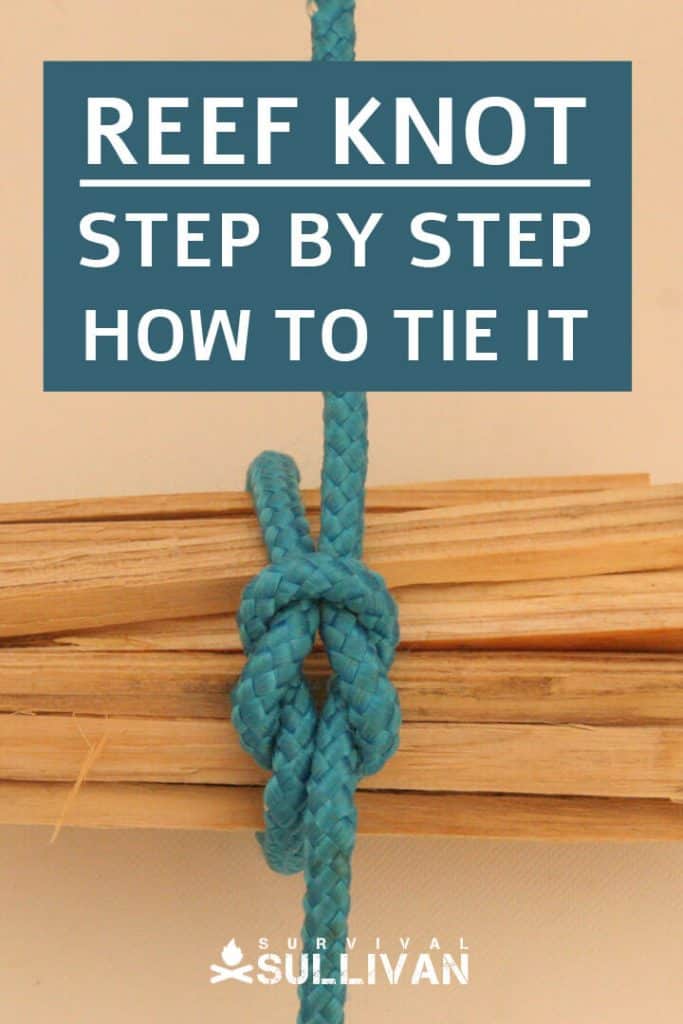
The reef knot is a ‘knotted end’ binding knot, best suited to larger bundles of materials like firewood.
Because it is so easy to remember and so widely taught, many people assume it to be a good knot for tying lines together. It is not.
Any inconsistency at all in the tail lengths, the loading force or direction, or the diameter of each of the lines is very likely to cause the knot to fail. Simply put DO NOT USE THIS KNOT TO JOIN LINES UNDER LOAD!
The name ‘Reef’ Knot derives from its use on ships, for tying up bundles of loose sail cloth when a reef was taken in (when part of the sail was furled in high winds, and the slack cloth had to be bundled and bound to a spar).
How to Tie the Reef Knot Step by Step
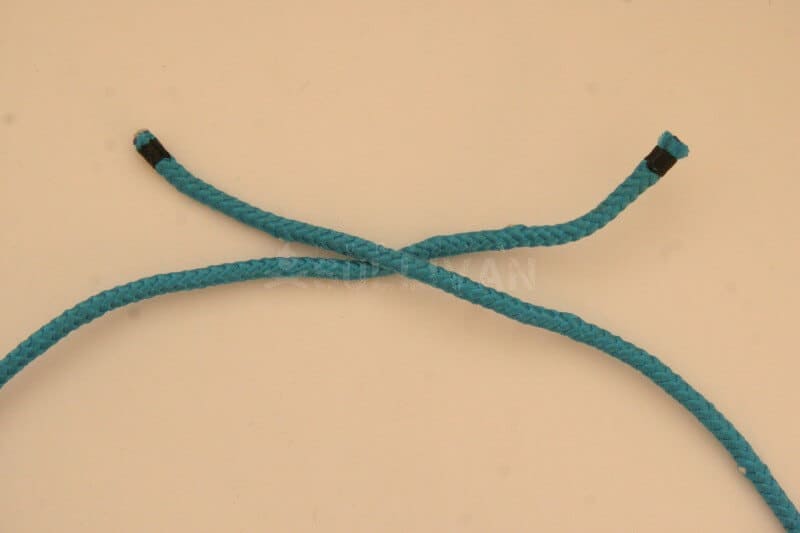
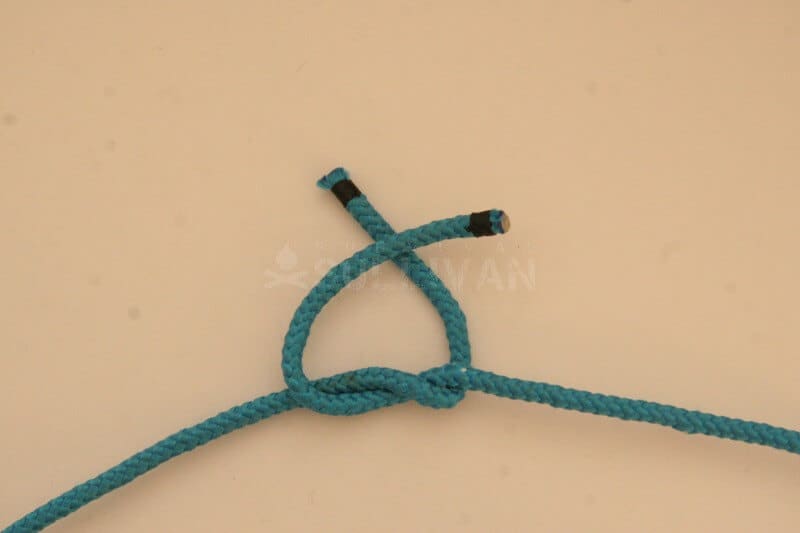
Step 1. Cross the two ends of the line:
Step 2. Cross the lower end back over the upper end:
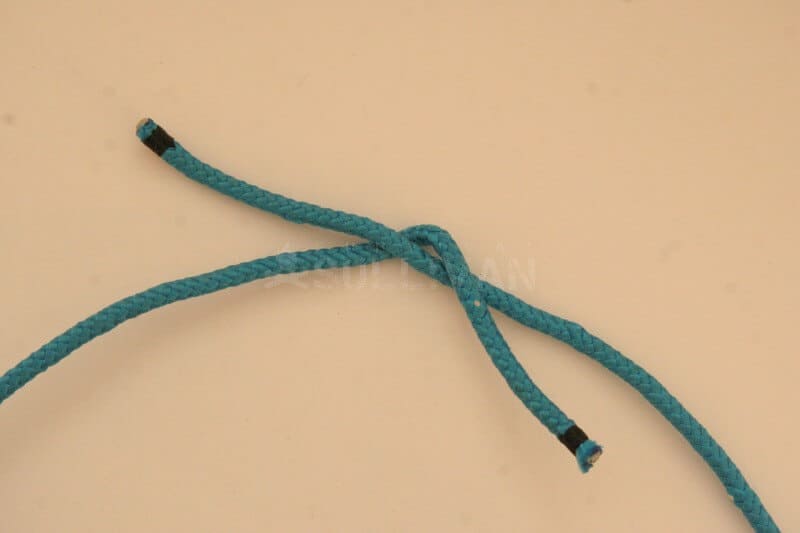
Step 3. Tuck the end which just went over the other, back under and up:
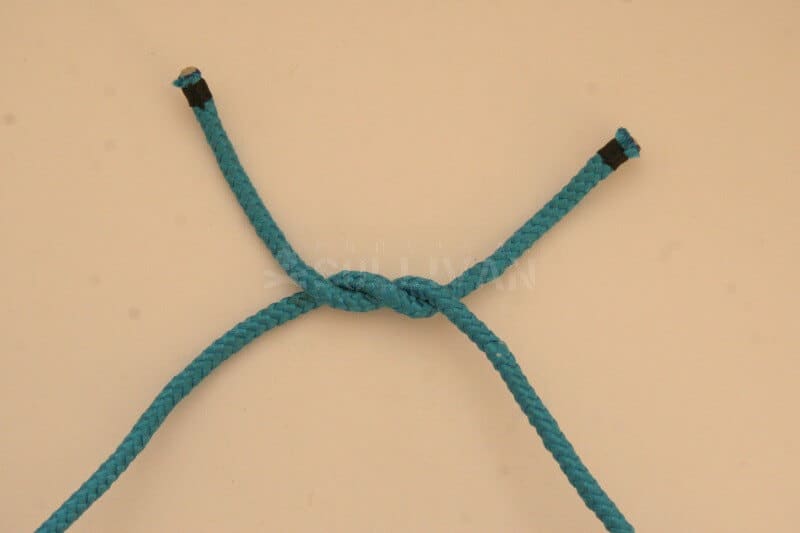
Step 4. Overlap the ends again. Notice how this time the opposite end is on top (in the first step, the ends were overlapped ‘right over left’, here they are ‘left over right’). Notice how this creates a ‘hole’:
Step 5. Cross the lower end down over the upper end. This will be the ‘working end‘:
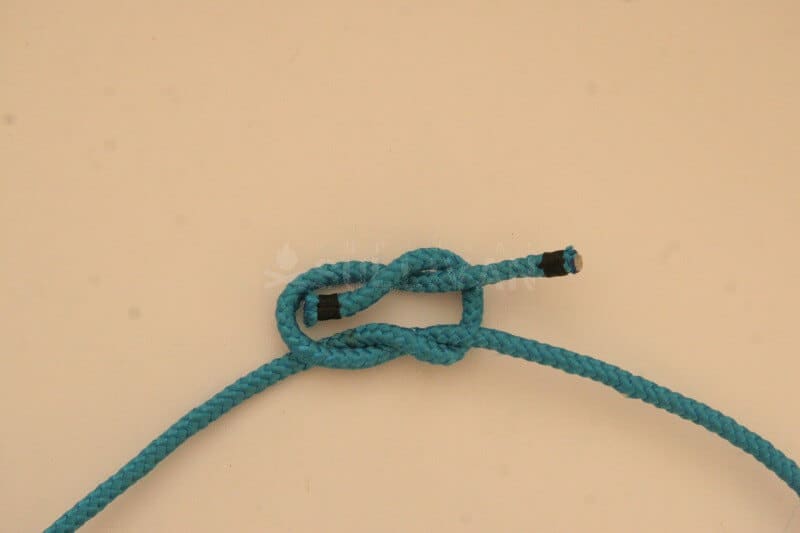
Step 6. Thread the working end though the hole and straight out of the knot:
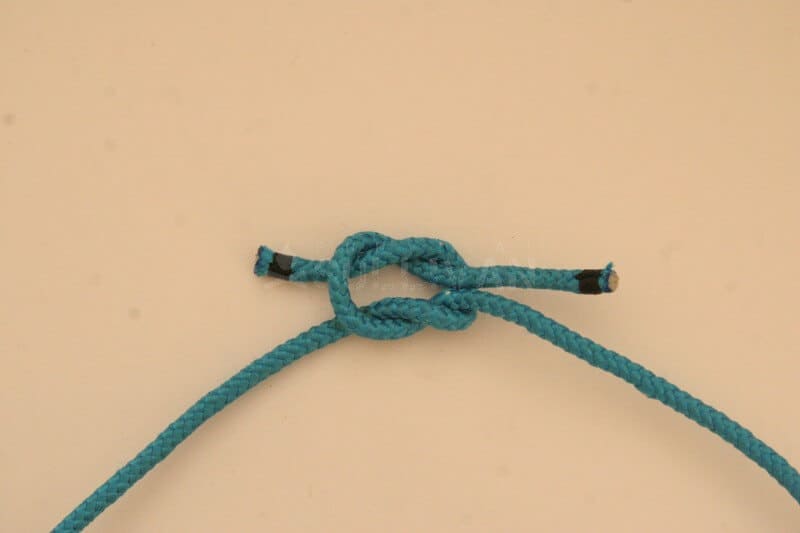
Step 7. Pull on both ends to tighten the knot:
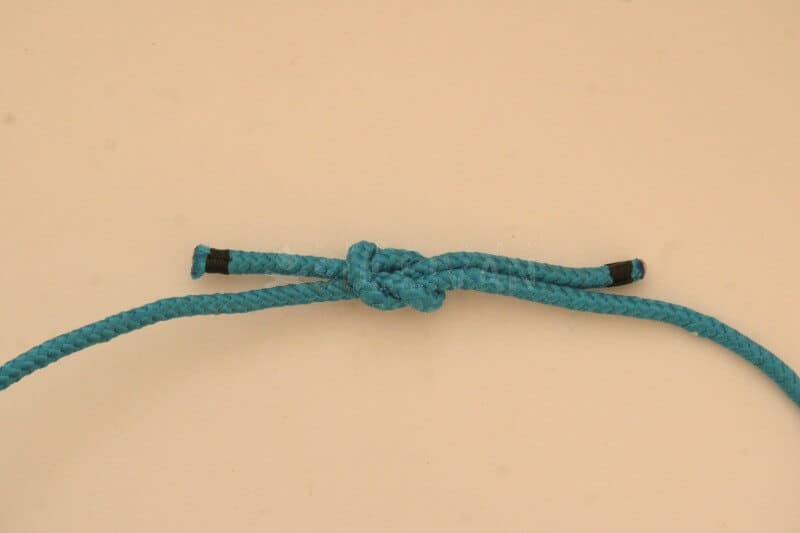
The Reef Knot should look something like this when made and used properly:
Related Knots
- The Reef Knot is part of a family of knots which use different combinations of half-knots if different orders: the Reef Knot the Thief Knot, the Granny Knot and the Grief Knot.
- The Reef Knot is an ‘tied-ends’ binding knot. The Constrictor Knot and the Strangle Knot are binding knots where the line is wrapped several time around the bundle instead.
Really Practice This One…
The Reef Knot is often used improperly, and can be dangerous if so. However, when deployed foe the right purpose it is often the best thing for the job, and easily remembered.
Nick O’Law has been exposed to survival from a very young age. In his teenage years, he learned A LOT about bushcrafting, such as making snares and traps, and even how to make DIY knives.
If you haven’t ye read and tried his knot-making articles on Survival Sullivan, you should definitely check them out.
The reef knot is just a plane square knot.