Wearing a paracord bracelet on your wrist is a wonderful way to keep this versatile resource handy no matter where you go and no matter what you’re doing.
Popular items with preppers and other hard-working professionals, the only problem with paracord bracelets is that makers tend to charge a pretty penny for them, despite them being made with only a few cents’ worth of materials.
But you don’t have to pay an exorbitant price for a paracord bracelet if you know how to make your own…
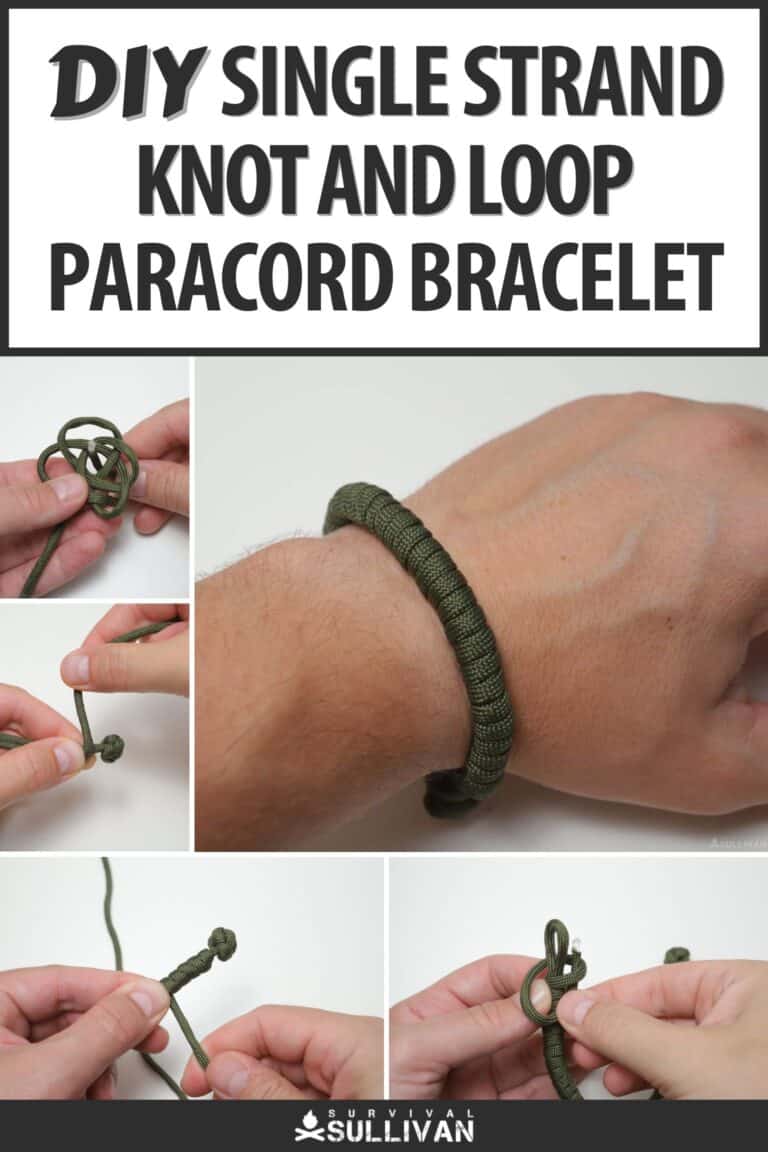
In this article, I’ll give you a detailed step-by-step guide for weaving a single-strand knot and loop bracelet that doesn’t require any hardware and is easily unraveled when you need your cord in a hurry.
Although this is one of the more intricate bracelets to assemble yourself, this variety has the advantage of not requiring any hardware, only a few tools.
You’ll need scissors or a sharp knife, a lighter and preferably some thin needle nose pliers to help you get the knot closure good and tight.
Some kind of round metal tool to help you seal the cut and heated ends of the cord is also helpful if you don’t want to use the side of your knife or scissors.
And that’s all there is to it. Now let’s get to the steps…
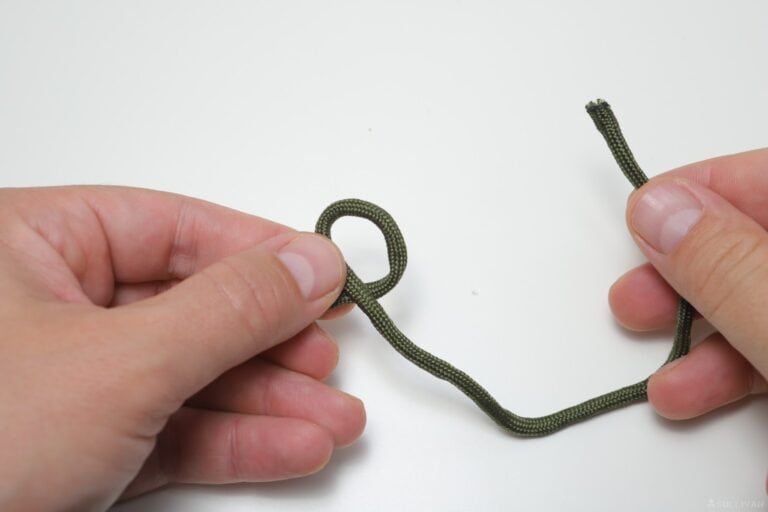
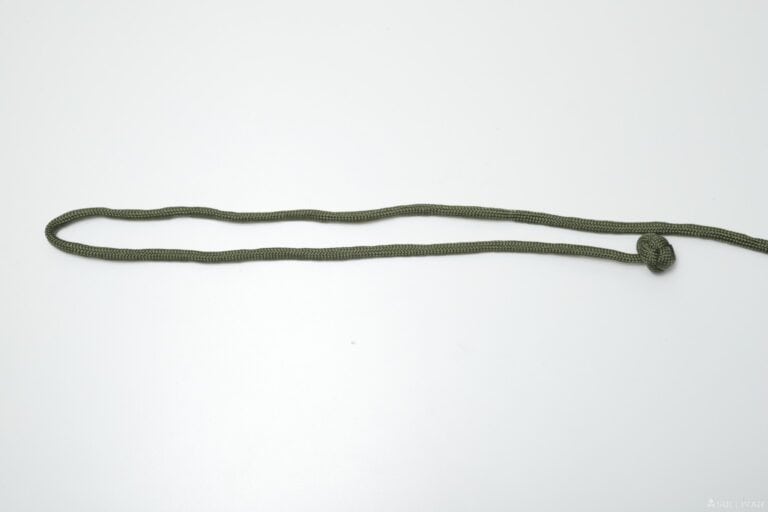
Step 1: starting with a long length of cord, turn an overhand loop.
Step 2: turn a second overhand loop the same size and shape as the one in the previous step.
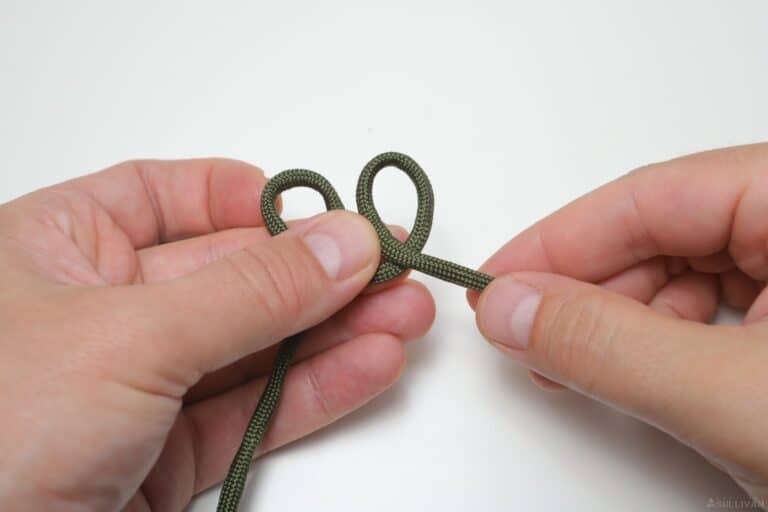
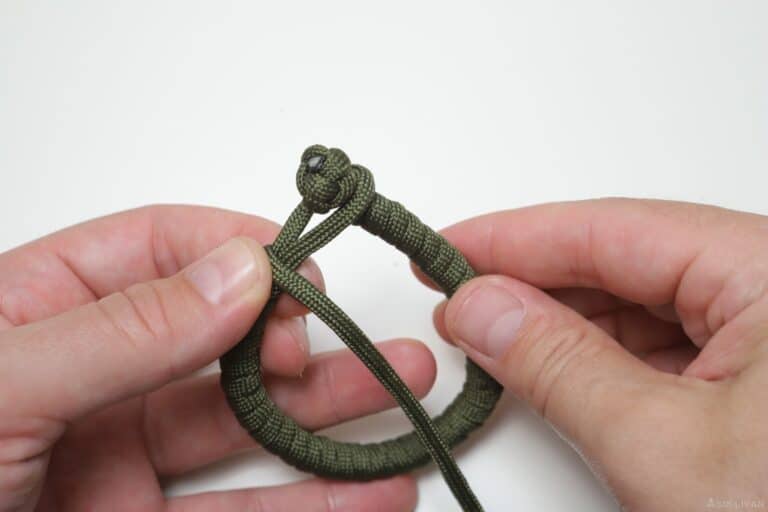
Step 3: carefully position the second loop halfway over the first. The resulting shape should look a little bit like a pretzel.
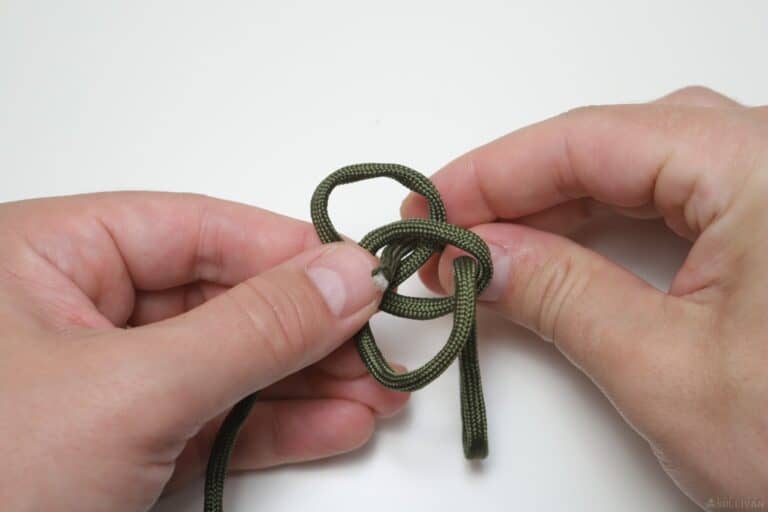
Now take the working end of your cord and pass it through the second loop from above…
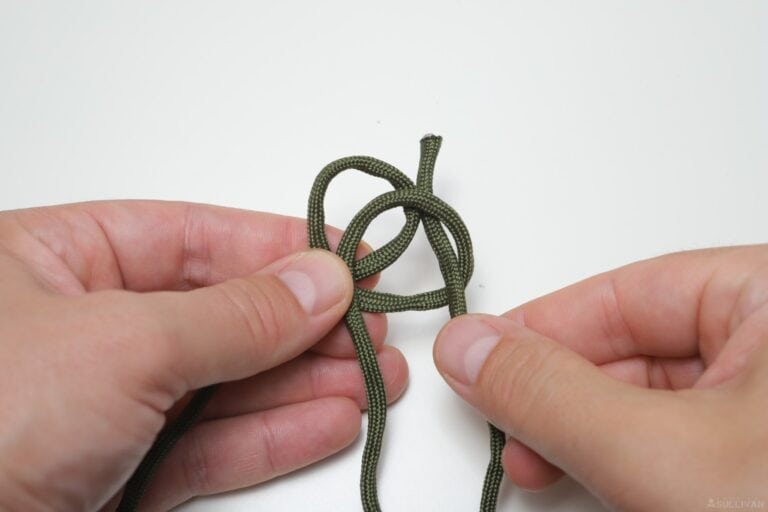
Step 4: continuing on, pull some slack through, but not all of it. See picture for details.
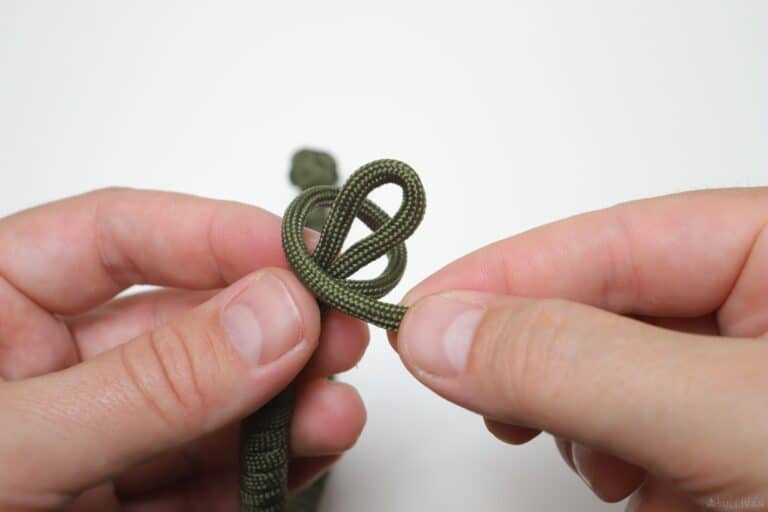
Step 5: now bring the working end back up through the middle opening formed when you overlapped the two loops you made.

Step 6: and simply take the working end down through the first loop from above.
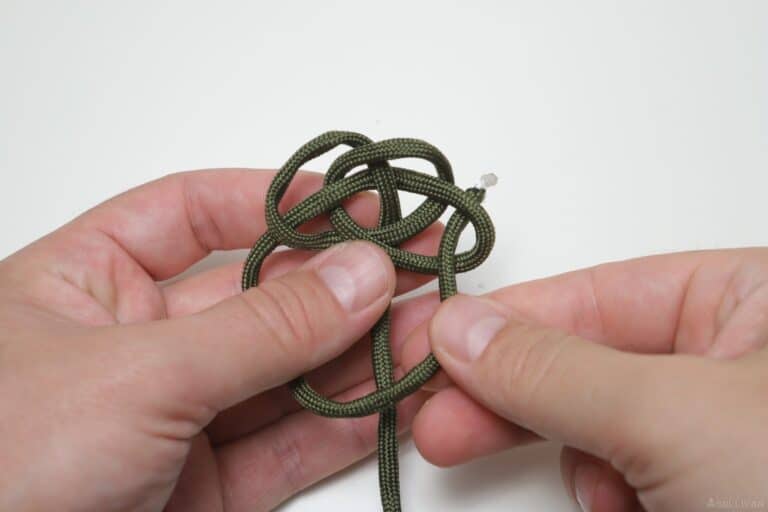
Step 7: continuing on, pull some of your slack through to form a third loop on the right where you started. See picture for detail.
Notice how that loop has formed by the middle finger on the left hand?
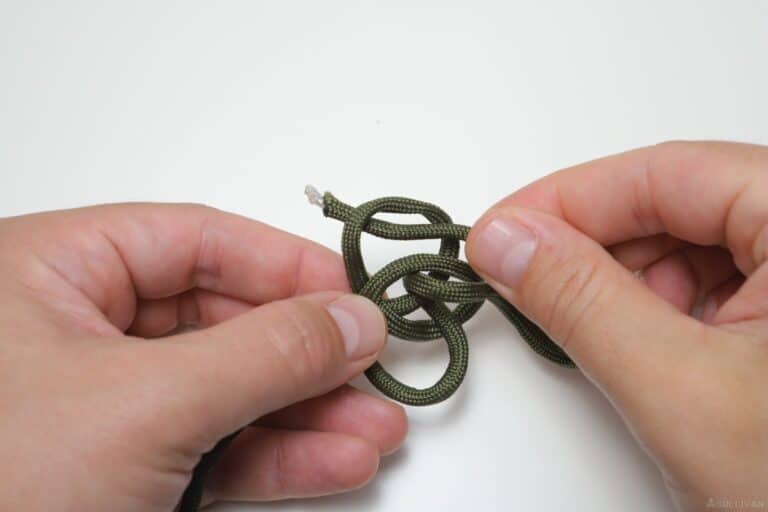
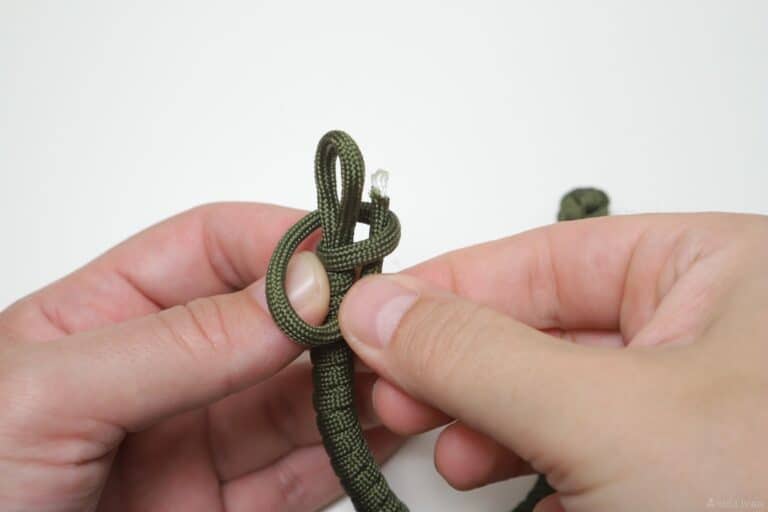
Step 8: Now bring the working end back around and over the top of the standing part, then pass through that newly created loop from above.
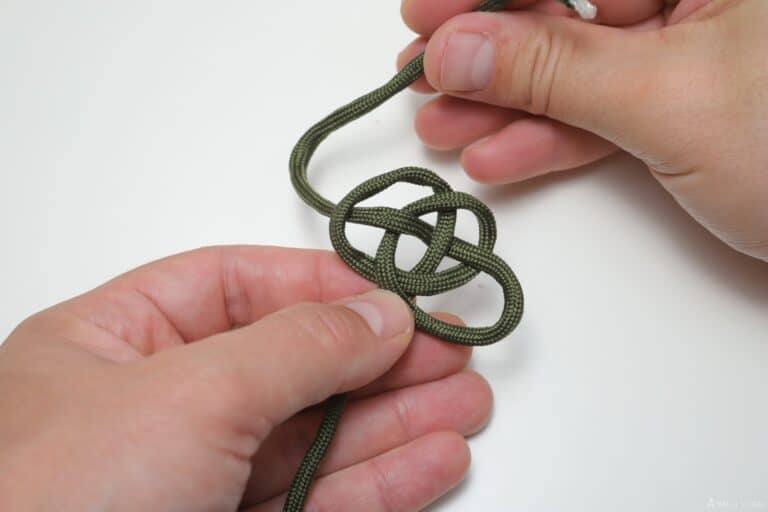
Step 9: pull a little more slack through, and then pass the working end up through the central opening in your loops from below.
Consider starting over if the weave has gotten messy and doesn’t look nice and regular like it is shown in the picture. Take your time, keep everything stable and you’ll get it.
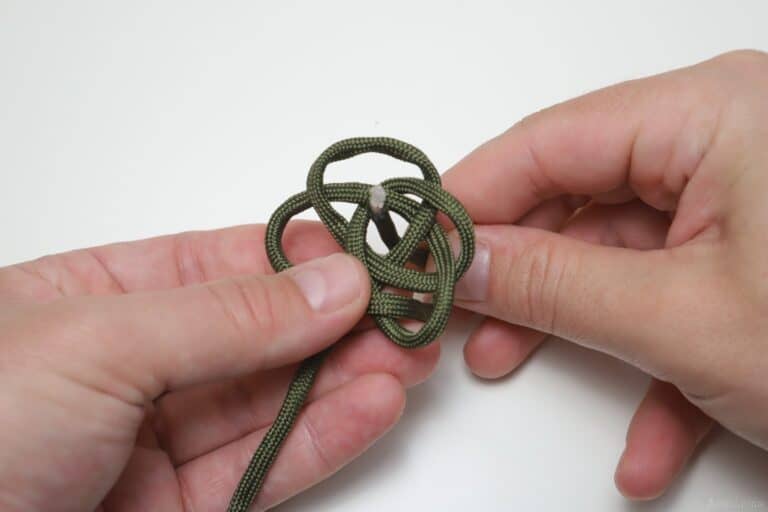
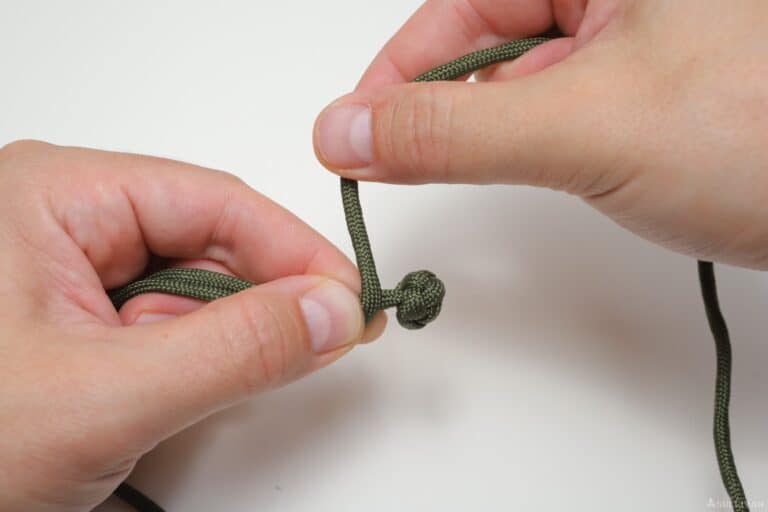
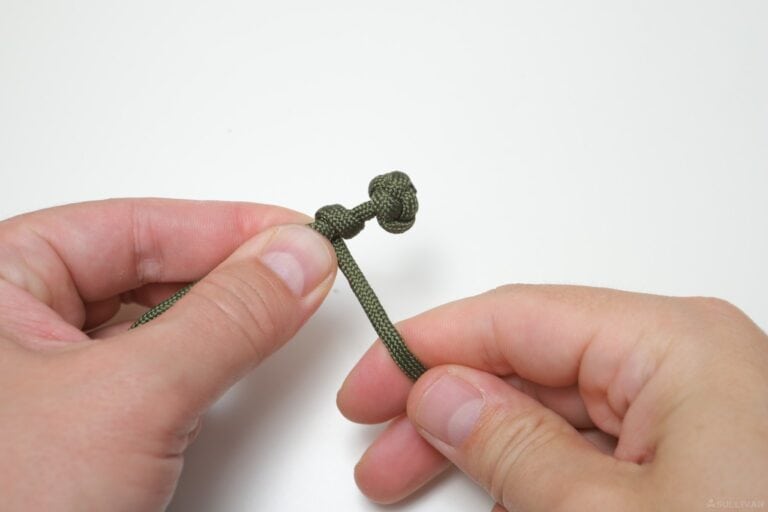
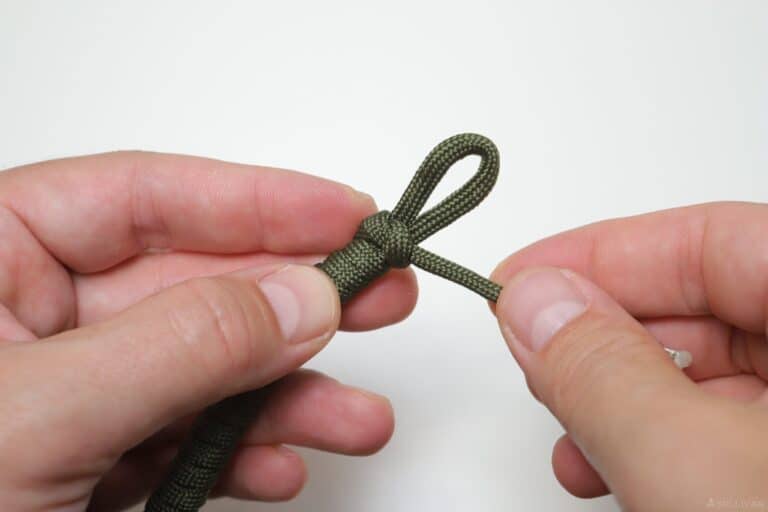
Step 10: now tighten this knot to form your stopper. This will take a little bit of time, but work methodically; pulling the slack through and tightening over and over again until you have a nice, compact knot.
Use your needle nose pliers here to really get it good and tight if needed.

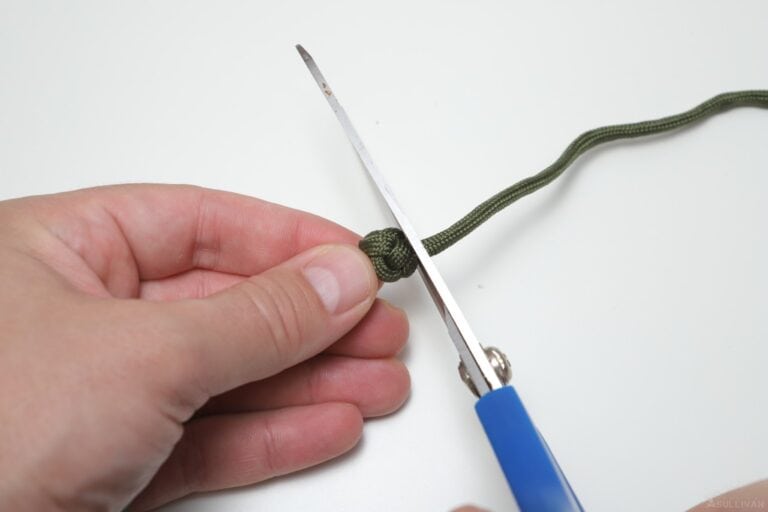
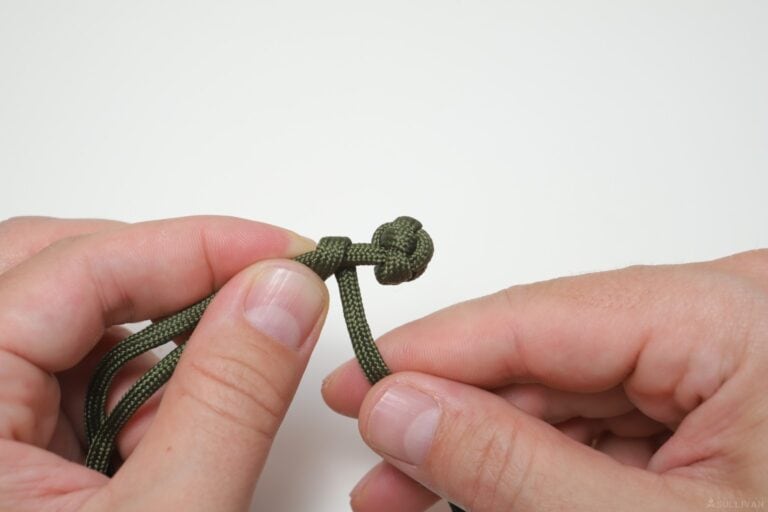
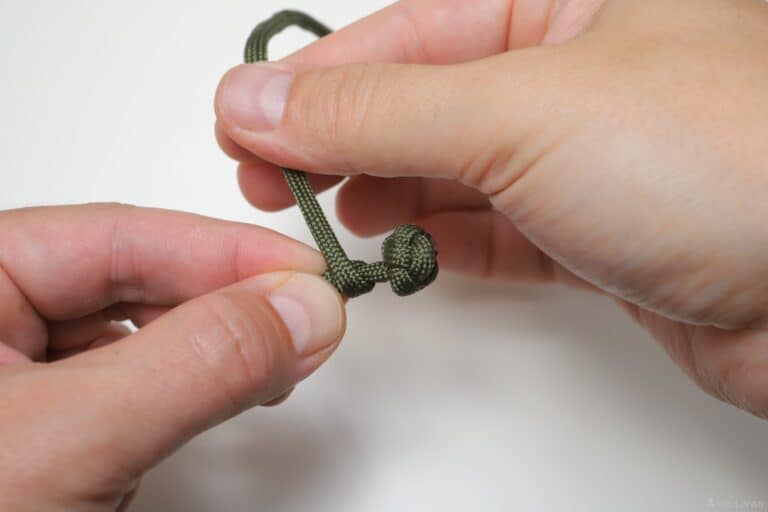
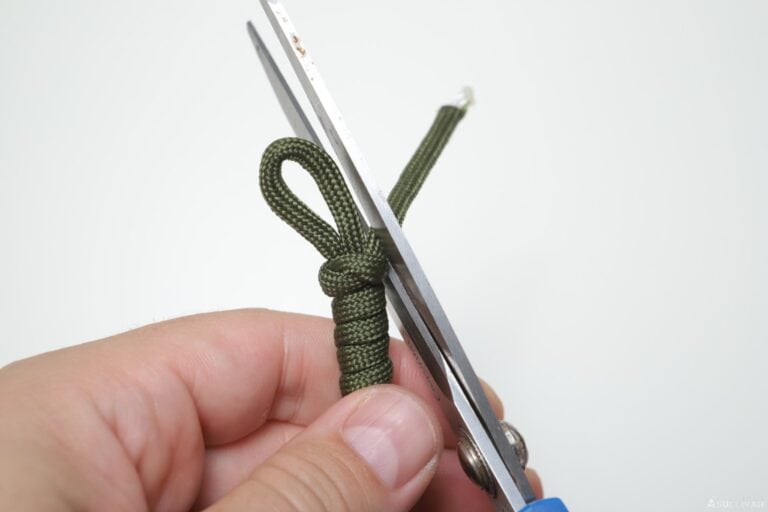
Step 11: take your scissors or knife and cut off the tail formed by the working end that’s sticking out of the knot. Leave about an eighth of an inch protruding.
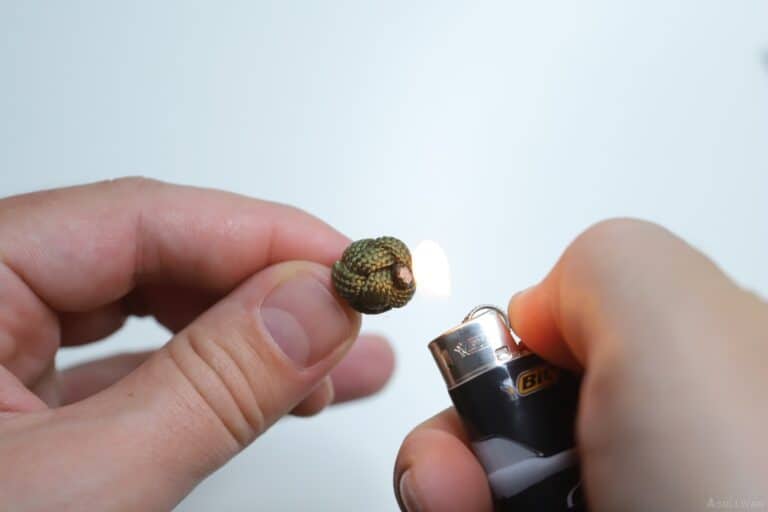
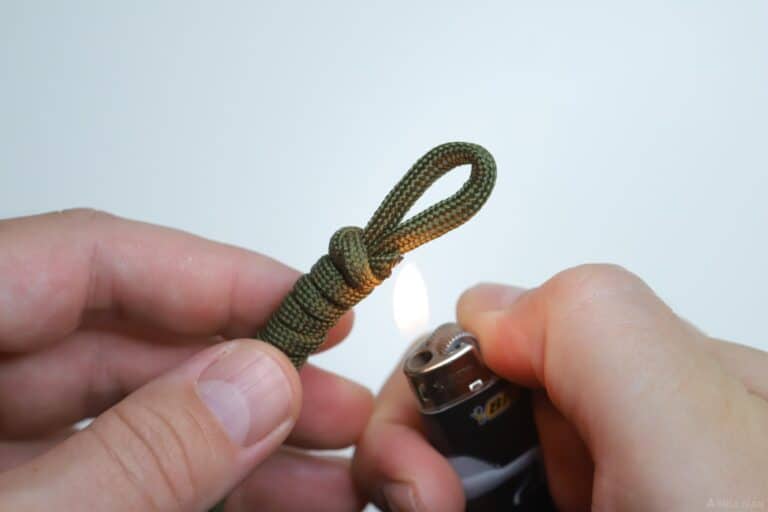
Step 12: use your lighter and your metal tool to melt, press and seal the remnant of the tail sticking out. This will lock down the knot and form your stopper from which we will tie the rest of the bracelet.
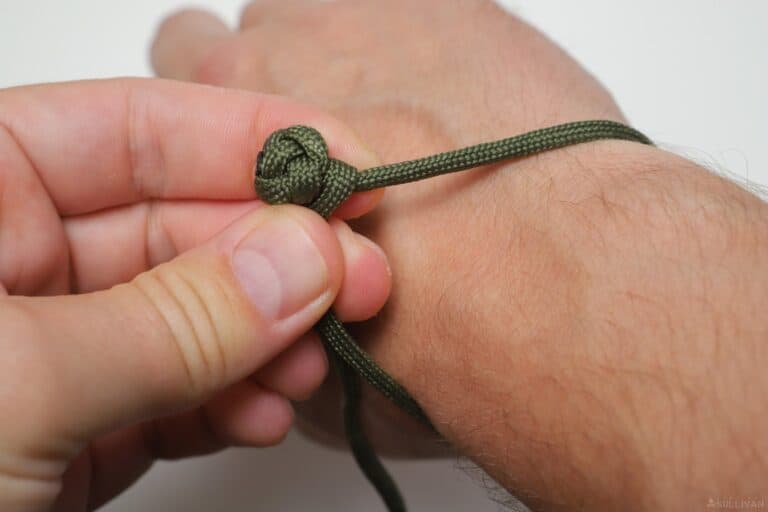
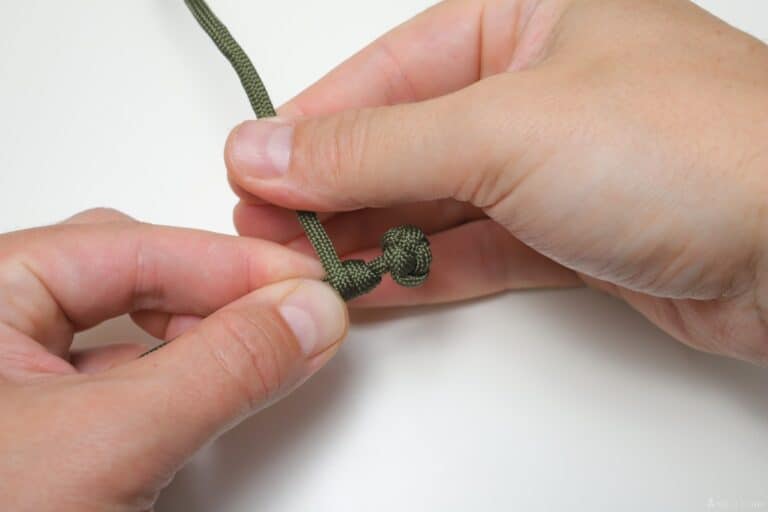
Step 13: time to size the bracelet for your wrist. Wrap the bracelet around your wrist and then curl the standing part of the line around the knot you just made.
Leave enough slack where you can easily slip a single finger beneath the cord. This will ensure that it’s snug enough to not fall off, but not so tight that it will cut off your circulation.
Once that is done, bend and pinch the standing part of the line where you wrapped it around the knot so you know what length you need.
Step 14: lay out the cordage as shown, with the part where the cord will wrap around the knot forming the bend on the left as shown in this picture.
Make sure you still have plenty of working cord left to form the turns of the bracelet.
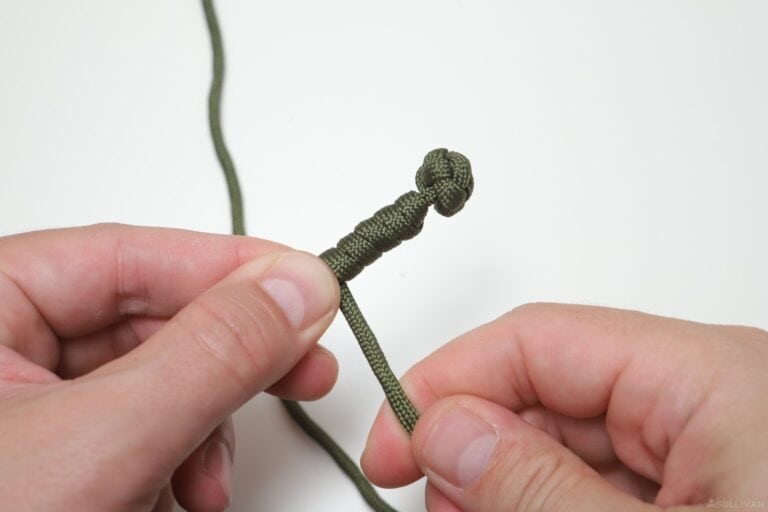
Step 15: now, starting at the end with the knot, leave about 3/8 of an inch between it and where you are gripping the standing part of the cord.
Step 16: make a single turn, or half wrap, around the standing part, keeping it taut…
Step 17: and then bring this first wrap back over itself in the opposite direction as you would when making a clove hitch. This is critical to the stability of the bracelet.
Step 18: from here, taking care to keep everything tight, taut, and uniform, make a succession of wraps going in the same direction towards the opposite end of the bracelet.
Step 19: just keep wrapping…
Step 20: once you get close to the opposite end, leave a loop that is about 3/4 of an inch long.
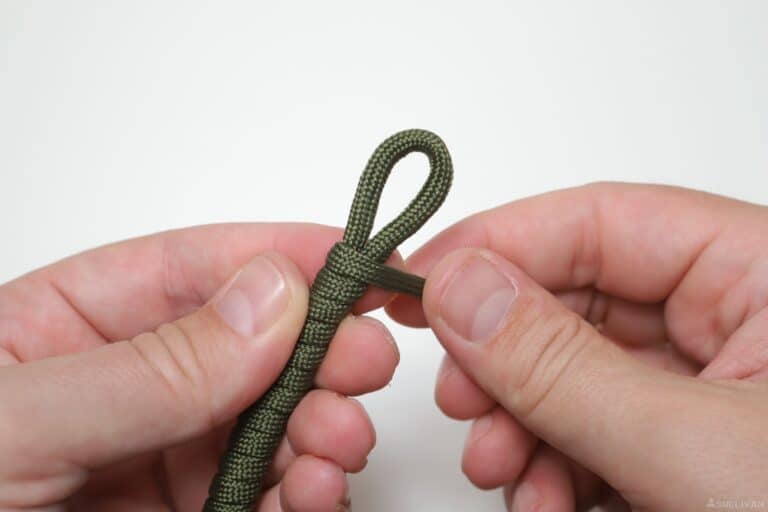
Step 21: keeping your wraps pinched tightly so they don’t come undone, check to see if the knot will easily pass through the loop.
You want it to be easy to get on and off, but not so easy that it’ll slip off when on your wrist. Make an extra wrap or two until you have it just right.
Step 22: to complete the bracelet and fix the loop end of the closure in place, make one final wrap, leaving some slack as shown.
Step 23: then simply bring the free end up through the loop you made…
Step 24: before pulling it tight.
Step 25: make sure everything is secure and then cut off the tail, leaving about an eighth of an inch.
Step 26: use your lighter to melt the cut end before pressing it with a metal tool to seal the loop end of the closure in place. Be very careful not to melt or damage the loop itself.
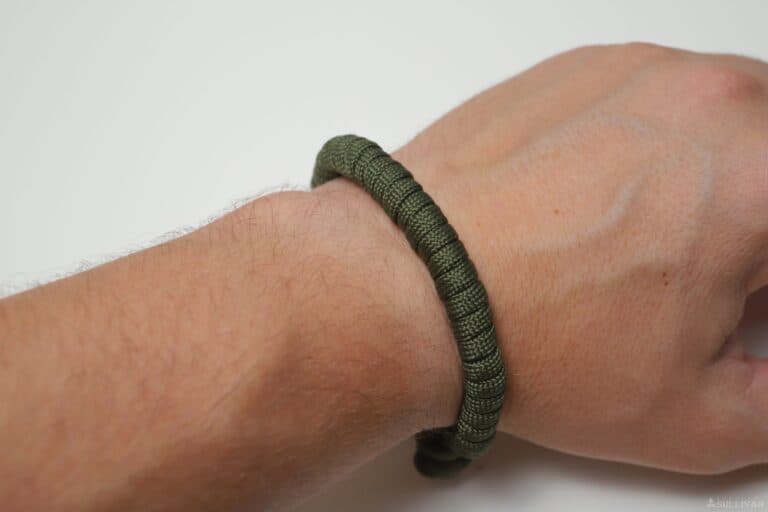
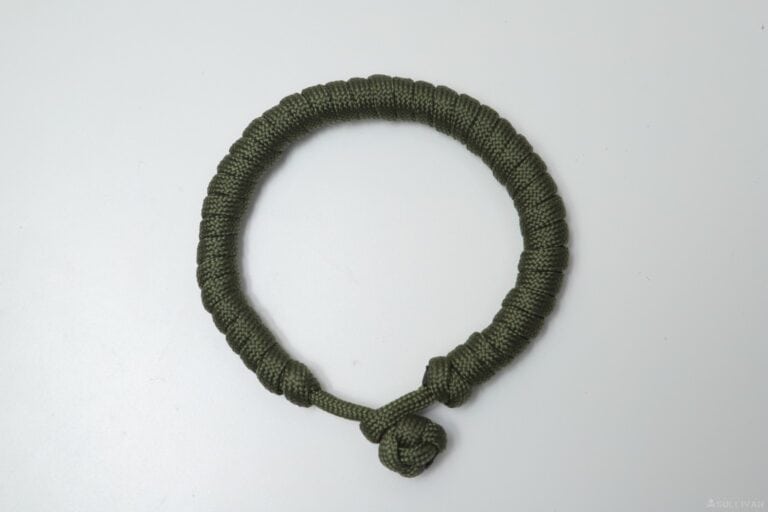
Step 27: when assembled and connected, your bracelet should look like this with no gaps except at either end where the knot and the loop parts of the closure are.
Now, to quickly unravel your bracelet when you needed, simply remove it, take hold of the middle section and then tug firmly on the knot and the whole thing will collapse in your hands.
This is probably the very best bracelet design if there is actually a chance that you might need to access your paracord, in its intended form, quickly.
Aside from the stopper knot you made in the beginning, it’s also super easy to tie quickly, meaning you can easily get in some practice deploying it and retying it once you get that initial knot made.
If you liked this bracelet tutorial, you can also try out our other guides on making an easy paracord bracelet or a snake knot paracord bracelet. Keep knotting!

Tom Marlowe practically grew up with a gun in his hand, and has held all kinds of jobs in the gun industry: range safety, sales, instruction and consulting, Tom has the experience to help civilian shooters figure out what will work best for them.
Great job!
I use snake knot and diamond for my keychains!