Paracord is truly a prepper’s best friend, and I’m not exaggerating when I say it’s always a good idea to keep some on you.
But instead of carrying around a small hank of paracord in your back pocket, you can wear it in the form of a stylish and handy bracelet.
There are many ways to create your own paracord bracelet or without additional hardware.
The following method is one of my favorites, combining the intriguing, easy and compact snake knot with a hardware-free adjustable closure as made Internet Famous by the most recent Mad Max movie. I’ll give you a full walkthrough below…
Grab a 10 foot length of paracord; that will make a bracelet that’s appropriately sized for a wrist that is approximately 7 inches in circumference.
You can adjust this design with the closure I’ll show you, but if your wrist is significantly larger, use more cord. If significantly smaller, use less.
Other than that, you just need scissors or a sharp knife, a lighter, and a nail, marlinspike, or paracord tool (to help you complete one of the steps).
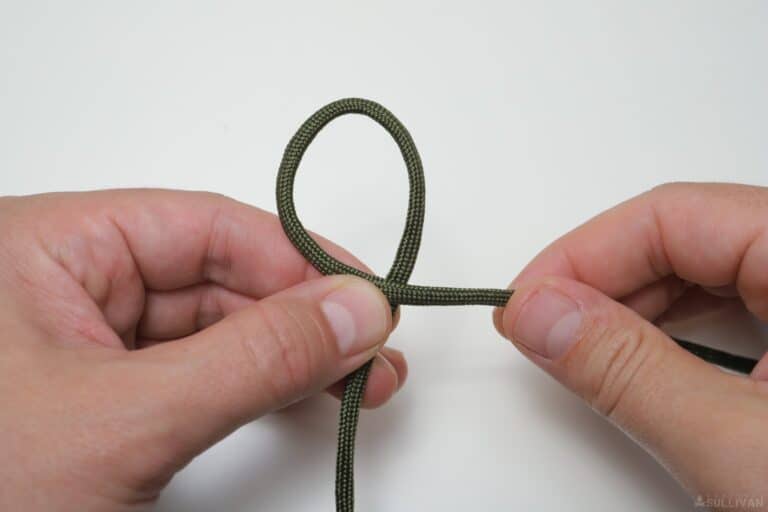
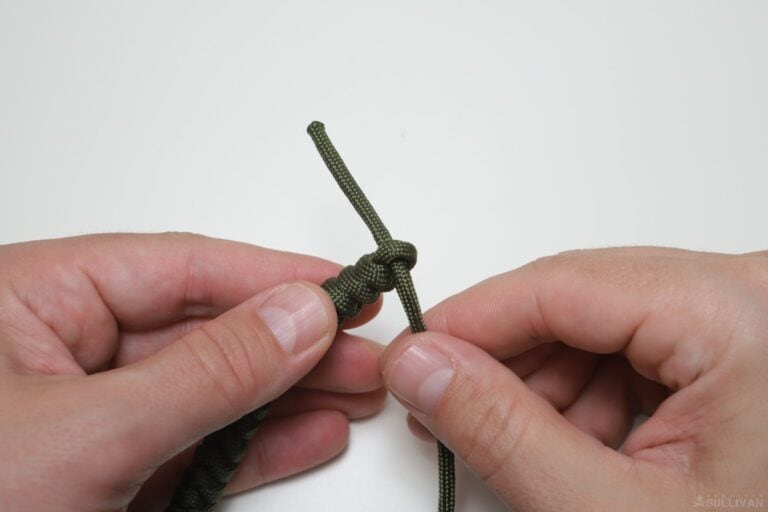
Step 1: Start by finding the midpoint of your cord. Hold the midpoint and your non-dominant hand and have the working ends pointing towards you.
Step 2: take the left side of your cord and loop it around to the right, going over top…
Step 3: and then crossing behind back to the left underneath.
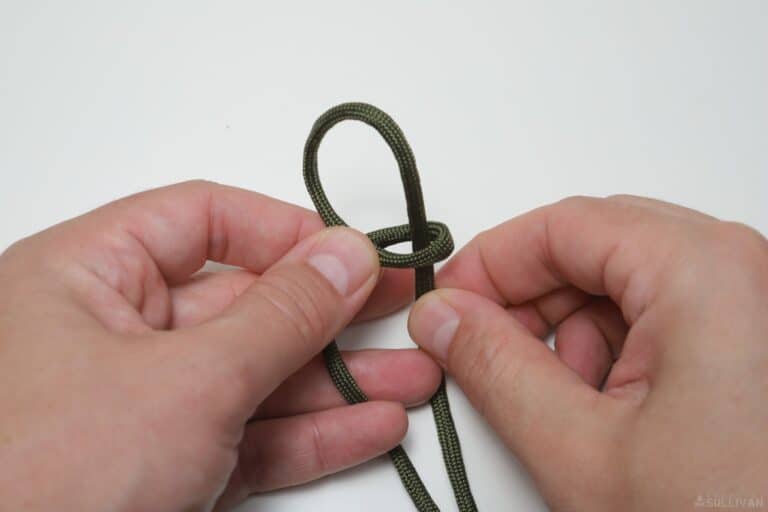
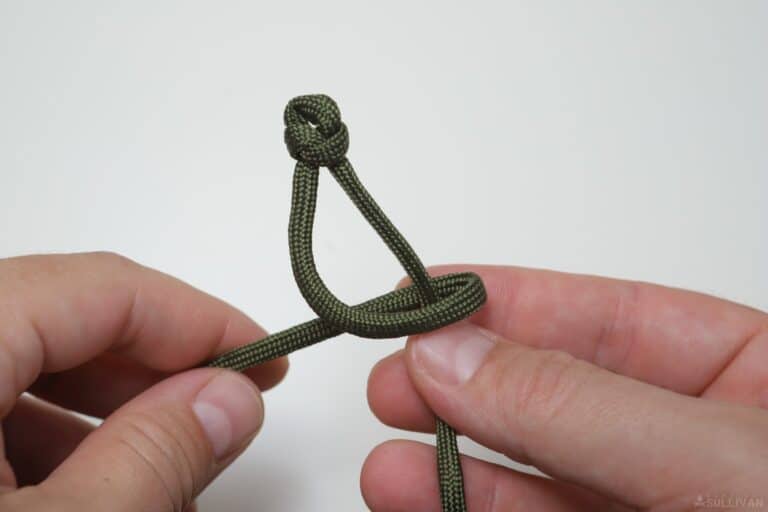
Step 4: now, take the end of the right side of the cord and pass it under and behind the left side…
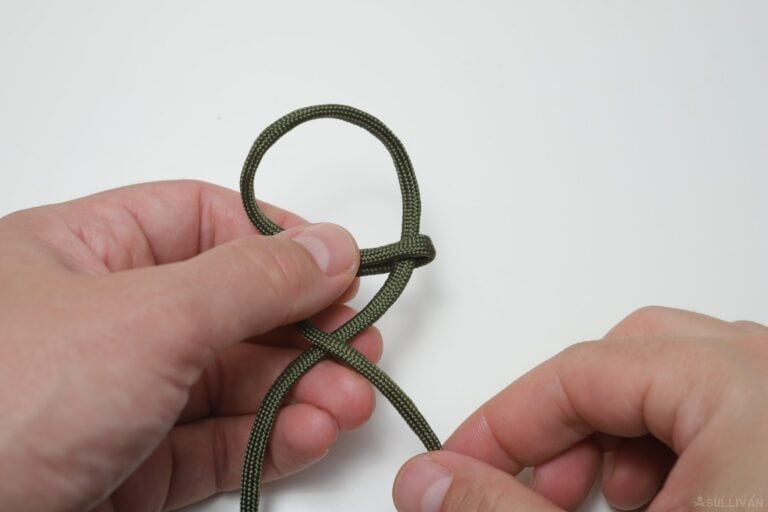
Step 5: …and then back around on top, continuing on through the loop you created in the previous step from above, and exiting through the bottom.
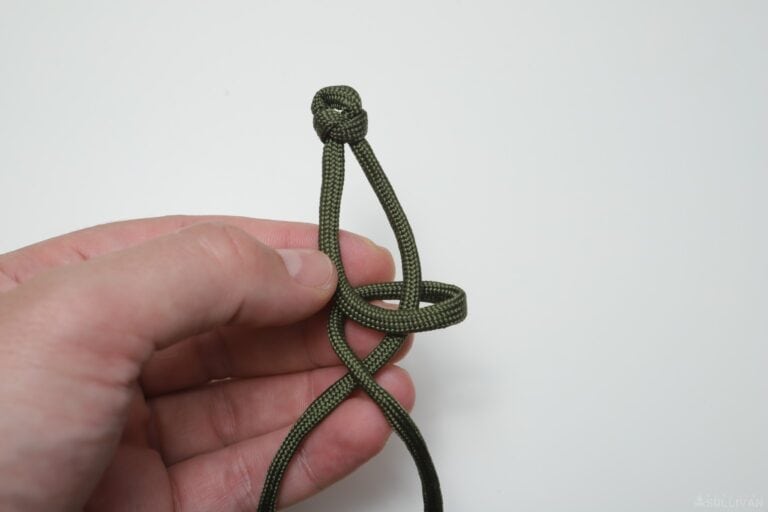
Step 6: dress the knot and ensure that it looks like the picture shown here. Note that the knot should be a mirror image on the front and back side, looking sort of like a figure eight.
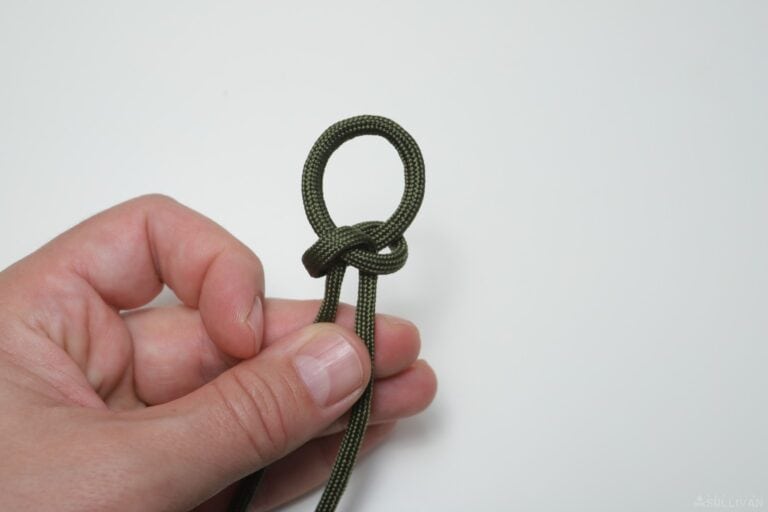
Dress and tighten this knot, taking care to not let the knot slip past the first loop you created that serves as the midpoint of your cord.
If this happens, the knot will spill and you’ll need to start over.
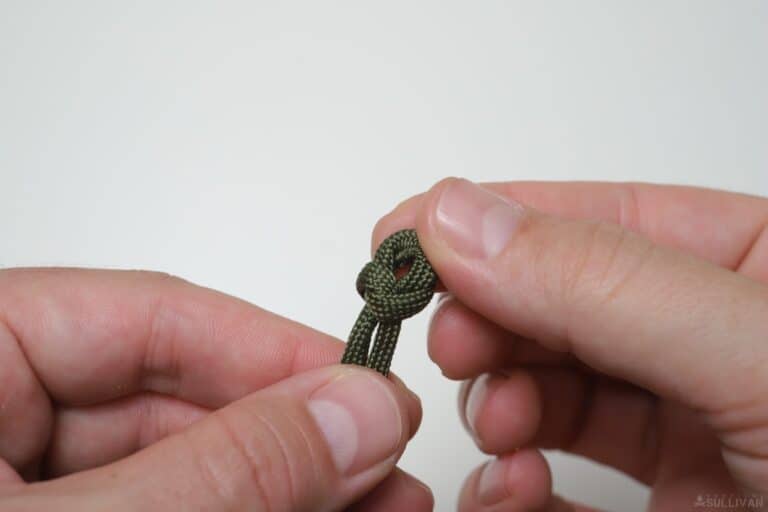
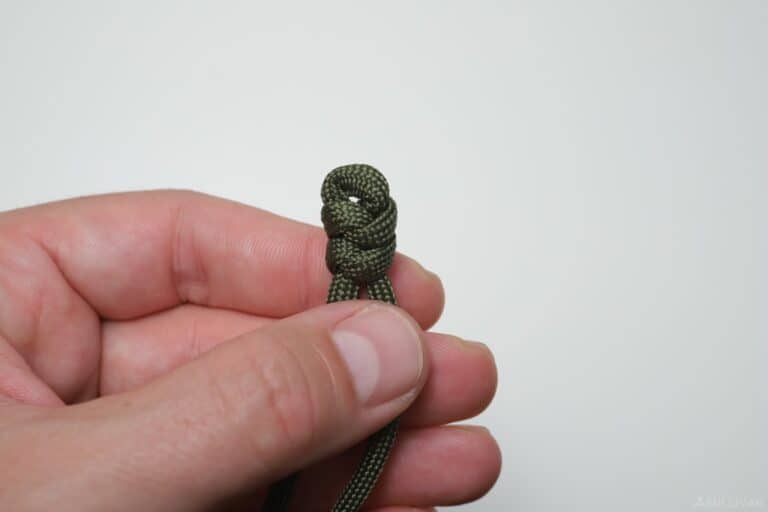
Step 7: keep tightening the knot until only a tiny hole, barely bigger than a pinprick, is visible through the initial loop. This will serve as your closure.
It’s critical that this opening be very small so that it remains tight enough to hold the bracelet securely on your wrist once we complete the bracelet.
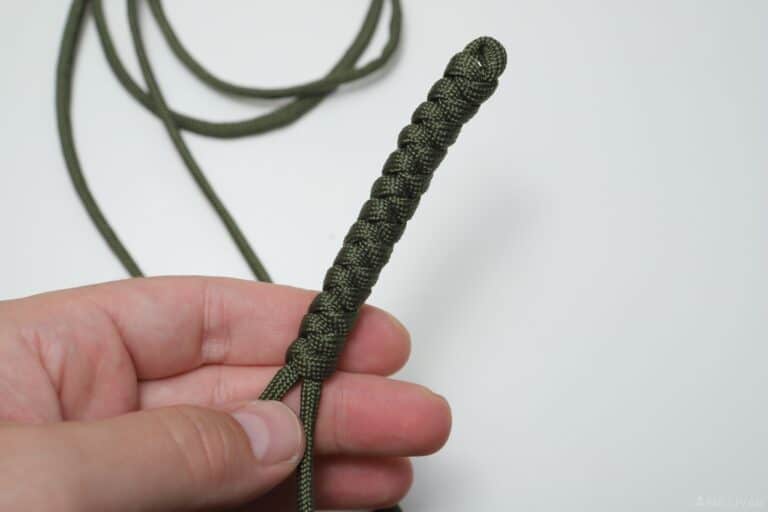
This is the first link in the bracelet completed, and from here you’ll simply repeat these steps in the same order again and again until you have a bracelet of the appropriate length.
Then we will complete the closure. Continuing on…
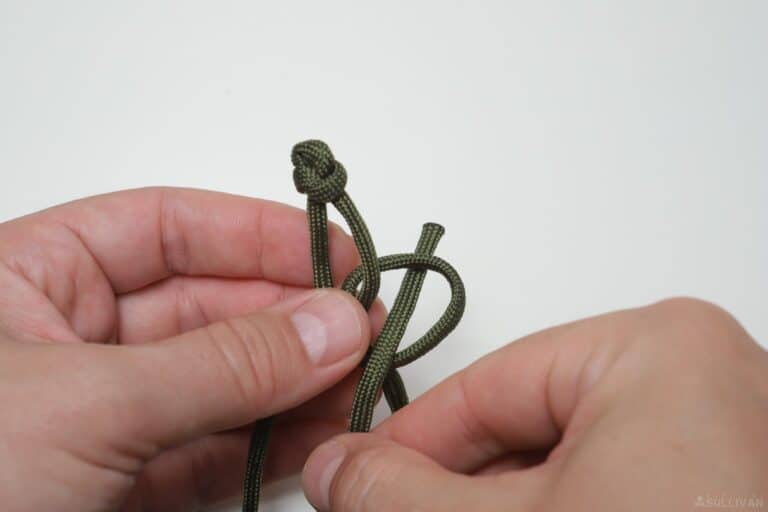
Step 8: take the left side of the cord and make a loop around the right side passing over the top…
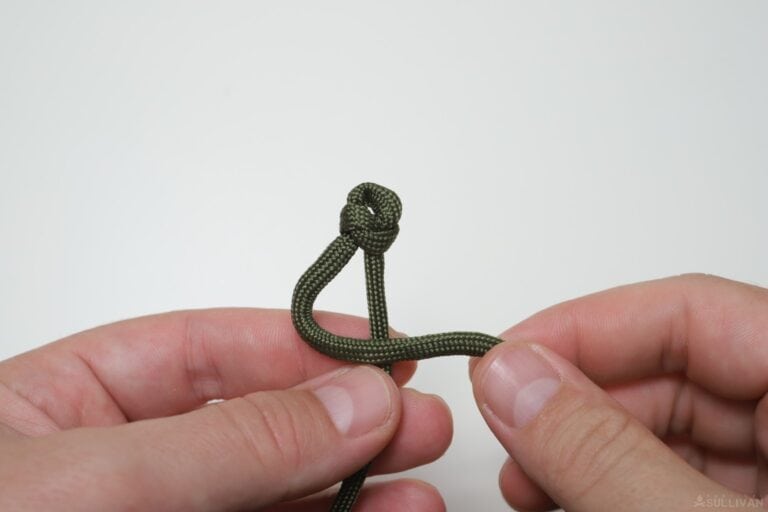
Step 9: and then back around below.
Step 10: now take the right side of the cord and make a loop around the left side of the cord, passing underneath and then coming back around on top.
Step 11: continuing on with the end of the right side of the cord, pass the end through the loop you made previously from above, exiting underneath.
This and the preceding steps are executed exactly as before and should look identical.
Step 12: dress and tighten this knot ensuring that it stays symmetrical on both sides and in front as well as behind. That is the second link in the bracelet complete.
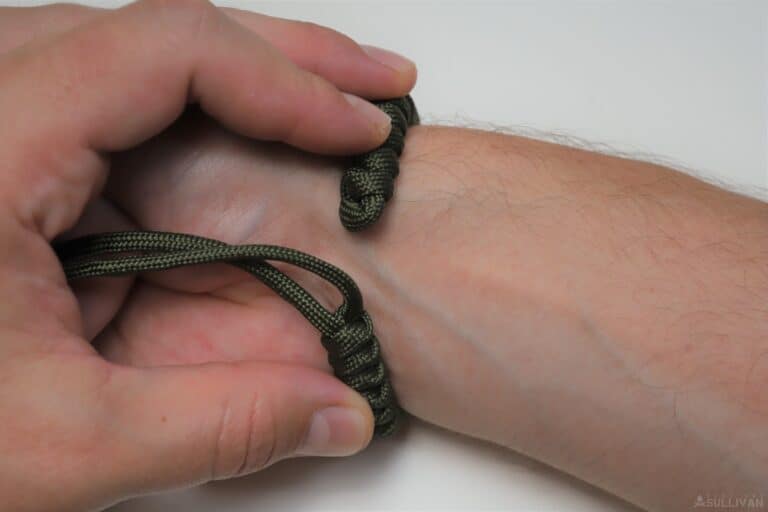
Step 13: repeat steps 8 through 12 over and over again to build the bracelet, checking the length of the bracelet around your wrist as you go.
Once both ends are about an inch apart, not including the tails of the working ends, you’re ready to move on and create the closure.
Step 14: using your nail, marlinspike or tool, pass either of the free ends through that tiny pinhole loop you left open in the end of the bracelet back at the beginning of this guide.
It might be tricky and it should be a very tight fit.
Step 15: Repeat, passing the other free end through the loop.
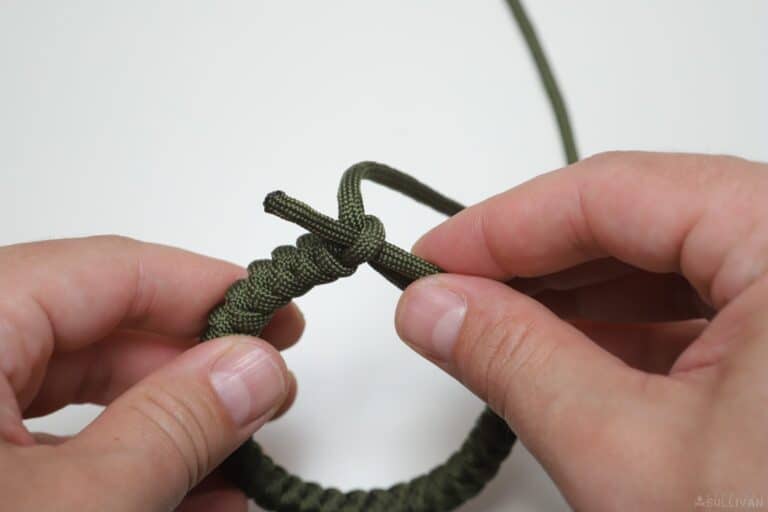
Step 16: now it is time to make the stopper knot on the closure that will allow us to adjust the bracelet while we are wearing it.
Taking the left side free end, loop it over the top of the right side cord from top to bottom.

Step 17: holding that loop you just made in place, now take the right side and pass it to the left of the loop you’re holding in your hand.

Step 18: Now pass the free end through the loop you just made on the outside, entering from above and exiting below.

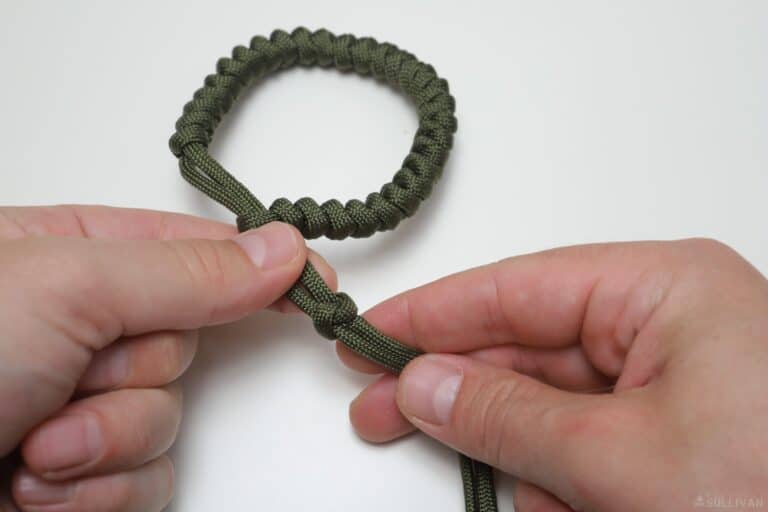
Step 19: start to snug down the knot you just formed gently, leaving anywhere from an inch to an inch and a half between the knot and the loop closure.
Leave slack in the stopper knot so you can adjust it or undo it if it doesn’t fit.
Step 20: try on the bracelet. If you cannot fit your hand through the loop with all of the slack let out, you need to move your stopper knot further away from the loop closure. This will allow the bracelet to open wider.
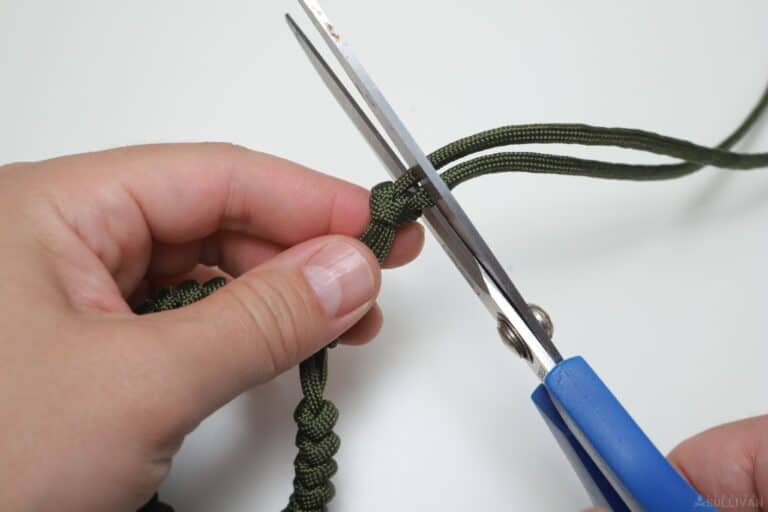
Step 21: once you are sure the bracelet fits, tighten the stopper knot in place. Now it’s time to eliminate the tails that are dangling past the stop or not you just made.
Using scissors or a sharp knife, cut off the tails leaving about an eighth of an inch of cord sticking out from the stopper knot.
Step 22: use your lighter to melt the cut ends, and press them with a paracord tool or other metal object to seal them.
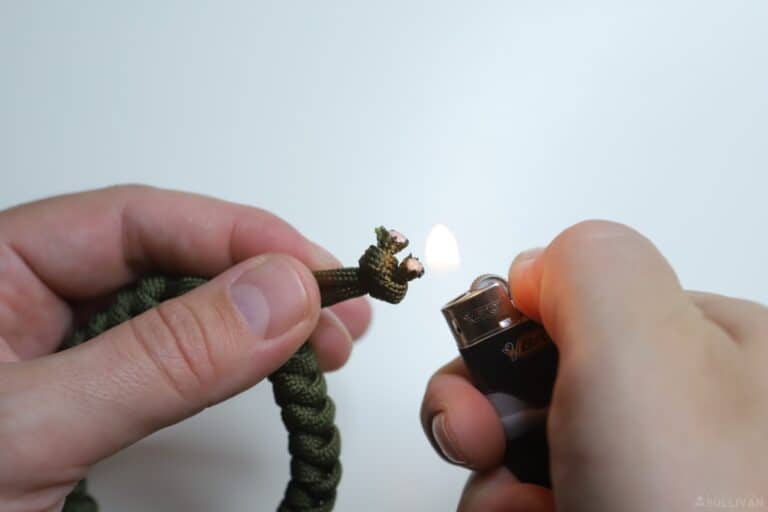
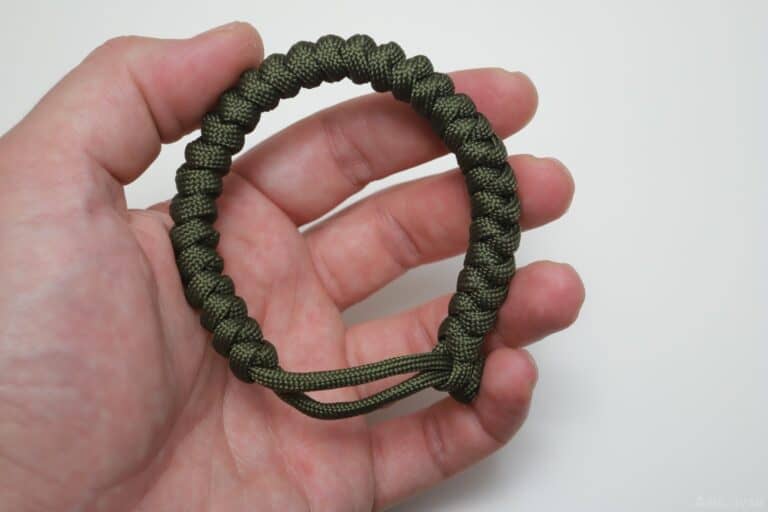
Done!
I really like the snake knot bracelet with this variation of closure because it doesn’t require hardware and because the bracelet itself is ever so slightly stretchy which makes it a little more comfortable to wear, and easier to slip on and off without sacrificing a snug fit for security.
After you finish this bracelet, also try our other guide on making a fishtail paracord bracelet.


Tom Marlowe practically grew up with a gun in his hand, and has held all kinds of jobs in the gun industry: range safety, sales, instruction and consulting, Tom has the experience to help civilian shooters figure out what will work best for them.