The double constrictor is one of the stronger knots having an extra riding turn. This is particularly useful for tying the knot in a slippery line like baling twine, because it adds friction. On the other hand, it can be more difficult to tighten properly.
Check out the quick animation below, then you can go ahead and scroll down to the step by step photos:
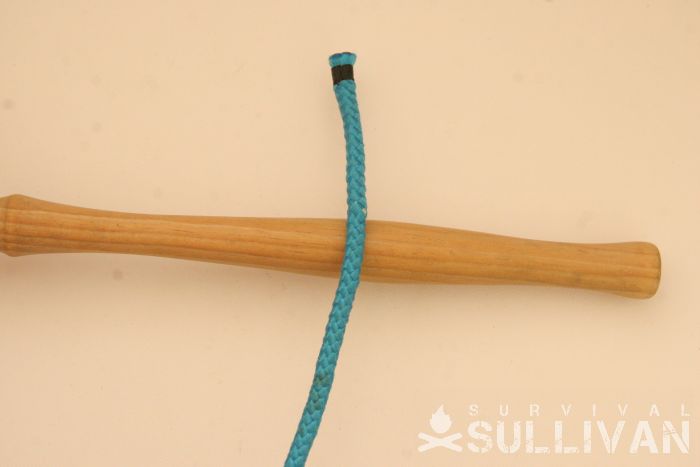
It begins like a standard constrictor knot, so the first few steps are the same:
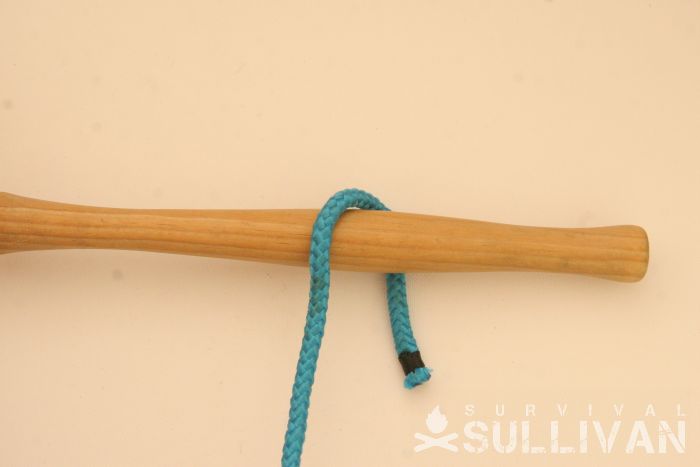
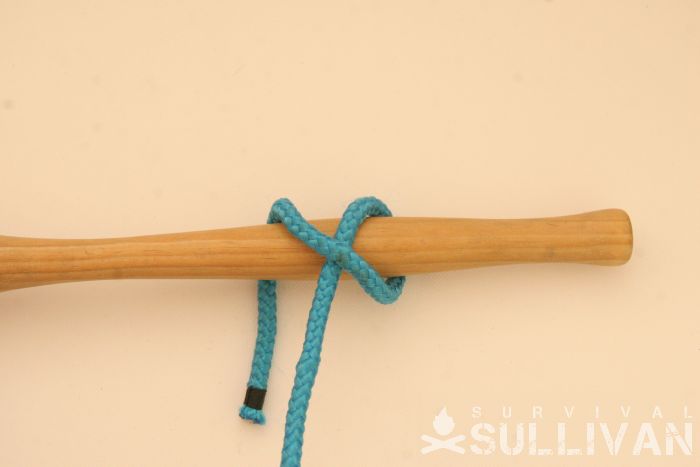
Where you would normally pass the working end over he standing for a standard constrictor, instead go underneath:
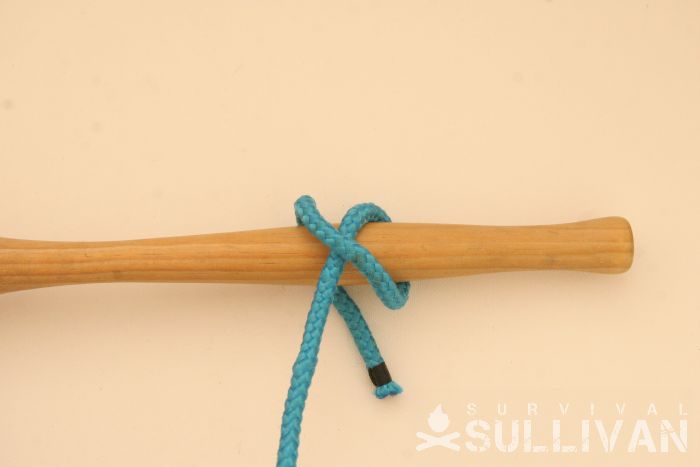
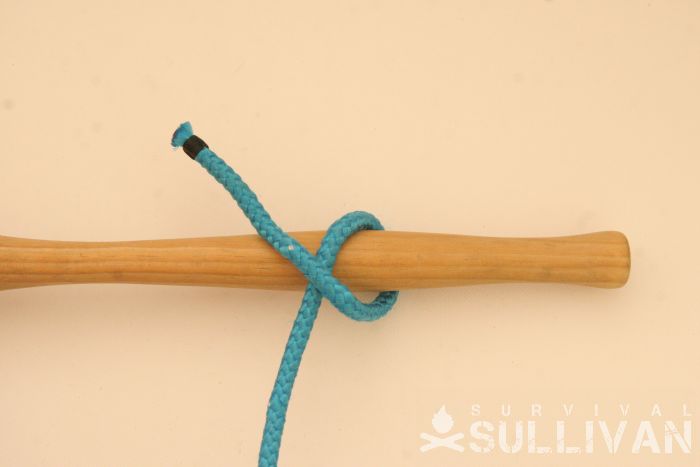
Now pass the working end back up and over, just as you did before. You should end up with a double turn crossing the standing end:
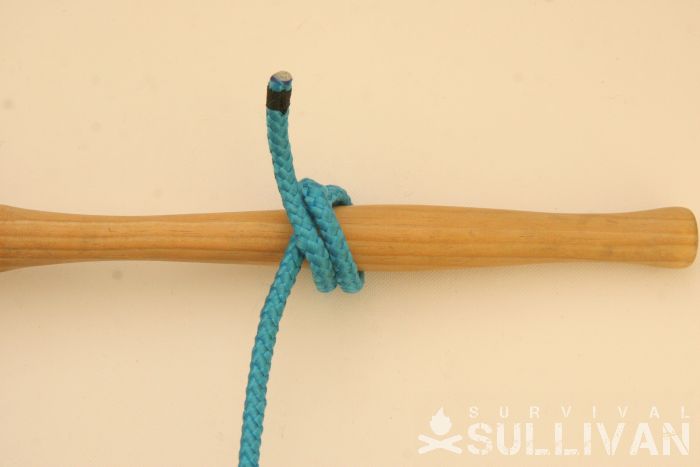
Pass the working end again around the back of the pole:
Now finish the knot. Pass the working end as you would before over the standing end.
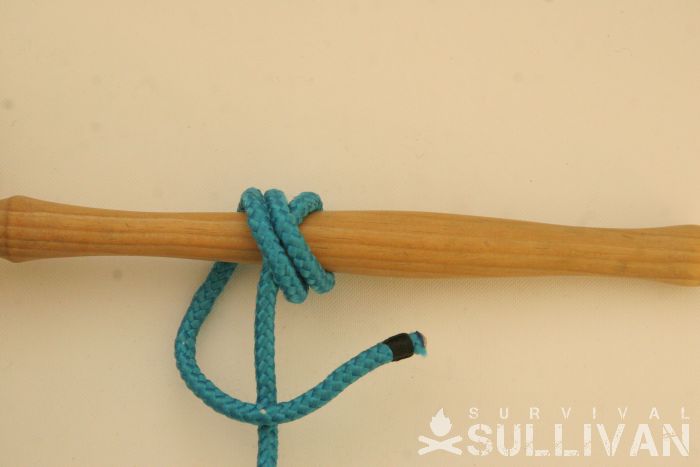
Tuck the working end under the standing end and both of the crossing turns:

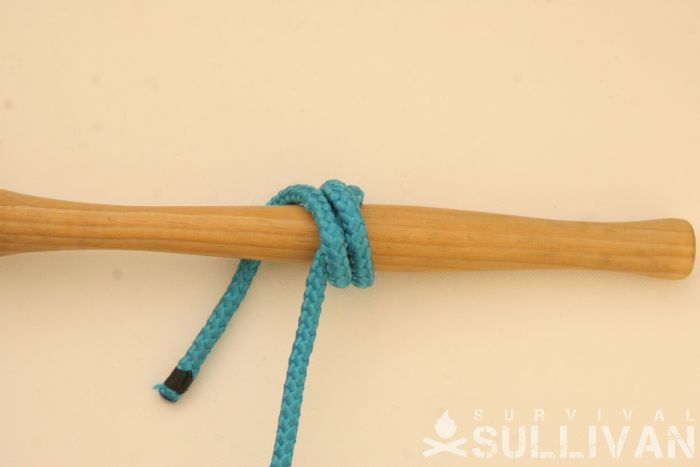
Pull on the ends to tighten the knot:

Nick O’Law has been exposed to survival from a very young age. In his teenage years, he learned A LOT about bushcrafting, such as making snares and traps, and even how to make DIY knives.
If you haven’t ye read and tried his knot-making articles on Survival Sullivan, you should definitely check them out.