Whether you’ve been a prepper for some time, or if you’re just starting out, you probably know that having the right set of skills is one of the best ways to improve your chances of survival in short-term emergencies, as well as large-scale catastrophes.
Whether you’re a rural prepper or you live in a crowded city, whether you’re thinking about bugging in our out, whether you live alone, or if you have children, these basic survival skills are mandatory to know regardless of your unique situation.
Table of Contents
Which Survival Skills are Most Important?
There may be hundreds of different survival skills to learn, and there’s no way anyone can get good at all of them.
I hand-picked the ones that will be most useful to you in most emergencies, and the way I did that was by looking at one of the most basic survival concepts: the rule of threes.
This simple rule states that one can live up to 3 minutes without air, 3 hours without shelter, 3 days without water, and 3 weeks without food. As you can see, shelter and water are much more important than food.
Work on these 10 skills first and get GOOD at them, before moving on to other, more advanced survival skills.
Skill #1: Shelter Building
Building a shelter or finding one is by far the most important survival skill you could have.
This is because, while you may be able to go on for days or even weeks without food and water, hypothermia and not having a roof over your head could get you pneumonia, and hypothermia, and eventually kill you.
Any good prepper will already have several ways to make shelter in his bug out bag and bug out vehicle, including:
- a 2 person tent – probably the most comfortable type of shelter you can have in a bug out situation
- a poncho
- a tarp
- a bivvi bag
- an emergency blanket
… but the real skill is to find or even build shelter on your own, whether you’re out in the wilderness or even in a big city, in an apocalyptic setting.
Some of the “ready-made shelters” you could find include:
- finding an abandoned house or building that you’re sure it’s safe
- staying inside your car or bug out vehicle
- finding a cave in the wilderness
Building a Shelter in the Wilderness
If you can’t find a shelter, the last option is to make your own. There are urban shelters, and there are wilderness shelters, but keep in mind the elements, as you might be forced to set camp in the rain.
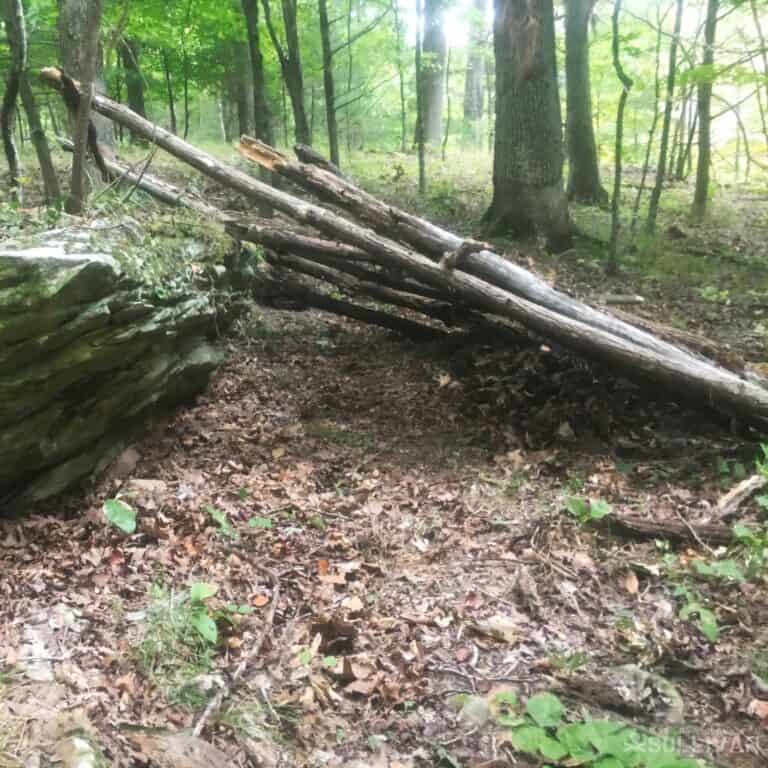
A lean-to shelter (see above) is the most common type and the one that requires the least amount of gear to make.
You’ll need either a fallen tree branch or something to lean into the main branch, such as a large rock (see above).
Next, place branches and twigs of various sizes left and right of the main one. To isolate the makeshift shelter even better, use moss or dry leaves.
Last but not least, make an opening to allow yourself and the heat from the nearby open fire to get inside.
Ensure the entrance is not directly facing the dominant direction of the wind. In fact, the location of your shelter is critical for your survival.
Now, there are several other ways to make shelters out in the wild, such as:
- tree pit snow shelters
- tarp wings
- tarp burritos
- …and more.
Cardboard Box Shelter
The cardboard box emergency shelter is for urban scenarios, but if you’ve got nothing else, you can attempt to make one anywhere.
City dumpsters are full of cardboard boxes which will be more than enough to keep you warm, especially since the buildings’ walls will already keep the wind away. Homeless people use them all the time, so why can’t you in an emergency?
Easiest Way to Practice Shelter-Building
Take your spouse or kid and go camping in the woods. Bring a tent and a tarp, then practice setting them up. Gather twigs and practice making a basic lean-to. See what you can find to insulate it.
Skill #2: Water Filtration and Purification
There are easy ways and not-so-easy ways to filter water…
Disclosure: This post has links to 3rd party websites, so I may get a commission if you buy through those links. Survival Sullivan is a participant in the Amazon Services LLC Associates Program. As an Amazon Associate, I earn from qualifying purchases. See my full disclosure for more.
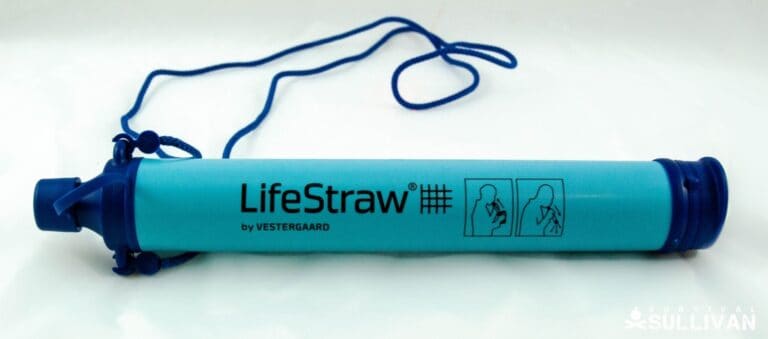
If you have a personal water filter such as a LifeStraw or a Sawyer Mini, you should be covered.
However, pre-filtering water before running it through your filter is always a good idea. I’m talking about muddy water with large particles that could clog your filter.
A second option would be water purification tablets. These are cheap, lightweight, and will kill all microorganisms.
If the water has dirt and debris, you’ll want to filter that first.
Third, you could boil water. Unless you’re dealing with a virus, boiling water will probably kill all bacteria and pathogens from it.
Depending on the altitude you’re at, you may want to keep the water to a rolling boil for at least a few minutes (though some say getting it to a rolling boil is enough).
Tip: if at all possible, stay away from stagnant water, such as that lakes and ponds. It’s most likely chock-full of bacteria and other diseases.
Unless you’re desperate, you might want to look for alternative water sources in spite of the fact that your water filter would be able to remove those parasites.
Probably the most complicated (and questionably safe) way of filtering water is to make your own water filter using activated charcoal, sand, small rocks, and even a cotton cloth.
You can use charcoal from your campfire and a bandanna or something similar to put at the top of the filter to remove large particles first.
You should also place a second cotton cloth or a coffee filter at the bottom of the filter to be the very last thing the water passes through before reaching the second container.
How to Practice Water Filtration
Get dirty or muddy water from a nearby river or lake. use your water filter to filter some of it. Use your DIY water bottle filter to filter some of it as well.
Compare the results by looking at how clear the resulting water is, how it smells etc. Take all 3 water samples to a company that can analyze them and tells you which ones are safe to drink.
Skill #3: Fire-Starting
Starting a fire is one of the most important basic survival skills you can have. It’s not enough to have a lighter.
It’s what you do when you don’t have one available, or if the lighter stops working (happens all the time).
Ways to start a fire without matches or lighters:
- using sticks (the bow drill method, the hand drill method)
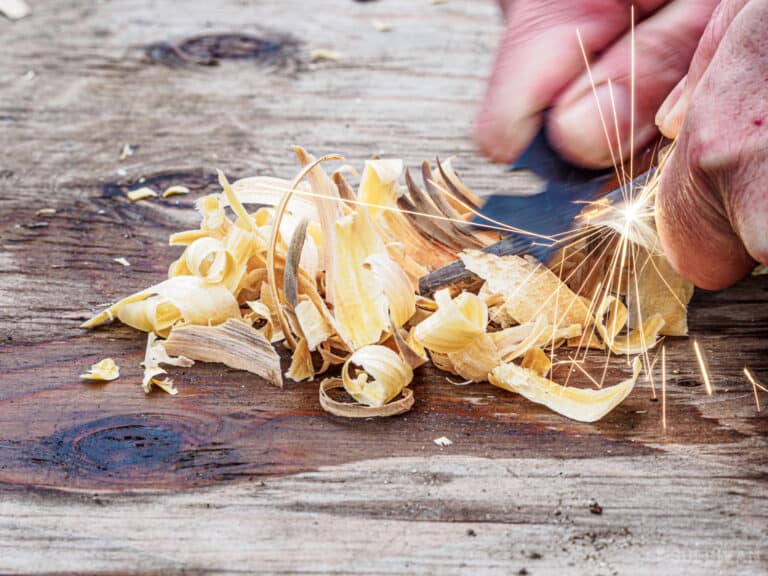
- using a ferro rod
- using a magnesium firestarter
- using a fresnel lens
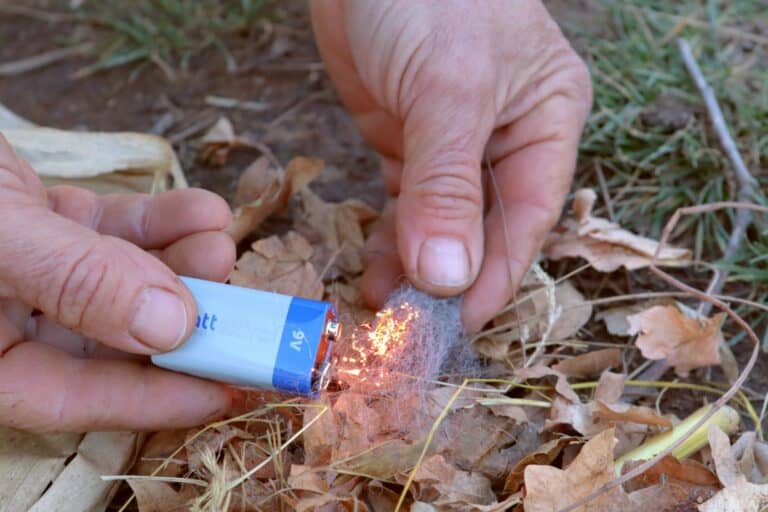
- using steel wool and a 9V battery
- …and many more
Two popular fire-starting methods that I don’t actually recommend are the bow drill and the hand drill.
Any method that requires rubbing sticks together is time and energy-consuming, and if you don’t have the right wood or if the wood is wet, you’re wasting your time.
Starting a fire is NOT a skill you should get creative with. You need to have those 3 or 4 methods of starting a fire, and to make sure they’re functional.
Inspecting your gear doesn’t take that much time, and is something you should be doing at least every 6 months.
A very important “skill” to include here is remembering to stay dry at all times. If you cross a body of water or get caught in a rain or flood, you’ll be soaking wet.
Without adequate shelter and fire, hypothermia could set in, and it could go as far as to kill you.
How to Practice Starting a Fire
The next time you do some outdoor cooking (even if it’s in your backyard), avoid using a lighter to start a fire. Use a ferro rod and some tinder to do it, even if it takes a little bit longer to get it started.
Skill #4: Self-Defense
In order of importance, the best ways preppers can defend themselves when SHTF are:
- a gun
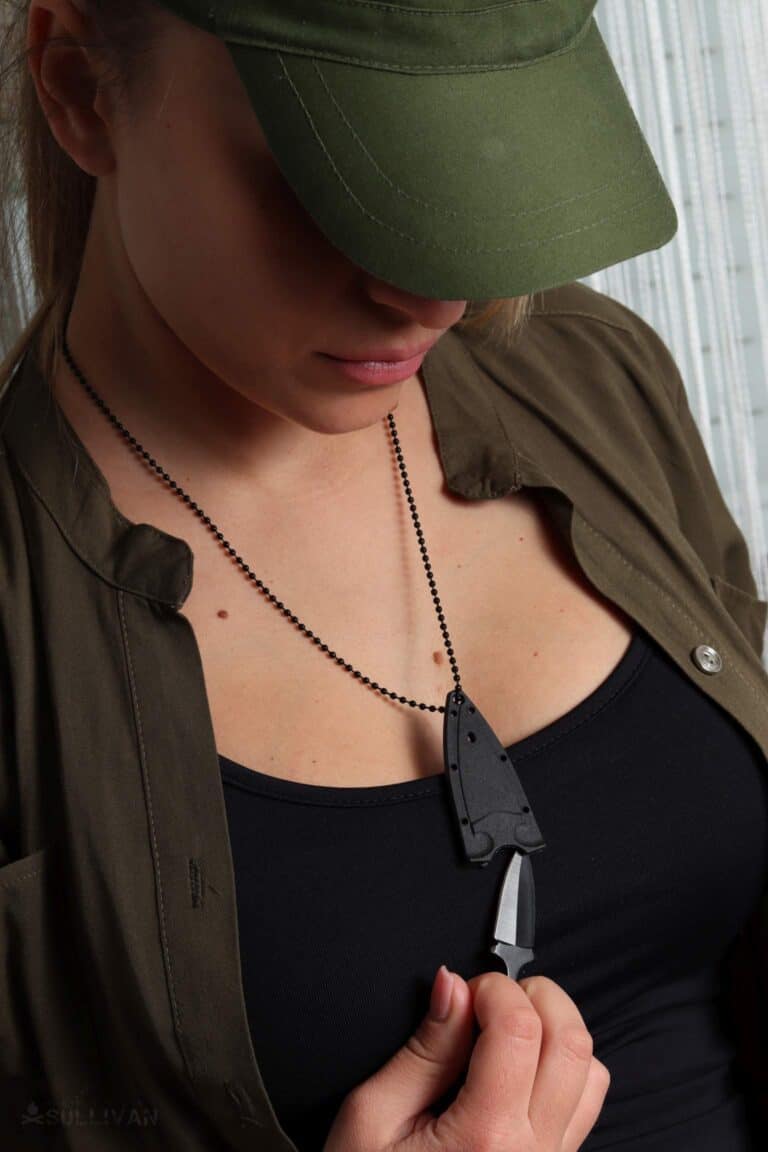
- a solid fixed-blade knife plus knowledge of how to use it
- pepper spray or similar non-lethal alternative
- non-lethal weapons such as crossbows, bows and arrows, slingshots, tactical pens, etc.
- knowing how to fight or knowing self-defense moves
- being able to use the items around you in self-defense (a mug, your keys, a solid flashlight, a pen
- being able to calm your opponent down and avoid a fight all-together
If you can’t defend yourself without a knife or a gun, what will you do when you don’t have access to them? You have to take these possibilities in mind.
Remember the most sensitive body parts of the human body and practice ways to hit them, such as the eyes, the ear, the neck, the nose, and the groin.
You won’t be able to kill your attacker but you might gain precious seconds that will allow you to flee.
In addition, keep in mind you might run into four-legged predators. From stray dog packs to bobcats and bears, keep them in mind as you’re hunting, bugging out, or setting temporary camp.
There is advice for each predator, but in general, you should:
- stay calm; don’t panic or run; move slowly
- don’t keep food in a tent or just lying around
- this is easier said than done, but try not to hide or crouch – you want to make yourself appear larger and more intimidating
Skill #5: Basic First-Aid
At the very least…
- you should know what’s in your first aid kit and how to use each item
- you should be able to do chest compressions and CPR
- treat bruises, cuts, and wounds
- how to stop a bleeding wound, including a gunshot wound
- take care of fractures
- treating a burn
- solve breathing problems such as tongue blocks
- what to do in case of electric shocks, stings, bites, and much, much more.
How to Practice Basic First-Aid
How do you improve your first-aid skills? Well, you can’t practice them on your own, that could be really dangerous.
You should definitely take a first aid course. Youtubes are a good reminder but will NOT improve your skill level, because the retention rate is not that good, and this is a life-and-death skill, you cannot afford to screw up.
Nevertheless, you can find dozens of first-aid YouTube videos to learn from.
Skill #6: Outdoor Cooking
Knowing how to start a fire is just the beginning. You need to be able to keep it going, you need to make sure it’s not easily seen from afar, and to make sure you don’t set anything around you on fire.
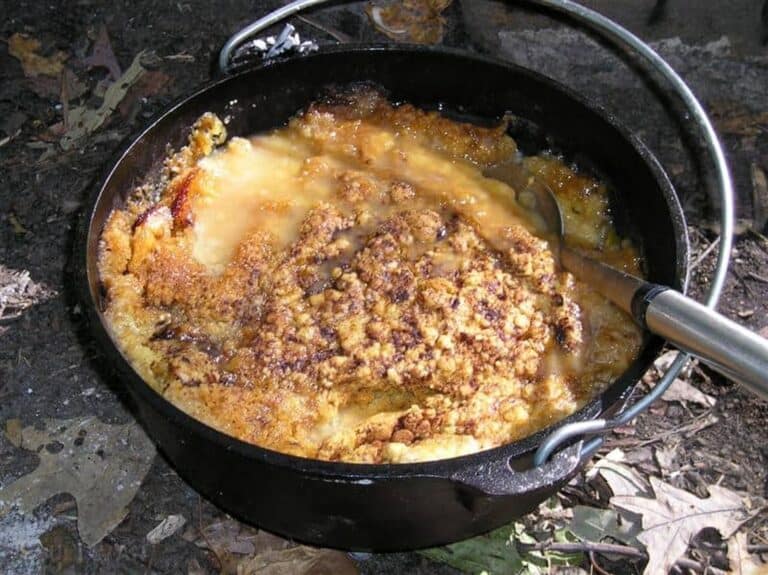
If you don’t have an open fire, then maybe you have a small camping stove. Whatever you have, you should be able to use to cook the freeze-dried food you carried with you, to cook using sticks you cut for yourself and even use cast iron for more complex meals.
How to Practice Outdoor Cooking
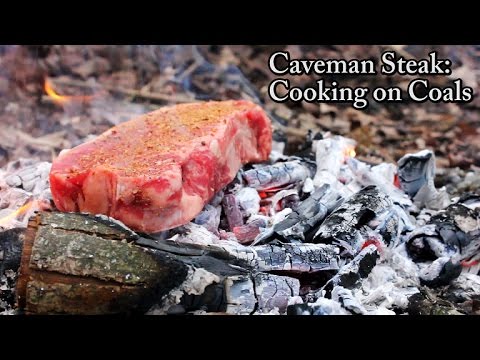
Start with backyard cooking and with a few very basic recipes, such as cooking meat and veggies on a stick. You can also try baking potatoes in aluminum foil.
Here’s a great starter article on all of the ways to cook outdoors, and here’s a kick-ass video on how to cook on hot coals:
Skill #7: Off-the-Grid Communication
Whether you want to use a HAM radio, a walkie-talkie, or CB radio to communicate in an emergency, you should know how to operate them.
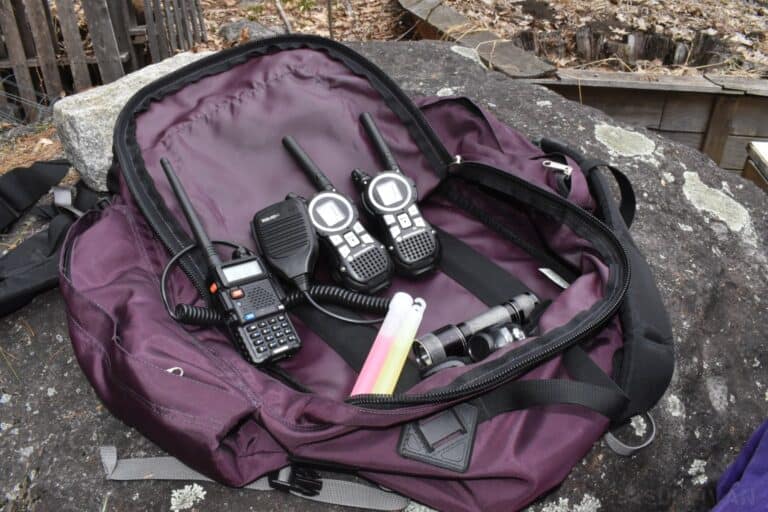
You should also know a HAM radio requires you get a license, but it’s perfectly ok to use it without a license in an emergency.
You should also have ways to gather information in an emergency, be it using the obvious choices such as a TV or the Internet, to using a hand-crank emergency radio, or by developing a prepper group to keep each-other informed.
Skill #7: Knot-Tying
There will be a lot of situations in which you’ll need a good, solid knot. While there are tons of various knots out there to learn, you only need to know one good knot, such as the Clove Hitch Knot, and practice it over and over again.
Our guide has all the essential knots you might need for survival, but learning 2 or 3 should be more than enough before you move on to learning the next skill.
Skill #8: Shooting a Gun
Owning a gun without knowing how to use it is pointless and even dangerous. That’s why proper firearms training is paramount.
You should also be able to pick the right gun for your needs (whether you live in the city or in a small town, in a house or in an apartment building, whether you want to bug in or bug out when disaster strikes, and so on).
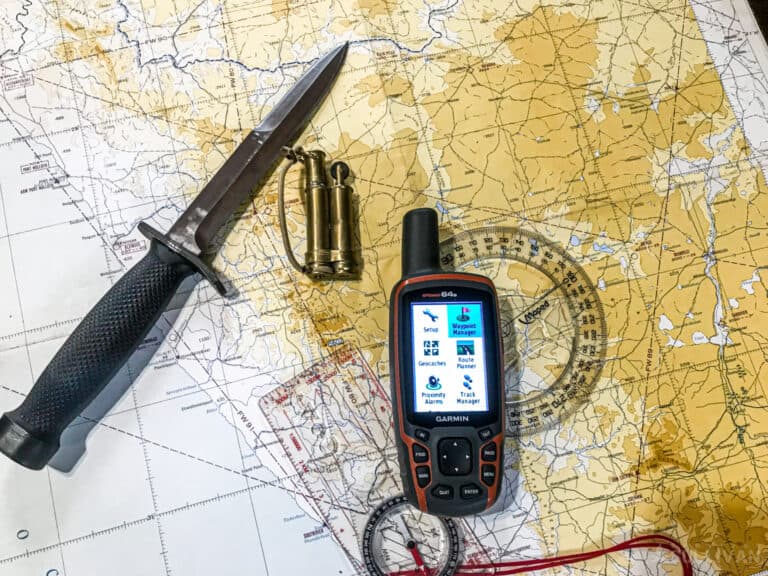
Skill #9: Navigation and Orientation
A few of the things you should know:
- how to tell time without a watch
- how to navigate using landmarks
- how to read a topographic map
- how to find your way back when you get lost
You should also know how to use a map and a compass to find your way in the wild. A good lensatic compass is not that expensive, but you really need to get out there and practice getting from point A to point B without a GPS.
Skill #10: Finding Food and Water
Finding water can be tricky because it depends on the latitude, altitude, location, and so on. Lakes and rivers are good source of water provided you can filter it before you drink it, but what happens if you can’t find any?
Birds, bees and insects could mean water is nearby, although parrots and reptiles are not good indicators of water. You might find water inside rock crevices, in valleys, or you can be smart and collect it from dew, tree leaves, or by digging the earth.
City dwellers have options too: lakes, ponds, fountains, swimming pools, vending machines, and so on.
Another easy way of getting clean water is to harvest rainfall. You can use your tarp or poncho to do this, but other containers such as buckets and canteens will be able to gather small amounts as well.
As far as food is concerned, the easiest way to get some calories is to forage for berries, fruit, and other plants that you can eat. Even if you’re an urban prepper, you should still be able to find lots of wild edibles in your city post-collapse.
The most common and most widely available wild edibles include:
- chicory
- dandelion
- elderberries
- purslane
- …and more.
Fishing, hunting, trapping small game (such as rabbits), and finding bird eggs are all good options in the wilderness, but you have to know how to fillet a fish, how to skin an animal, and how to cook it.
These are a little trickier to learn, so if you’re not comfortable practicing them, just stick to foraging, and get good at identifying wild edibles as well as any poisonous lookalikes.
Within cities, look for vending machines and city ponds that may have ducks and fish, but foraging for wild edible plants and for fruit may also be possible.
Wrap-Up
Above all, probably the most important survival skill is your mental attitude. In an emergency or SHTF, something most of us have never experienced, keeping our cool and remaining calm and assertive are probably the most important things we could do.
Without it, we won’t be able to put into practice any of the skills discussed in this article.
You should take a good, honest look at yourself, your family, and your situation, and figure out to what extent you’re ready for a disaster, and whether or not you have what it takes to survive it.
If you don’t – that’s fine! you realized you’re not ready and that’s a BIG step forward. Now you know what to do.
Keep a positive mindset and remember that every little thing you learn, every skill you improve upon, and every bottle of water you stockpile will increase your chances of survival. Even if just by a little bit.
So, now what? Well, you could take these 10 skills one by one, but don’t just try them out – get GOOD at them, then make sure you practice them regularly.
It’s the only way to guarantee you’ll remember them when it’ll matter most.

My dad was military. My grandfather was a cop. They served their country well. But I don’t like taking orders. I’m taking matters into my own hands so I’m not just preparing, I’m going to a friggin’ war to provide you the best of the best survival and preparedness content out there.
You really don’t need a 9v battery to make fire with steel wool. It might be a little easier, but any battery will do, just touch the steel wool to the positive and negative terminals.
Also, be careful not to burn yourself. The steel wool will warm rapidly before catching fire, and break into fire almost instantly.
BTW, if you are storing steel wool, store it in an airtight can, glass jar, or something that will keep it from corroding. I once had a bag sitting on my work bench. It was open, partially used. Reached up to grab a pad that had a bit of rust on it (from humidity in the air…Pacific Northwest then) and as I stretched the pad, it burst into flame. Evidently well known that rusty steel wool can self-ignite.
Yeah, I always wondered whether this can be done with a regular battery. As you said, it’s more dangerous, but still, it might be the only choice in an emergency situation. All you need is steel wool and one of your flashlight’s battery.
A zipper bag should work as far as storage is concerned.
I enjoyed this very much, thanks for posting.
Excellent article, but I have one correction.
HAM License: I teach the HAM Licensing Class in our city
In an “emergency situation” you DO NOT need a license to communicate. Even if you never get a license, a “hand held” (HF and UHF) transceiver with power up to 10 watts is reasonably priced and should be in every preppers kit. If you never use it to transmit, you can listen in on what is happening in your area and react accordingly.
It should be made clear that “emergency” means a situation with immediate life-and-death urgency. If you use the radio to declare an “emergency” for some other than a life-threatening situation, there could be serious consequences.
Beggars use them all the time…
.
How very un-PC.
.
Love it!
One way to turn a 72 hour bag into an INCH (I’m Not Coming Home) is to fill your smartphone with GPS app, maps, edible plant guides, personal apps, survival info, edible plant guide, backup document and personal pictures and backups of contacts. Than add a small solar waterproof shockproof flashlight powerbank to your EDC (EveryDay Carry) and a lightwieght solar panel (Nekteck, Anker, Foxelli, Enerplex that matches your use of juice) to your bag. Add a mini A/C and cigarette lighter power adaptor to your bag. You can charge everything (flashlight, electric plasma ligher, phone, radio) with the correct (mostly USB) adaptors.
non-lethal weapons such as crossbows, bows and arrows, slingshots, tactical pens, etc.
None of these are non-lethal weapons…