So you stockpiled enough food to last you at least a year. Now what? In an SHTF situation, there are going to be water and energy shortages that will prevent you from cooking it.
Things like rice and beans and pasta, the pillars of a long-term survival stockpile, cannot be eaten raw.
You need alternative cooking and boiling water methods while camping and you need them immediately after disasters strikes as opposed to using them once you go through your canned food, MREs, and any anything else that’s similar.
Reason? Once the power goes out, the food in your freezer is going to go bad within days. Needless to say, that food needs to be cooked and eaten first.
So, whether you need to cook in your backyard because of a long-term power outage, in the wilderness while you’re bugging out, or while you’re safe and sound at your bug-out location, you need the following alternative outdoor cooking methods. You never know which one of them might save you from starvation when the time comes.
Cooking on an Open Fire
The most obvious choice, particularly if you’re out in the wild, is to simply start a fire and cook directly on it, around the fire, or using a grill.
I bet you got a little curious when I said “around the fire”. Here’s what I mean. If you don’t have a grill or any cooking utensils, you can do cook on one or several rocks placed near the fire.
You have to let them pre-heat first before you place the food directly on them. Think veggies, onions, burgers, steak, fish, they will taste great.
The steps to cooking on a flat rock are:
- Get a flat rock that’s dry.
- Clean the rock thoroughly (use a little bit of water and some dried grass or a bandanna to scrub it)
- Place the rock right next to the burning fire (without the flames touching it).
- When the rock is sufficiently hot, place the food directly on it.
Pretty easy, right? Hold up, we can complicate it a little bit. If you can find some really thin flat rocks, you can stack them up in two mini-towers on opposite sides of the fire and put one above and resting between them.
Careful, though, if it’s too thin and the heat too strong, it might blow up! Make sure you get a rock that looks dry and avoid the ones found inside or near rivers and other bodies of water.
While the rock-cooking should be done while the fire is burning and at its peak, cooking on a grill requires you to wait for flames to die down and cook only on coal. Very important.
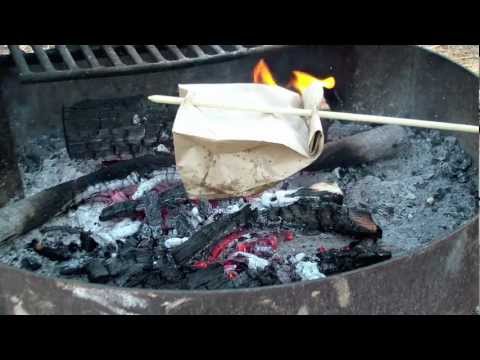
Cooking over coal can be done in a number of ways. For example, you can cook bacon and eggs in a paper bag that’s placed over coals, as shown in this video:
Cooking with a split stick
This is by far the cooking method I enjoyed most when I was really young and spent all my summer vacations at my grandparents’.
All you need is a stick to hold whatever food you’re looking to fry, a knife, and an open fire. No need for rocks or grills.
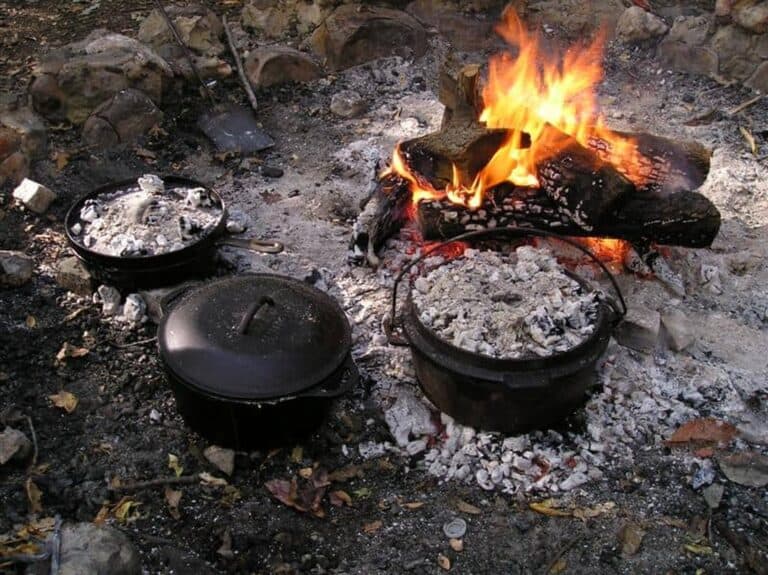
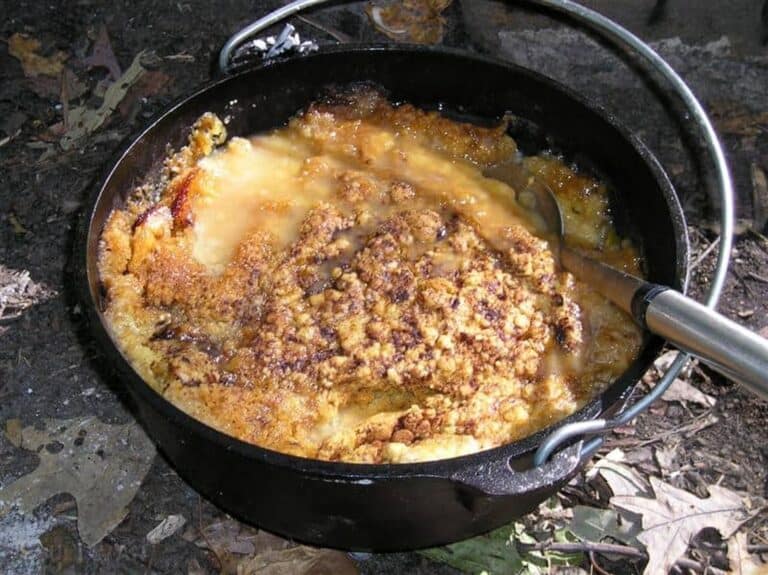
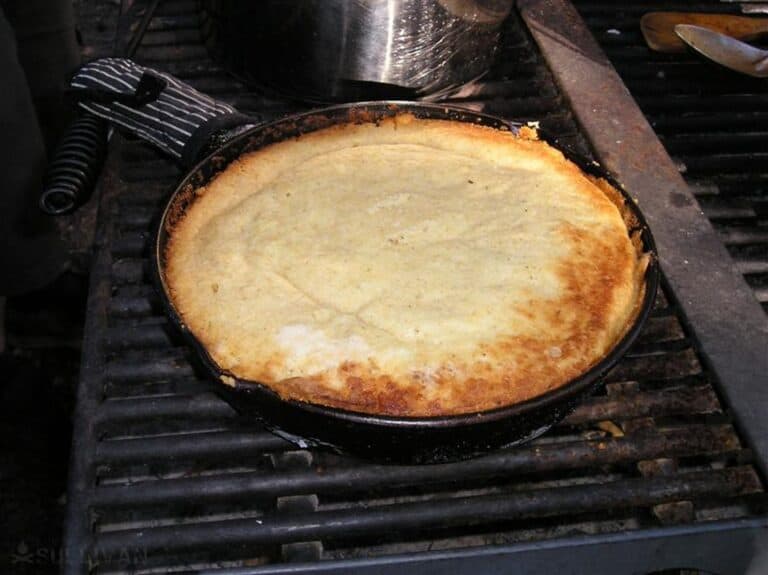
Cooking With a Dutch Oven or a Cast Iron Skillet
If you’re serious about being covered when it comes to cooking, you shouldn’t forget the old Dutch oven that works wonders on an open fire, on coal, or even on a propane stove, on top of a Dakota fire pit – you name it.
Making a Dakota Fire Hole
The Dakota fire pit method is yet another way of cooking over an open fire. This method uses minimum wood and requires a hole in the ground with a tunnel that lets extra air in.
The downside? Well, you have to do some digging. The main hole should be one foot deep and one foot in diameter.
The tunnel should be dug starting from a distance of 1 foot down and at an angle until it reaches the main hole. Ideally, you want to build it so that the wind blows right into it.
From a survival standpoint, a few problems with cooking on an open fire may arise in an SHTF situation. You might:
- not be able to light a fire (solution: pack your BOB with tools to allow you at least 3 different ways to cook);
- get spotted because of all the smoke;
- cause the fire to spread if you leave it unattended or if don’t put it out when you’re done.
Solar Cooking
Wow, there’re so many of them I don’t even know where to start. There are dozens, maybe hundreds of solar cookers out there in all shapes and sizes.
The main downside? Time. The main upside? They’re dirt cheap but we’ll get to that in a moment.
Let’s start by talking about the types of solar ovens out there:
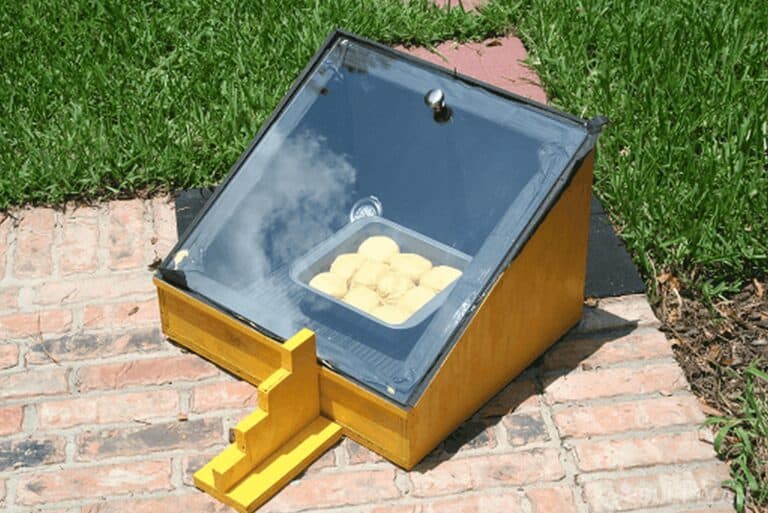
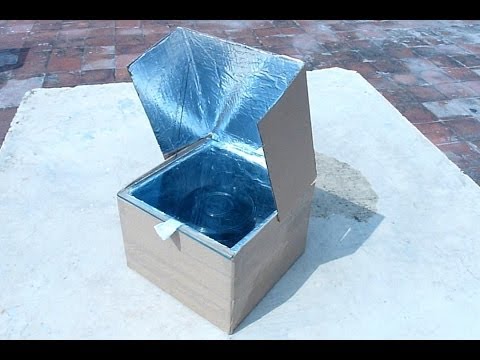
- solar box cookers (similar to traditional ovens, they trap heat inside)
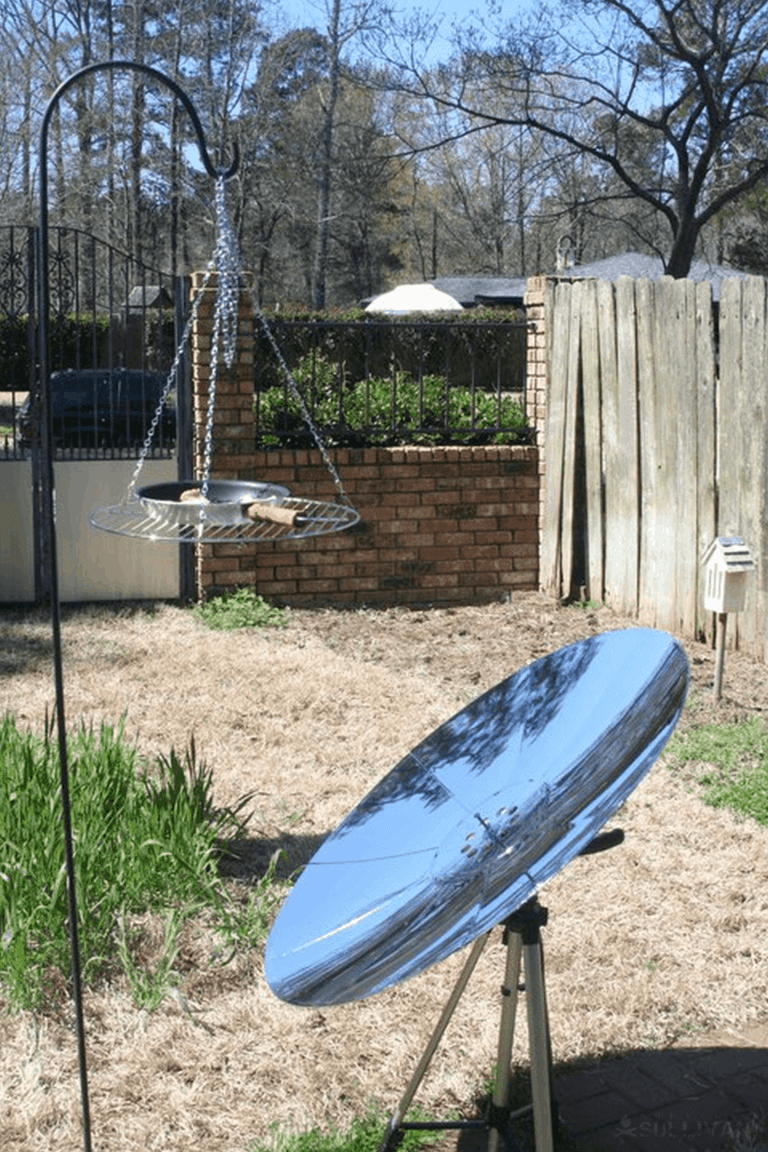
- parabolic cookers (they converge the sun rays into a single point)
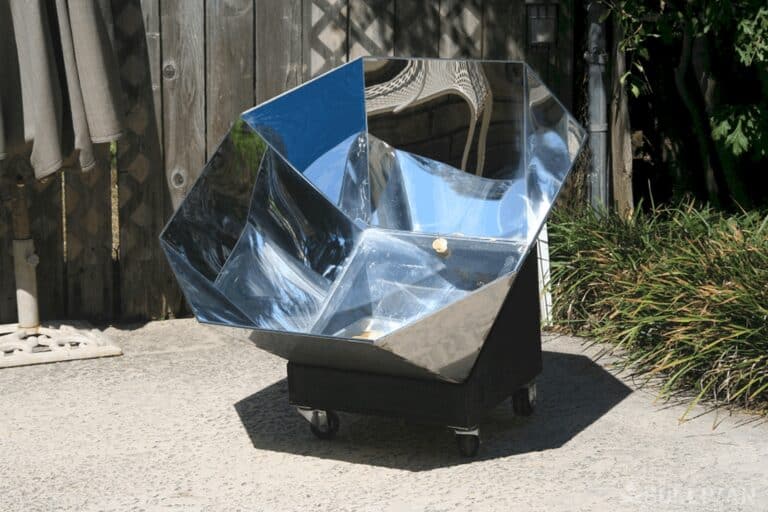
- and solar panel cookers
Of course, the modern ones use a combination of boxes and reflective surfaces so they’re becoming more and more efficient (the main reason why I advocate you buy one instead of building it on your own).
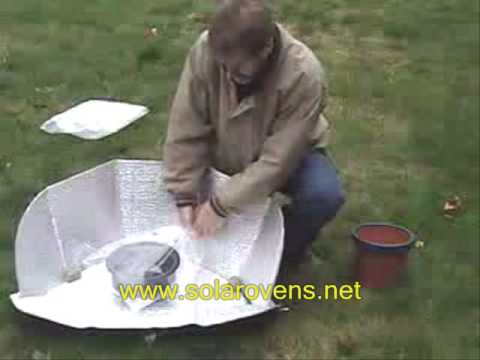
Speaking of DYI, the solar box cookers are the easiest ones you can make. They work similarly to the green house effect. The sun rays are trapped inside the box (where the food is placed), by means of a reflector.
They pass through the box and get transformed from UV rays to longer length rays (which can’t get back out), thus increasing the temperature inside.
A good cooker actually has two boxes, one inside the other. This is done to prevent loss of heat through conduction as the space between the boxes can be filled with paper or fiberglass.
How hot can they get? Box solar cookers can reach temperatures of 300F (or 148C), although you’ll need powerful sun rays to get to that temperature.
If you don’t mind the Indian accent, here’s a really good (and short!) video on how to make such a cooker. This could be a fantastic DYI project for your kids:
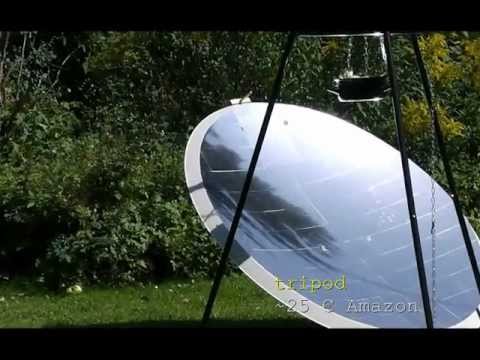
Parabolic Ovens
Although the previous video showing the box cooker requires 30 minutes to cook an egg, a parabolic oven is a lot faster. It works by focusing the sun’s rays into a single point that will experience very high temperatures.
To make it easier to understand, a solar box cooker is more like an oven while a parabolic oven is more of a stove top burner.
OK, there are two issues with parabolic cookers. The first one is that they’re a little expensive, at least compared to box cookers.
However, you can make your own, though it’s not simple. Here’s a YouTube video showing you how to make one from a satellite dish:
The second issue is that they need constant adjustment while you’re cooking. As the sun moves across the sky, adjust your oven for maximum efficiency.
Fortunately, since it has short cooking times (compared to other solar cookers), this isn’t much of a problem.
Solar panel cookers are, if you will, a mixture between the previous two types. It has several shiny surfaces to redirect the sun rays to the container where the food is stored.
Nothing more to add here, the same principles apply, so here’s how to set one up:
What can you cook in a solar cooler?
You probably noticed you can’t cook just anything with a solar cooker (in addition to the fact that it won’t work if the sky is cloudy). So, what can you do with it?
You can fry eggs you can pasteurize water, make bean soup, puffed eggs, hard boiled eggs, hot dogs, fry bacon, cook Zucchini, lasagna, and rice.
You can cook chicken (with garlic, onions, oregano, and other spices), teriyaki, and even make desserts!
A Few Quick Solar Cooking Tips…
- As previously stated, use black pots and lids to make sure they absorb light instead of rejecting it. If you don’t have any, you can use canning jars instead (they withstand high pressure and they’re made of glass).
- Use potholder (a cloth or a bandanna) to remove food.
- Get the food inside as soon as you can, don’t wait for the inside temperature to rise (unless you’re baking cakes).
- It’s better to cook food in several smaller pots than into a large one.
- Try to cook between 10 AM and 4 PM when. No need to tell you why.
- Schedule other survival chores as solar cooking can take quite a bit of time.
- Always have the ingredients and the food ready.
- Try not to add more water than absolutely necessary as it will only increase cooking time.
The Rock Boiling Cooking Method
Humans have been used this cooking method for thousands of years and it’s probably a little weird. Definitely not the kind of thing you want to talk to your friends and family about unless they’re on board with prepping. Nevertheless, heated rocks can be successfully used to boil water and cook food.
I said this before when i talked about cooking on heated rocks, but it needs to be said again.
Never put moist rocks (such as the ones you find in rivers) on an open fire. The water inside them will turn into steam and cause the rock to explode. Very dangerous! Instead, pick rocks that are DRY.
Place the rocks on an open fire, leave them burning for at least an hour, maybe even two, then add them one by one to the receptacle that’s holding the water or soup.
As each rock stops hissing, you need remove it to make room for a new one until you bring everything to a boil.
Besides cooking, another thing you can do is to boil water. Useful when you don’t have the necessary receptacle to do that to kill pathogens and make the water – you guessed it – safe to drink.
Disclosure: This post has links to 3rd party websites, so I may get a commission if you buy through those links. Survival Sullivan is a participant in the Amazon Services LLC Associates Program. As an Amazon Associate, I earn from qualifying purchases. See my full disclosure for more.

Cooking Using a White Gas/Propane/Butane/Kerosene Stove
Propane is a by-product of natural gas and is used in central heating systems, engines and, of course, portable stoves.
A propane stove is a great back-up, particularly since we might have to face a grid-down situation, meaning (among other things) no electricity.
The one in the photo above is a classic propane Coleman stove and it’s the one I recommend you go with.
Can you make your own? Sure but it’s really not something you want to mess around with unless you know what you’re doing.
It’s way easier to just buy a propane stove or one that runs on a propane and butane mix. This combination, by the way, will yield more heat when facing really low temperatures.
Should you be worried about cooking with propane indoors? Well, if your house is really small or if you don’t have proper ventilation, you should.
Take care of that and you should be fine, as long as you treat flammable fuel with respect and never leave the stove unattended. Also, have a fire extinguisher on hand as well as a carbon monoxide detector.
Alcohol Stoves
If you’re worried about propane, an alcohol stove may be just the back-up you need. Their biggest drawback is that it takes longer to cook something. You have to give it a while until it properly heats itself, at which point the flame will improve.
The second biggest drawback is that they don’t work well in cold temperatures. I would call these the back-up to your back-up outdoor cooking.
The pros: cheap, lightweight, and cheap fuel.
If you want, here’s a video on how to make your very own alcohol stove:
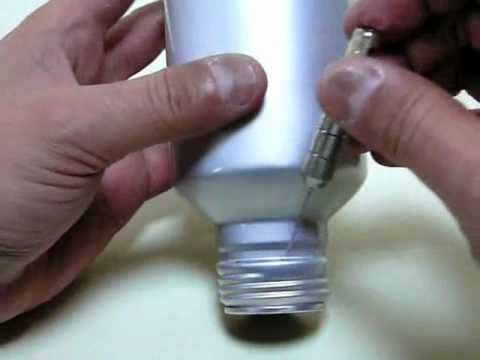
However, you might as well get this one from Amazon.
Woodburning Stoves
A wood burning stove is another great back-up to have next to your propane stove.
Electric Stoves
There’s nothing special about them, you can use them as your primary indoor cooking method. These will only work if you can generate electricity, otherwise they’re useless.
Of course, you should also consider that the exact opposite might happen, your gas utility might get cut off while electricity might still be available.
Wrap-Up
As you an see, when it comes to outdoor cooking, there are a TON of good options. Which one of these have you tried?

My dad was military. My grandfather was a cop. They served their country well. But I don’t like taking orders. I’m taking matters into my own hands so I’m not just preparing, I’m going to a friggin’ war to provide you the best of the best survival and preparedness content out there.