Every prepper knows by now that Paracord is one of those things that you always need to have with you. It’s so strong, so useful, and so versatile, you just can’t get by without it.

Keeping a roll of paracord in your bug-out bag is one thing; keeping it in your pocket is another. But you don’t have to resort to something like that to keep it with you if you wear a Paracord bracelet.
And instead of paying a ludicrous amount of money for an overpriced hipster bracelet, you can make your own paracord bracelet in a few minutes with just a few cents’ worth of paracord.
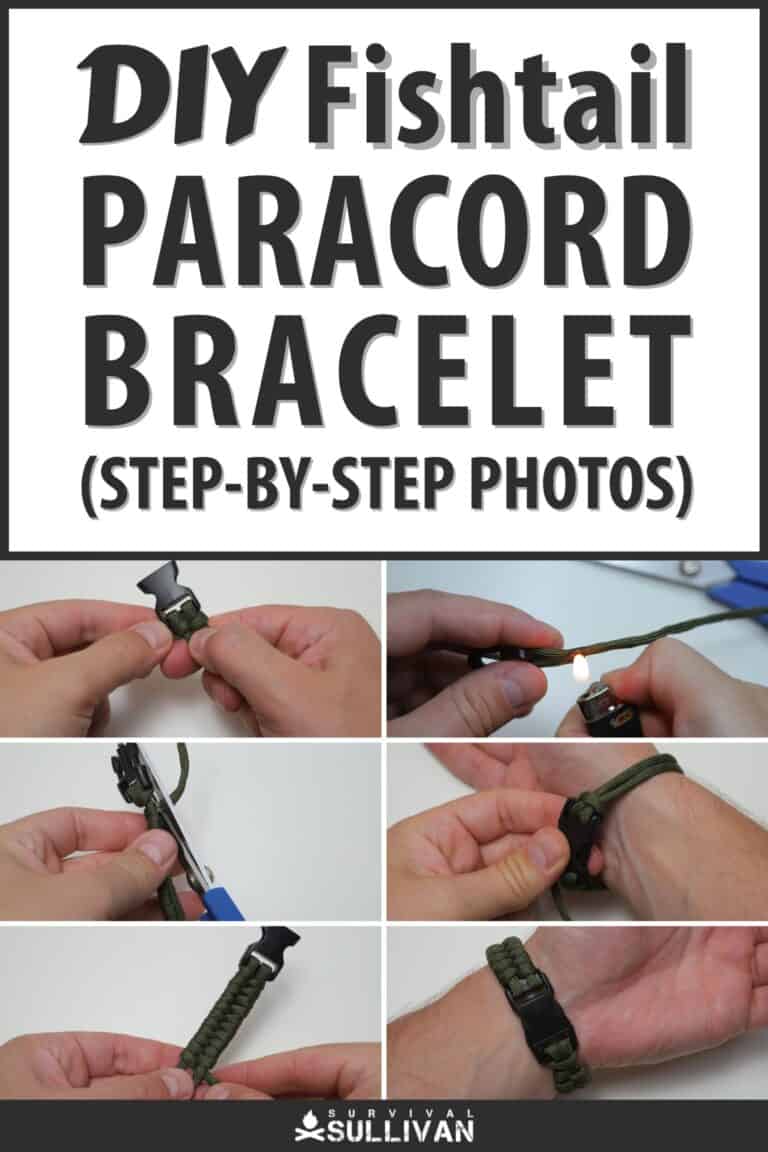
Below is a detailed guide to make the elegant fishtail-style bracelet, one of my personal favorites…
You Will Need
To get started, you’ll need a length of Paracord. The fishtail consumes a fair amount of cord for its size which is an asset considering how low profile it is.
Grab about 10 feet of cord and don’t worry if it’s a little long because you can trim it to fit after you size it to your wrist. You’ll also need a suitable buckle.
Then you’ll need some scissors or a very sharp knife and a lighter, and you’ll be all set. And that’s it, so let’s get to the how-to!
Steps
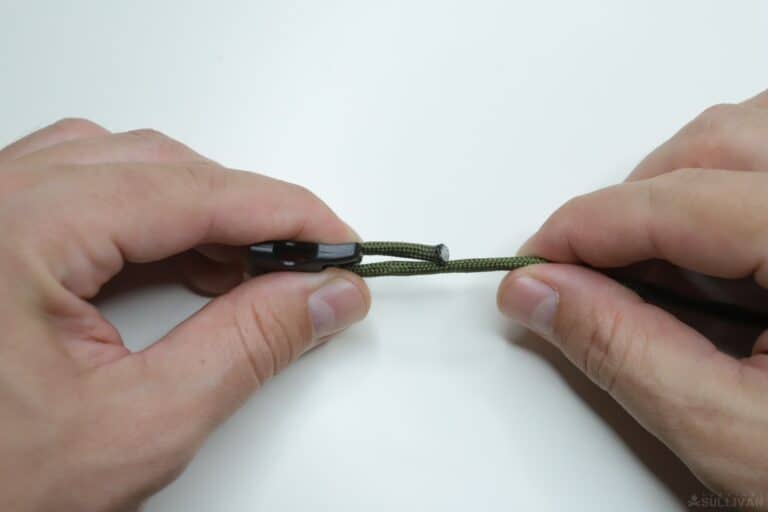
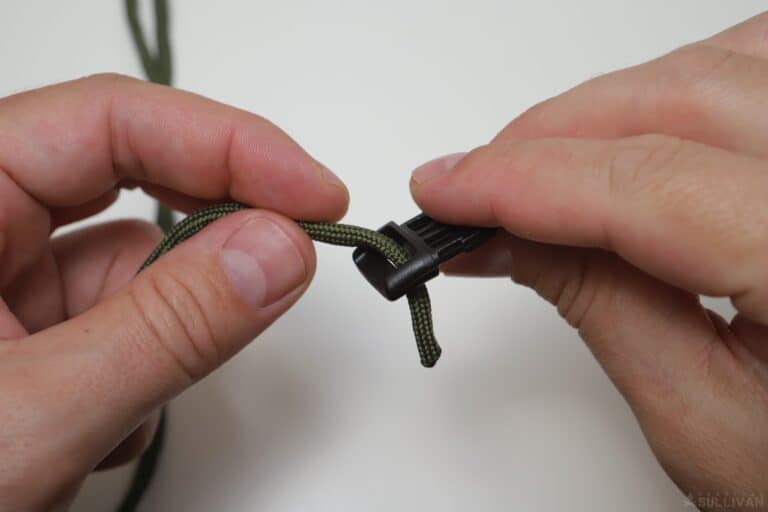
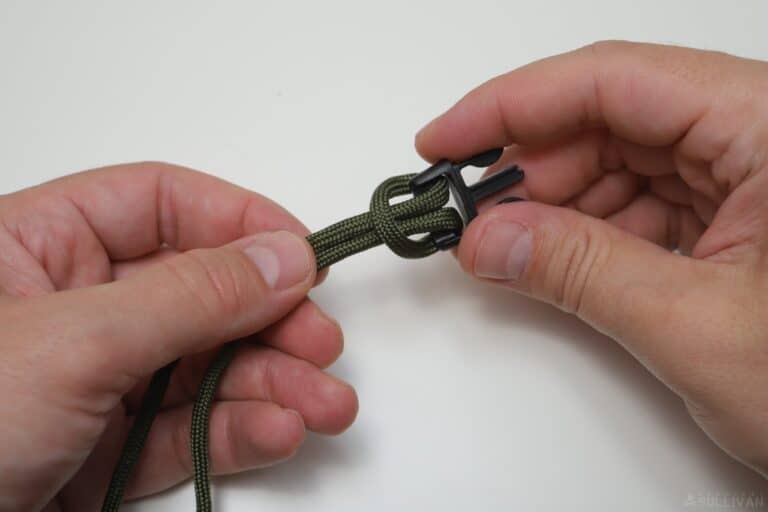
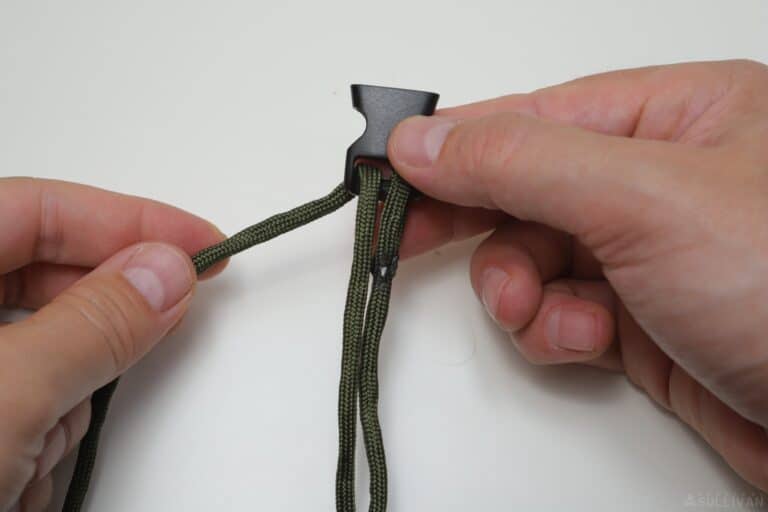
Step 1: starting with 1/2 of your buckle, slide one end of the paracord through the slot from above until a little more than half an inch protrudes.
Fold the free end over, and press it tightly to the standing end as shown in the picture.
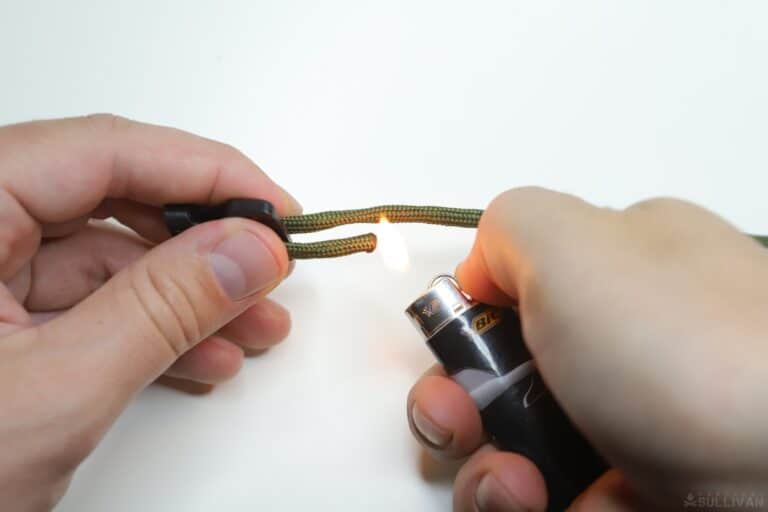
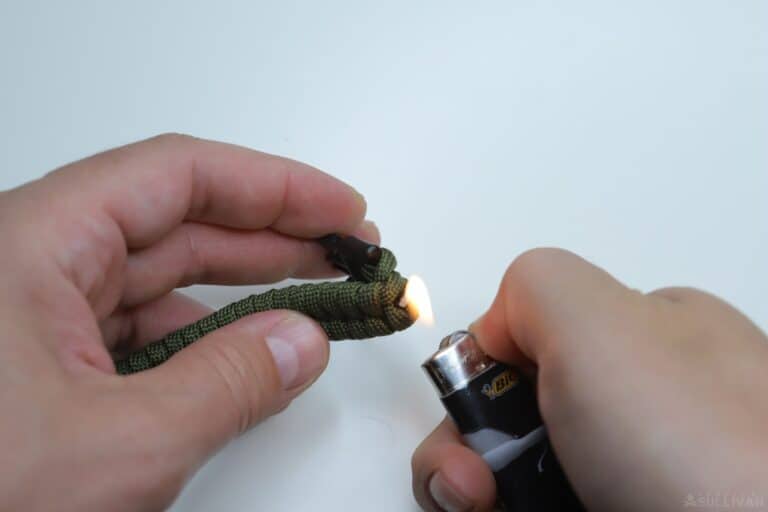
Step 2: grab your lighter and a sturdy metal tool. Using the lighter, carefully melt the free end until it is very hot, but not on fire.
Step 3: quickly, before it cools, grab your tool and press the free end into the standing end to fuse them together. Take care to keep them in line with each other.
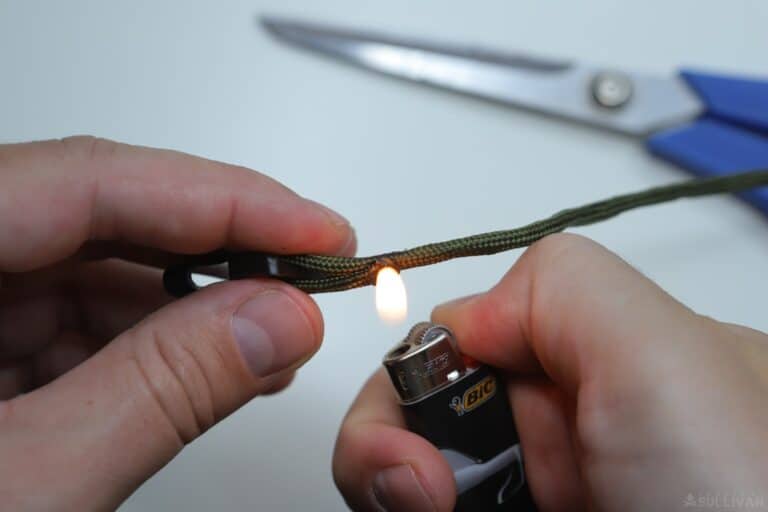
Step 4: now grab your lighter again and repeat the process, applying heat to the free end and the connection with the standing end to completely secure them. Press them one more time with your tool.
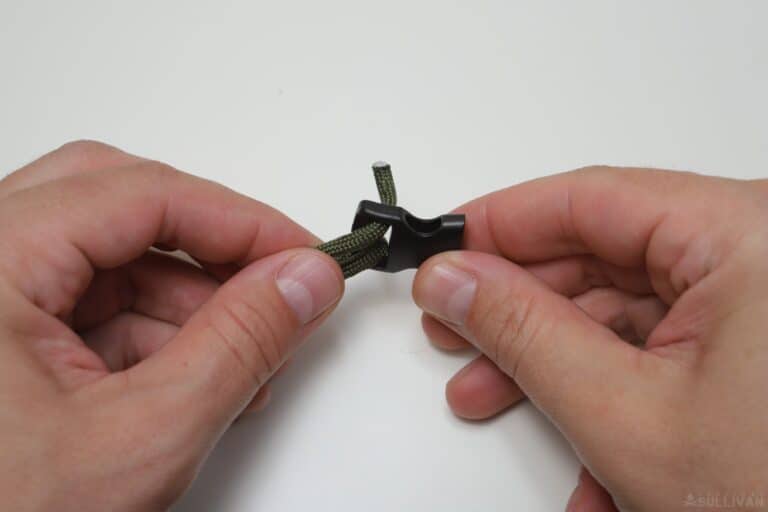
Step 5: now take the opposite end of the cord and pass it through the slot and the other part of the buckle from below, leaving about 7 ½ inches of cord between the parts of the buckle.
The current state of assembly should look like this:

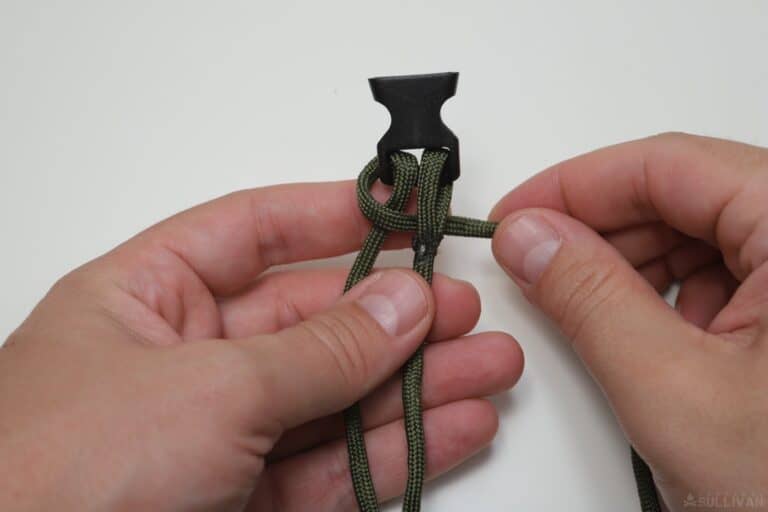
Step 6: working with the part of the buckle you just finished with, create a hitch by turning the free end over the standing part…
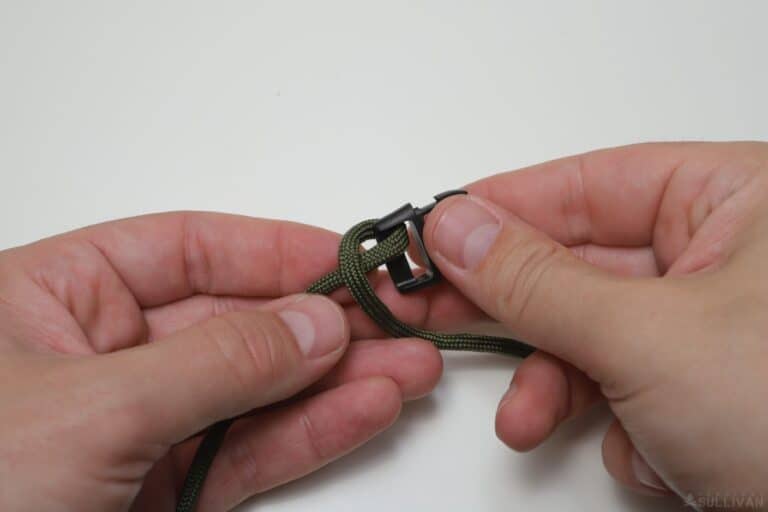
Step 7: and then passing the free end once again through the slot – from the top this time…
Step 8: and then down through the loop you formed. This will complete the hitch. Make it snug so it will stay put, but don’t fully tighten yet.
Your hitch should look like this:
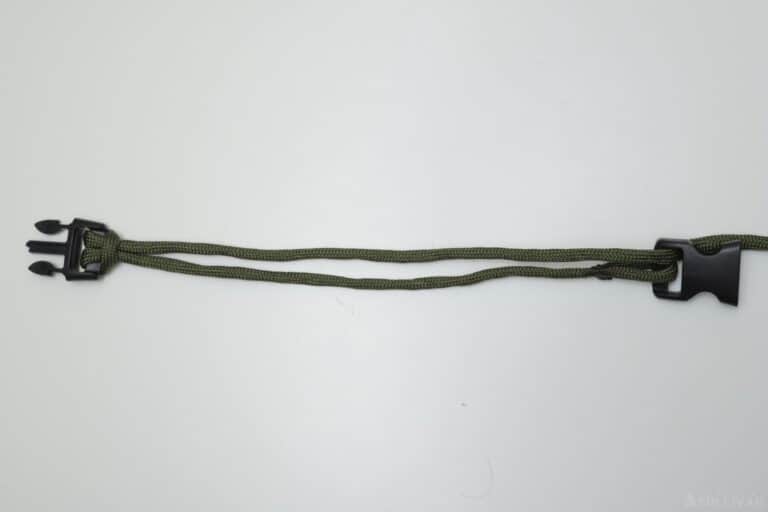
Step 9: now take the free end and run it to the other part of the buckle, passing it through the slot from the top.
Your bracelet should now look like this. It doesn’t look good right now, but just you wait.
Step 10: time to check the sizing of your bracelet. Connect the buckle around your wrist. You want it to be snug enough that it won’t slip off, but not so tight that it will restrict your blood flow or chafe you.
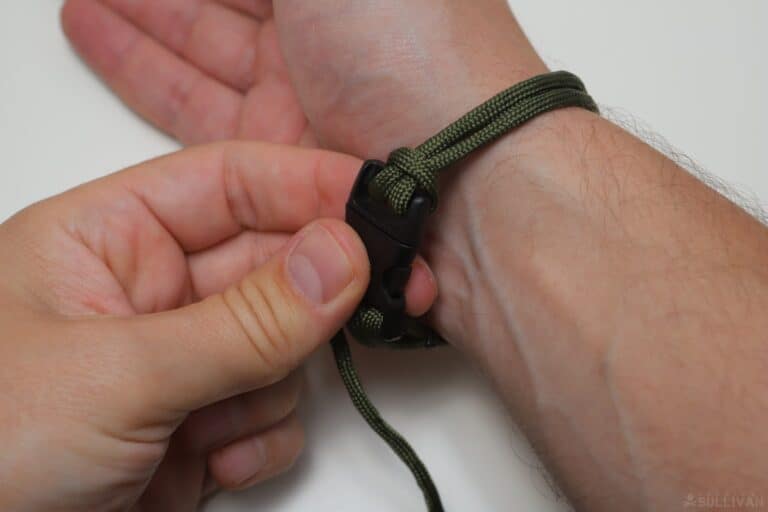
A good rule of thumb is that you should be able to slip your middle or index finger comfortably between the bracelet and your wrist.
Loosen the hitch and let out some slack if you need to lengthen the bracelet.
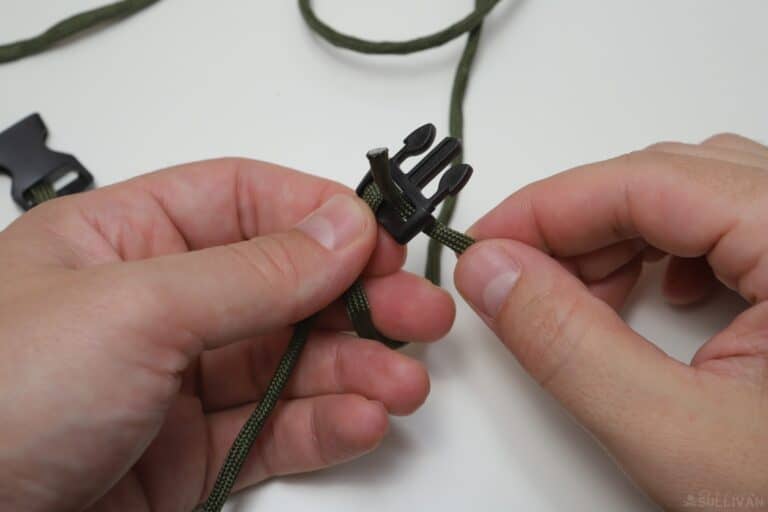
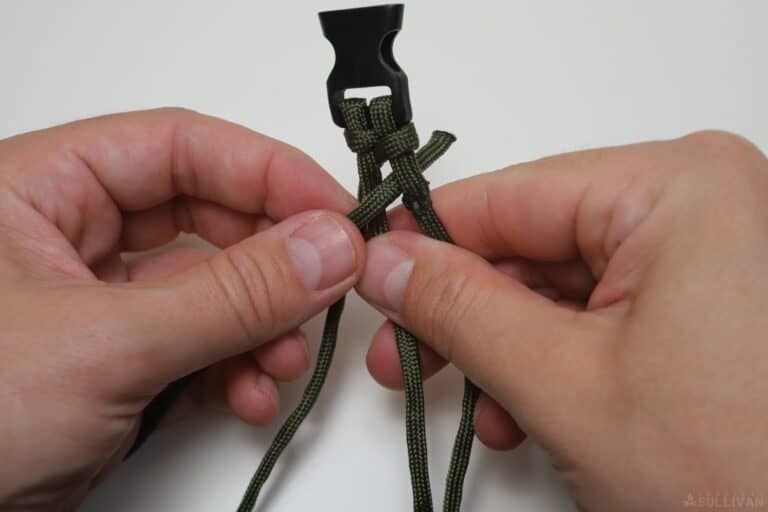
Step 11: now it’s time to start the weave. Working with the part of the buckle that you just finished with previously, take hold of the free end of the cord.
Step 12: turn the free end over the standing part on the same side from above before passing it between the two sides and under the right side of the cord. Look closely at the picture.
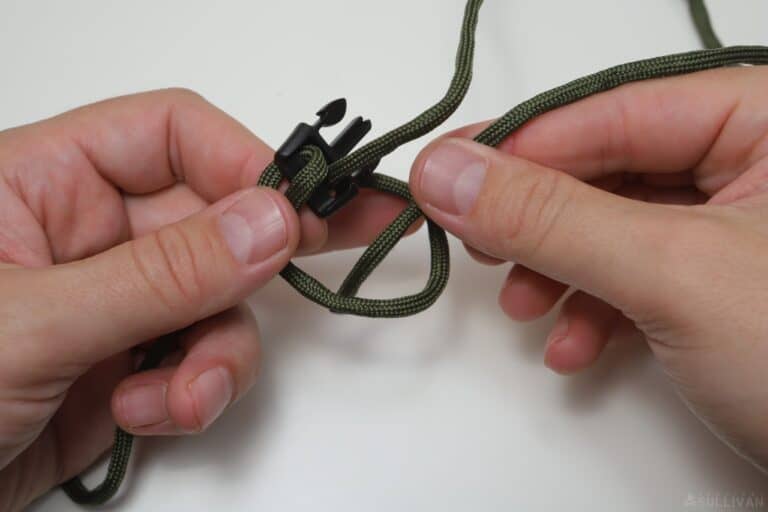
Step 13: continuing on, bring the free end back up over the right side, then pass it down between the two sides emerging to the left under the left side.
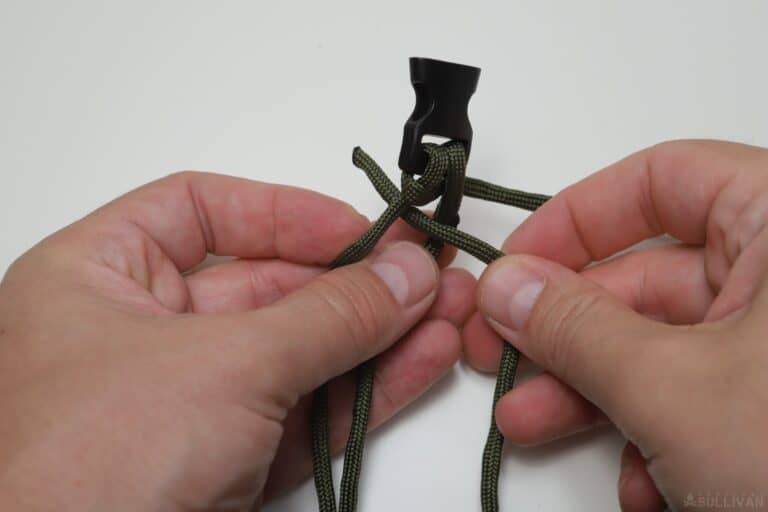
Step 14: start snugging up the knot by pulling on the free end and both standing parts.
Step 15: now repeat the process. Bring the free end back up and over the standing part on the left before passing it between the two sides and then under the right side.
Step 16: keep on repeating, bringing the free end back up and over the right side, down between the two, under the left side and out. Snug up each two turns as you go before moving on, repeating again and again.
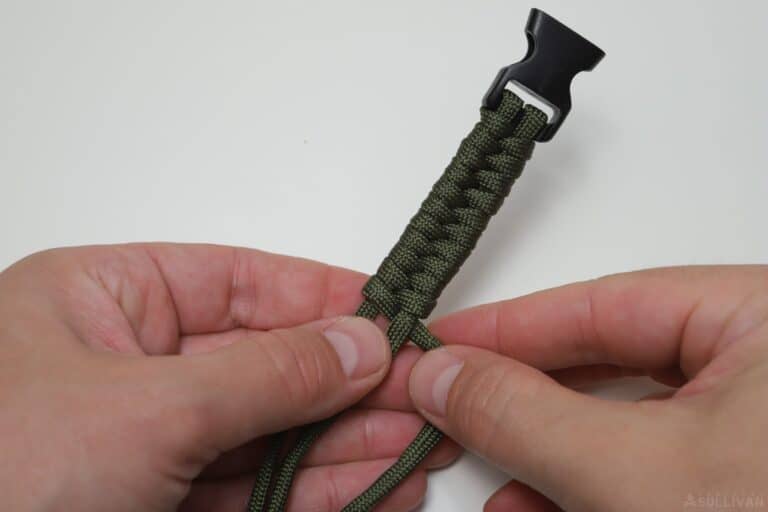
Step 17: once you get all the way to the opposite buckle and run out of room, pass the free end between the two standing parts from above one more time, leaving it protruding from the bottom, or “skin side”, of the bracelet.
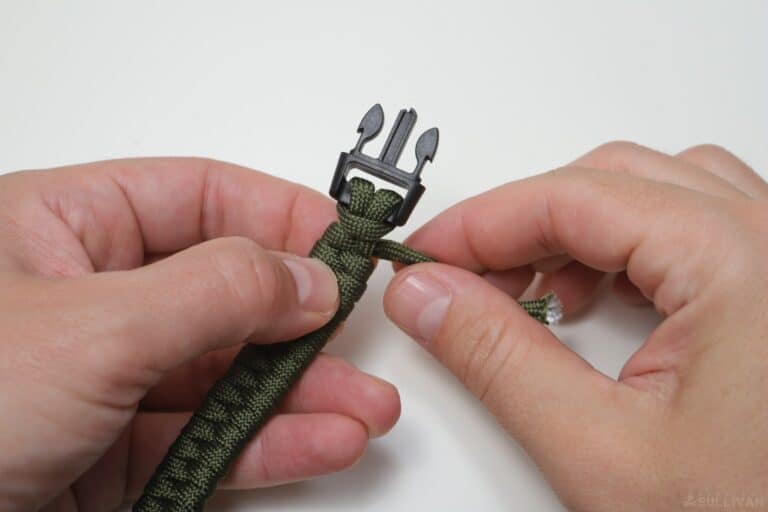
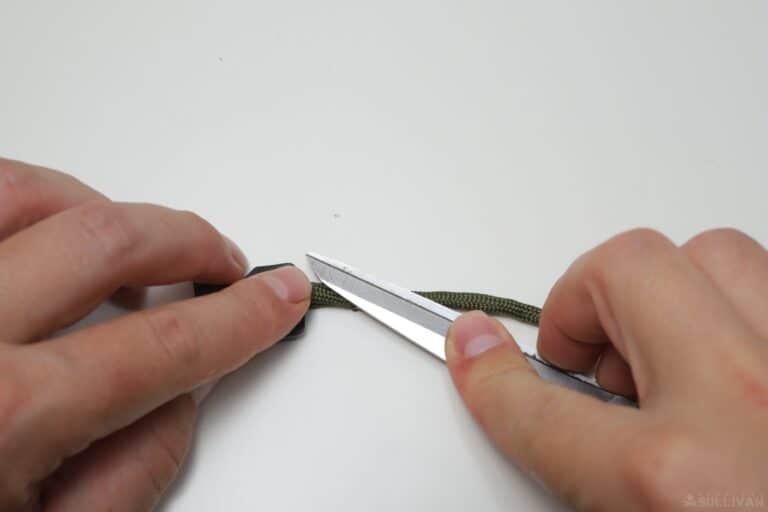
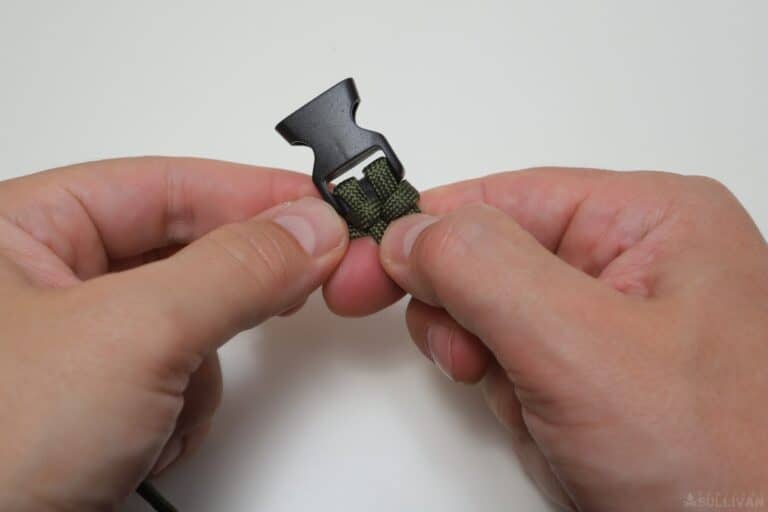
Step 18: grab your scissors or knife and cut off the remaining tail leaving about an eighth of an inch sticking out.
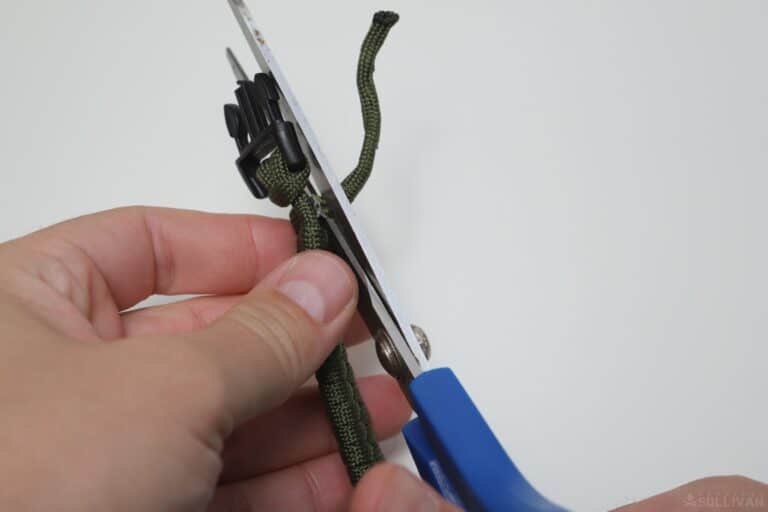
Step 19: being careful so as not to melt the buckle, use your lighter to melt the remainder of the tail. Press it flat with a metal tool to seal, and lock the bracelet.
Finished! The fishtail is surprisingly simple to create after the somewhat fiddly setup to get both parts of the buckle created.
I like it a lot because it uses a lot of Paracord in a very low profile and inconspicuous form factor.
Remember that you can use this plan with any sort of buckle, clasp or closure that you might like so long as it has a slotted or looped opening compatible with the directions above. After you finish this bracelet, also try our other guide on making a snake knot paracord bracelet.

Tom Marlowe practically grew up with a gun in his hand, and has held all kinds of jobs in the gun industry: range safety, sales, instruction and consulting, Tom has the experience to help civilian shooters figure out what will work best for them.