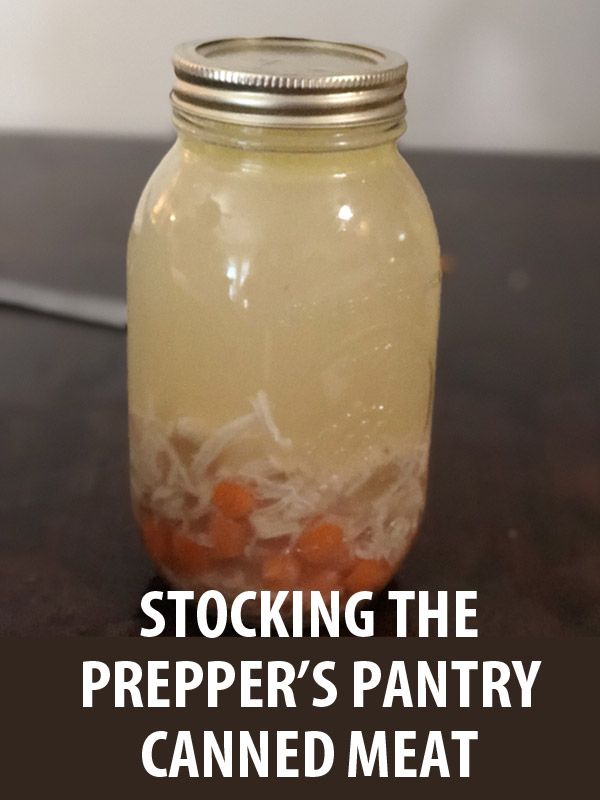
Well-stocked food storage for survival requires more than vegetables and fruit. Meat is essential for your diet, and you never know if the local wildlife will be in abundance after an SHTF situation. Canned meat should be a staple in your prepper food storage, but not all meats are created equal.
You see, there are good and bad canned meats. Preppers can buy them at the store or learn how to preserve meat at home. Both have pros and cons that should be considered. In fact, canned meat can be deadly, so let’s take at what you need to know.
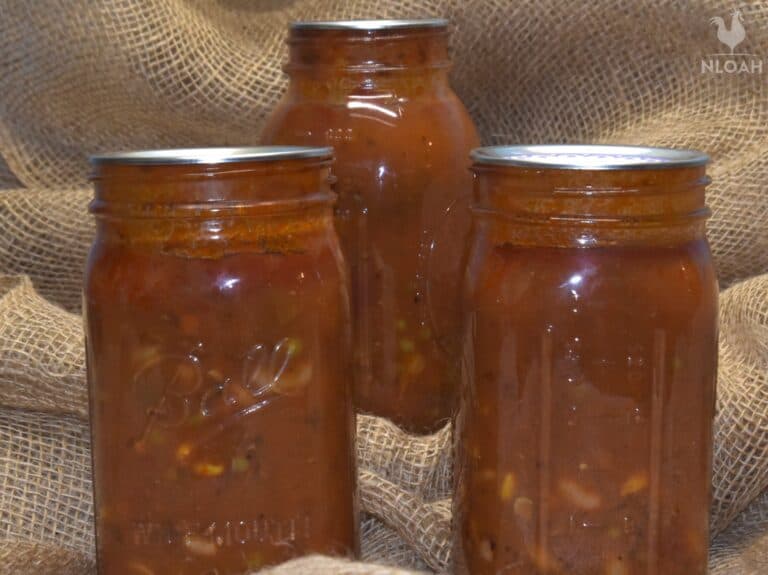
Table of Contents
What Meats Can You Safely Can at Home?
The National Center for Home Food Preservation spent hundreds of hours studying what meats and foods are safe for people to can at home. You can’t can cured, brined, or corned meats with the same procedures as fresh meats. Here is what the NCHFP recommends.
- Chicken
- Turkey
- Rabbit
- Bear
- Beef
- Lamb
- Pork
- Veal
- Venison
- Sausage
- Clams
- Crab Meat
- Tuna
- Oysters
- Smoked Fish – salmon, rockfish, flatfish (sole, cod, flounder)
- Fish – Blue, Mackerel, Salmon, Steelhead, Trout
How to Can Meat at Home
Canning meat at home isn’t as hard as it might seem. In fact, I think canning meat is easier than canning jams, so don’t be intimidated, especially if you’ve tried canning other things first.
The first thing you MUST know is this:
Meats MUST be processed in a pressure canner. There is no way around this. A water bath canner doesn’t reach the temperature necessary to kill off bacteria, and you increase the risks of contracting botulism. The processing times are longer, but that is necessary.
You can preserve cooked in a broth or dry, raw pack. Raw packing meat creates its own juice.
All meats are acceptable for canning at home, including chicken, turkey, pork, beef, venison, and fish.
11 Steps to Can Meat at Home
- Decide How You Want to Can the Meat: You have to decide if you want to cook ground meat or strips of meat. Do you want to cook the strips ahead of time in broth or do you want to raw pack?
- Brown the Ground Meat: If you decide to go with ground meat, you need to brown the meat ahead of time. Go easy on the spices (but still add seasoning) because spices can intensive over time. Having canned ground beef or venison makes weekday cooking easier.
- Trim the Fat: If you are canning chunks, remove the fat from the meat. You don’t want to waste space in the jar by canning fat, and fat can prevent the lid from sealing properly.
- Cut the Meat into Appropriate Strips: Next, cut the meat into cubes or strips. Doing so ensures each piece gets hot enough to cook properly.
- Brown the Meat: This step is optional. Heat some oil in a skillet and brown the meat for several minutes on each side. Doing so shrinks the meat so you can pack more into each jar, plus it increases the flavor. Browning isn’t necessary because you can use the raw pack method instead, unless its ground meat. Make sure you do season the meat before cooking if you want!
- Put Water into the Canner: Look inside of your pressure canner and add enough water to reach the water level indicator. Turn the stove on and start heating up the water.
- Fill Up the Jars: Put the cubed or ground meat into the jar, leaving two inches of headspace at the top of the jar. Pour either water or broth into the jar, leaving one inch of headspace. Wipe off the rims, so nothing disturbs the seal. Place on the lids and screw on the rims.
- Start the Canning Process: Place the jars into the pressure canner. Make sure that you read your manual to know the next steps. Some don’t want the regular on until pressure has built up, and others require it immediately. Know how to use your particular canner.
- Let the Pressure Build: Now comes the easy part. The canner is building pressure. Soon, the lock on top will shut, and the pressure will build up around 10 to 12 pounds. Check the chart in your canner for the correct pressure for whatever type of meat you are canning. Once at the appropriate pressure, turn down the heat, but you need to maintain pressure. It needs to stay at the correct pressure. Your manual will also tell you how long each meat type should cook, typically between 60 to 90 minutes.
- Cool Down: After the time passes, turn off the heat and remove the canner from the burner. It will very slowly cool down and lose pressure. Let the pressure go down all the way and help vent steam by lifting the regulator. Follow the steps for your particular canner.
- Lift Jars Out: Lift the jars out and place them on a clean towel on your countertop. Let them cool down and listen for the beautiful ping sounds that let you know the jars sealed!
Tips for Properly Canning Meat
As you can see, canning meat isn’t difficult. One of the trickiest, but best, meats to can is bacon! You can take a look at our guide about how to can bacon. It’s still easy, but you use parchment paper to can strips of bacon rather than needing to dice or cube it. No one wants diced bacon for breakfast.
If you are ready to give canning meat a try, here are some tips to remember to make each batch a success.
- Remove as much fat as you can from the meat. Take your time here. Drain the fat from ground beef, and trim as much as possible. Don’t be worried if you miss some, but try to get as much as possible out.
- Ensure proper headspace. Every approved recipe will have a specified headspace, which is the space between the food and the rim of the jar. For meats, that is typically one-inch. If you don’t leave enough headspace, food may bubble out during the processing and prevent the jar from sealing. If there is too much headspace, the jar might not seal because there is too much air in the jar or the meat might stick out from the liquids.
- Remove the bands when storing. Once you’ve tested the seals and the jars cool, remove the bands from the jars. Storing without bands allows you to notice if a jar opens. Sometimes, a jar unseals but reseals because of the pressure from the rim.
- Maintain pressure throughout canning. If the pressure drops below the recommendation, the USDA recommends building pressure back up and starting the time over again.
Canning Ground Beef – An Easy Recipe
Canning ground beef makes dinner making quick. Most of the work is already done for you! Keep several jars in your pantry for quick meals.
What You Need:
- Ground Beef
- Salt
- Water, Beef Broth, or Tomato Juice
Instructions:
- Cook the meat. You can cook the ground beef in a skillet like you typically would or boil it. Yes! You can boil ground beef if you don’t want to fry up a large batch of ground beef. If you do boil it, drain away the water before the next step. You can add some seasoning to the meat if you are cooking in a skillet, like onion and garlic powder.
- Fill the Jars. Use a slotted spoon so you can drain off as much of the fat as possible. Place a funnel inside of the jar for easy filling. Leave 1 inch headspace.
- Add salt. If you want to add salt, do it now. Use 1 TSP for pint jars and 2 TSP for quarts.
- Fill with Liquid: Now, fill the jar with liquid. You can use water, beef stock ,or tomato juice! Remember to leave 1-inch headspace.
- Pop air bubbles. Run a spatula inside of the jar to break up any air bubbles. Wipe off the rims of the jar to make sure no lingering grease is there. Place the lids on the jars and screw on the rims.
- Prepare the pressure canner. Use the directions in your manual to prepare your canner. That includes adding water and heating up the canner.
- Place the jars inside of the canner. Now, put your filled jars inside of your canner and place on the lid. Follow the directions in your manual to ensure you work it correctly.
- Wait for the jars to can. The canner must get to the right pressure, which is 10lbs for 0-1,000 feet above sea level. Over 1,000 feet, cook at 15lbs of pressure. Process pints for 75 minutes and quart jars for 90 minutes.
- Let cool down. Once the time is done, turn off your canner and let it naturally cool down until the lid unlocks. Set the jars on your counter on a dishcloth and leave alone while the jars cool.
Canning Homemade Chicken Soup
Notice that it says chicken soup, NOT chicken noodle soup. You cannot safely can noodles. Instead, can everything else then you can add the noodles later. Nothing beats homemade chicken soup on a cold day or when you feel a bit crummy.
What You Need:
- Whole chicken
- water
- Salt
- Pepper
- Onion
- Carrots (several large ones)
- Celery
Instructions:
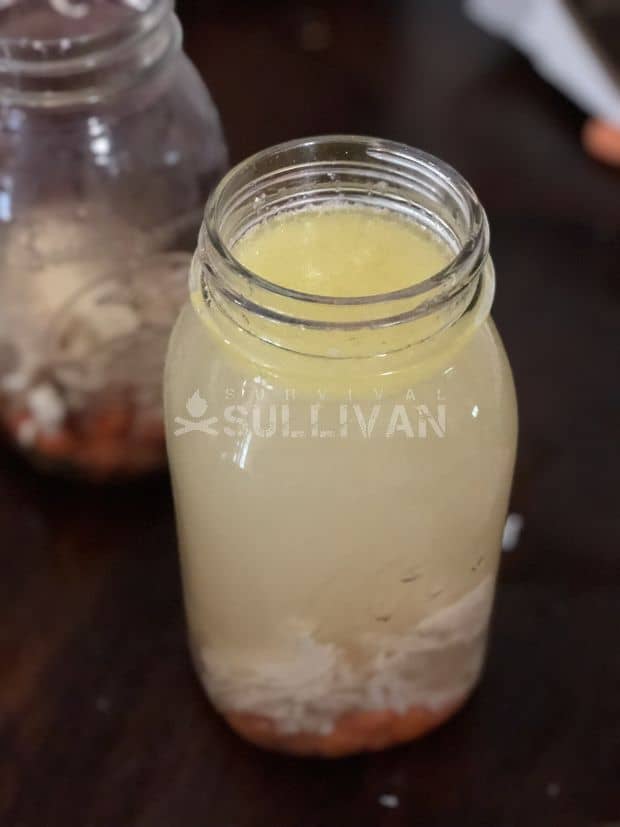
Step #1: Boil the Chicken. Take your whole chicken and place it in a large stock pot. Fill the stock pot with wSater. Add in salt, pepper, and any other seasonings you want to use. Let cook for 1.5 to 2 hours, or until the chicken is fully cooked:
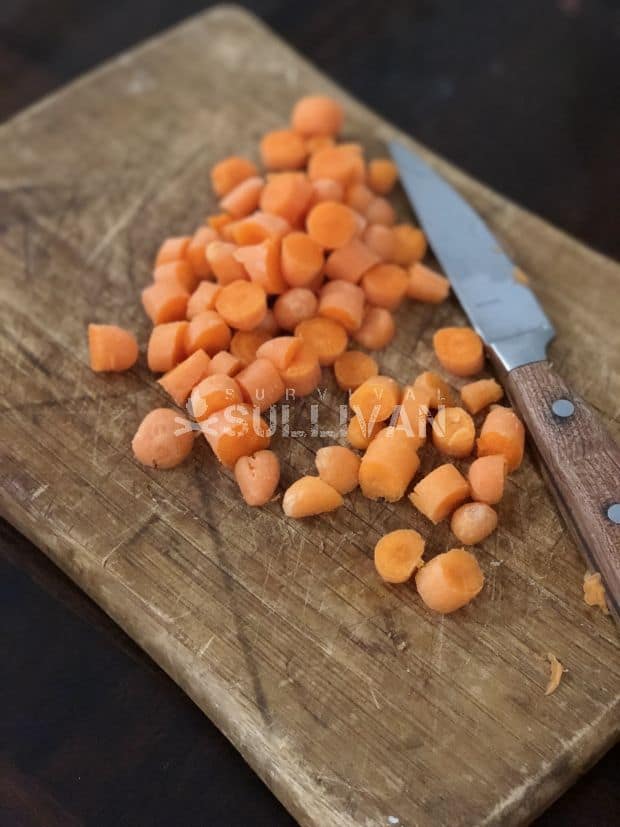
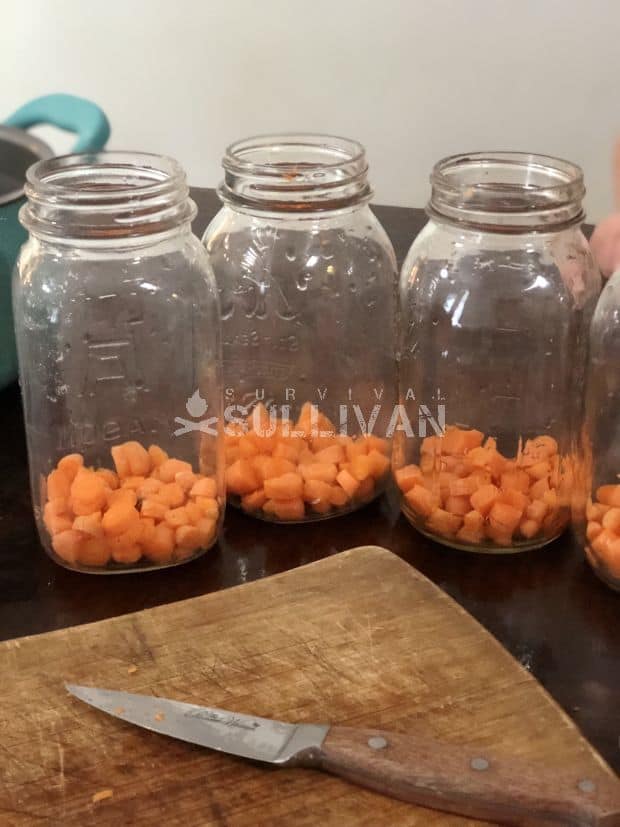
Step #2: Dice the veggies. As your chicken is cooking, dice up the carrots, celery and onions. Equally divided them amongst your jars:
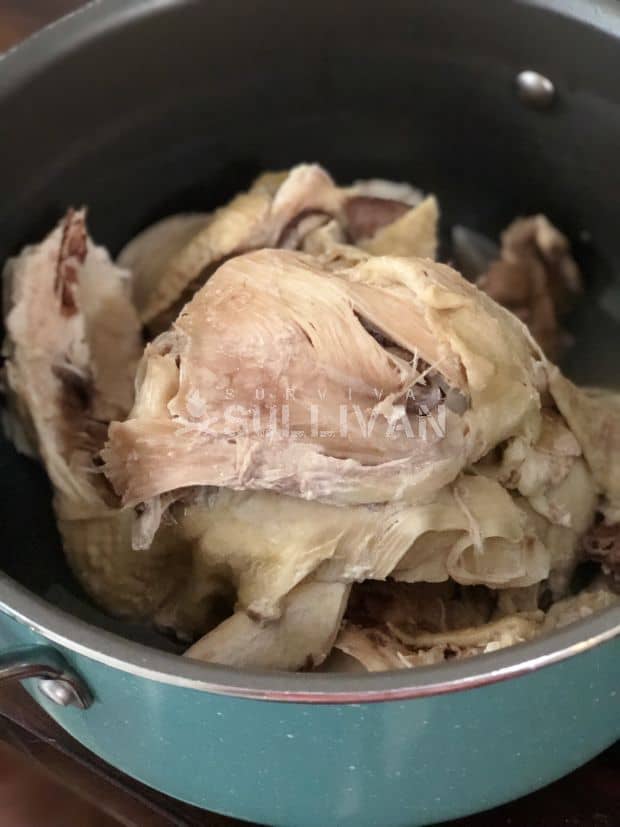
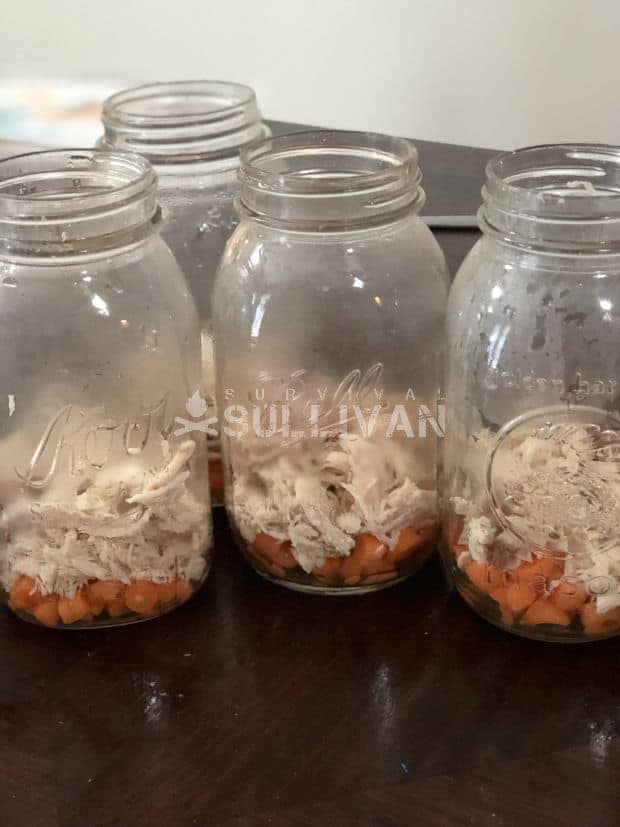
Step #3: Pick off the meat. Once the chicken is cooked, remove it and use a fork to remove the meat. Place the meat equally into the jars. You decide how little or how much meat you want in each jar:
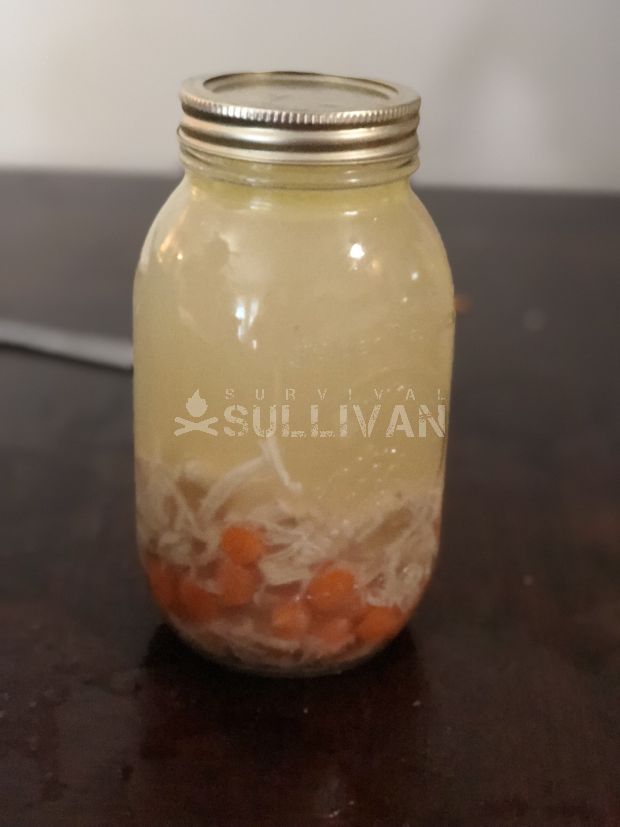
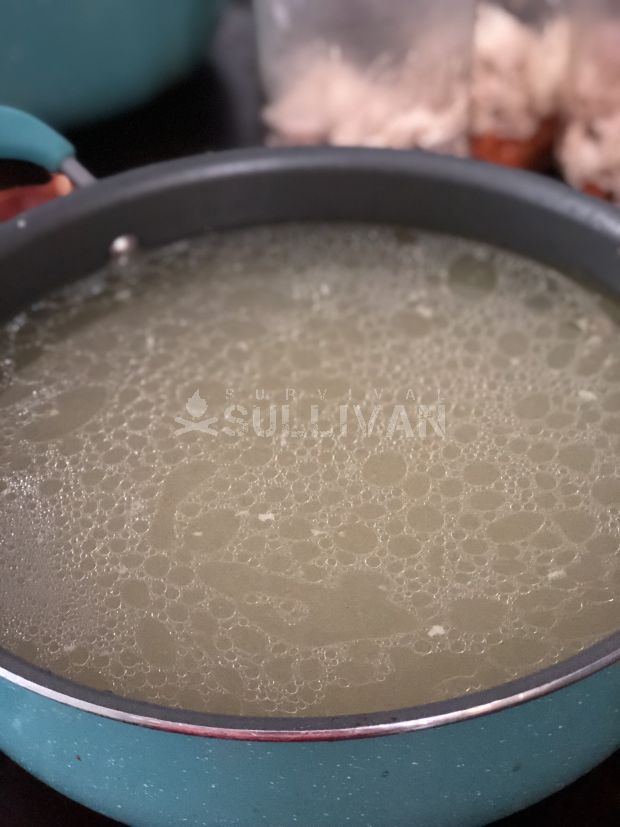
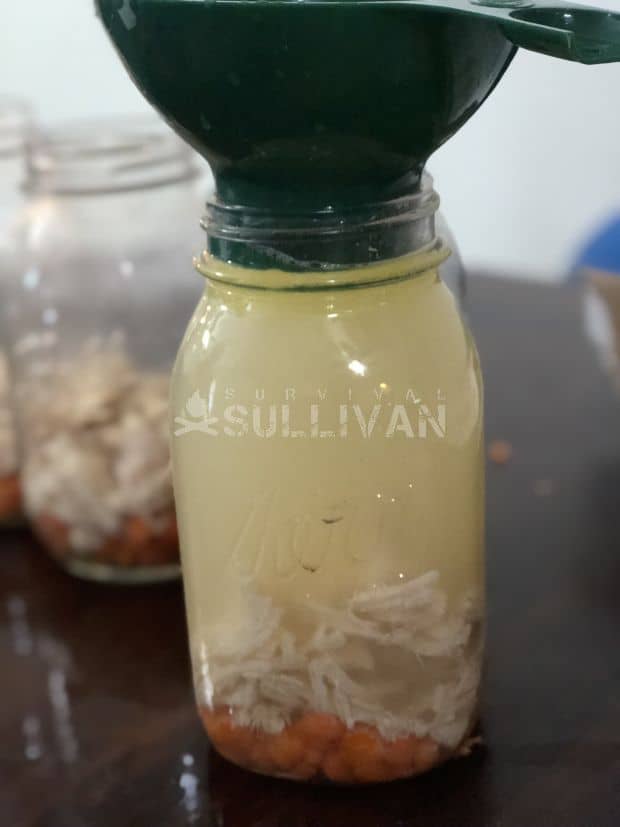
Step #4: Strain the broth. The water you cooked your chicken in is now chicken broth. Strain it into a separate pot to make sure there are no bits or pieces of chicken fat. Then, ladle the broth into the jars, leaving 1-inch headspace:
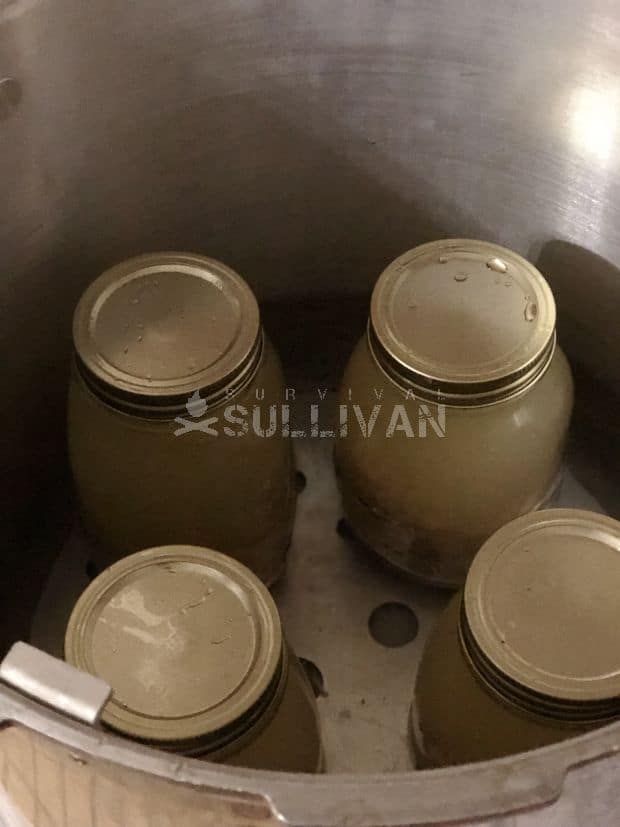
Step #5: Can the jars. Make sure you wipe off the rims of the jars before using the lids. Remember to check for air bubbles. Prepare your canner as your manual indicates. Can at 10lbs of pressure for 75 minutes for pints and 90 minutes for quarts. Adjust the pressure to 15lbs if your altitude is higher than 1,000ft:
Canning Cubed Venison
This recipe works for all meats, from chicken to bear. It is unbelievably easy. It’s so easy, you might think that you did it wrong. You don’t even have to add water because the meat will create its own liquid!
You Need:
- Venison (or whatever meat you want)
- Salt
- Trim the meat. Cut away bruised areas, gristle, or excess fat. Vension tends to be very lean, but other meats will have extra fat you want to remove.
- Cut into chunks. Then, cut the meat into whatever size chunks you want. Some people prefer strips, while others prefer actual cubes.
- Pack the jars. First, make sure you wash the jars in hot water. Then, pack the raw, cubed meat into the hot jars, leaving 1-inch head space.
- Add salt. If desired, add 1-2 TSP of salt per each quart. The amount you add depends on your taste preferences.
- Pop air bubbles. Use the handle of a spoon to press down and move the meat around, popping any air bubbles. Wipe off the rims of your jars to make sure there is no meat or grease particles leftover. Place on the lids and screw on the rims.
- Can the jars. Use the directions with your canner to make sure you are following the correct instructions. Can at 11lbs of pressure (adjust to your altitude). Process for 90 minutes for quarts and 75 minutes for pints.
The Good and The Bad about Store-Bought Canned Meat
Canned meats offer a sort of comfort, especially in uncertain and scary times, so it is easy to understand why you want to load up the shelves with canned meats.
If the SHTF, being at the top of your game, health-wise, is crucial for your survival, along with the rest of your family. Nutritious food is vital for you to stay healthy. Your diet will change once this happens, and most canned meats are high in salt and high in fats.
Salt is necessary for a healthy diet. Our bodies need iodine, and salt is the main source of iodine that we get on a regular basis. Too much salt is a problem, and it can lead to high blood pressure. A prepper doesn’t need high blood pressure, especially during already stressful situations. High blood pressure can lead to strokes and heart attacks – yikes!
Certain brands of canned meat you find at the store, such as the infamous Spam, contains 1.6 grams of salt for each slice. That’s 80% of the recommended daily intake of salt in one slice.
Then, there are the fats. Now, fats are a good thing because they’re an essential macronutrient to any diet, but canned meats are mostly saturated fats. That is better than trans fats, but you can find healthier fats to put into your diet, even in a SHTF situation.
Take a look at the label before you purchase meat at the store. Some cans are 70 to 80 percent fats. That’s crazy!
Average Lifespan of Commercially Canned Meats
Except for infant formula, no government regulation states that companies must be an expiration date on their products.
One of the biggest mistakes preppers make is forgetting that their food can go bad, which is why food rotation is essential. You don’t want to reach for a can of soup after a disaster only to discover that they are all inedible.
Many states have requirements that companies must place sell-by-dates on meat and dairy products, but no state requires it on canned foods. That means the date on the canned food in storage has nothing to do with whether or not the food is safe for consumption.
The USDA does have recommendations on the lifespan of canned meats.
- 1 ½ years for high-acid canned goods, such as tomatoes or pickles.
- Up to 5 years for low-acid canned goods, such as meats and veggies.
Truth be told, people can eat foods canned way after these dates. I know I have! Canned foods are sterilized and sealed in an air-tight environment, which prevents them from breeding bacteria. Since they are sitting in liquids, the foods may get mushier, but they are safe to eat.
When NOT to Eat Canned Foods
Canned meats can last for decades, but that doesn’t mean they are always safe to eat. Damaged cans are a risk because, if a seal breaks, the food can become contaminated. Botulism is that largest risk. People die each year from botulism, so take the risk seriously.
Botulism is short for the bacteria Clostridium botulinum, and it releases toxins that can paralyze or kill you. The risk of botulism has lowered because home canners now have safe canning practices to follow. Decades ago, farmers and families canned meats using unsafe practices that led to death.
Signs that Canned Meat Has Gone Bad:
- Sides or lid of the can are bulging.
- The can is rusty or corroded.
- Leaking food
- Small bubbles in the liquid inside the can
- Bad Odors
- Mushy food
- Cloudy liquid
- Contents explode once opened
If you notice ANY of these signs, toss out that can. It isn’t worth risking your health!
Recommended Brands of Canned Meat
So, now you know the bad, but let’s take a look at the good! There ARE some great choices for canned meats for long-term storage. Many people have no desire to learn how to can meat at home, and they’d rather purchase some at the store.
Not all brands are equal, so selecting the right ones are important for your health. Remember that I said about fats and salt? Keep that in mind when reading the labels. Here are some recommend brands of canned meat for preppers.
- Kirkland is Costco’s brand, and their canned meats come at a fantastic price. The canned chicken only has 1g of fat and 270mg of sodium.
- Kirkland also sells canned roast beef. Each serving contains 1.5g of fat, 80mg of sodium, and 15g of protein. You should also check out ! Omega-3 fatty acids are important for a healthy diet.
- Ground beef is essential for your food storage; you can use it for stews and chilis.
- Hormel is a brand you can find in any store. Some of their canned goods are better to avoid than purchase, but this variety is canned in water with no added salt. There is only 1g of fats, 80mg of sodium, and 9mg of protein in each serving.
- StarKist is one of the most popular brands of canned seafood. Tuna is low in fats, with only 0.5g per serving. There is 190mg of sodium and 12g of protein. Adding some tuna to your stockpile provides a nice relief from chicken and beef.
- Great Value Chunk Chicken Breasts Almost everyone has a Wal-Mart nearby! Wal-Mart sells 12.5oz cans of chunk chicken breasts, and they often come in two packs as well. It is ready to eat right out of the can. Great Value is a great choice if you don’t want to order online!
- Ok, we talked about how much salt Spam contains, but Spam has been a staple in a prepper’s pantry for decades. Tossing in a few cans won’t heart you too much, but don’t put yourself on a Spam-only diet. Fry it up, dice it up with some rice or eat it alone.
Final Word
Storing canned meat for survival is a wise idea because it provides the protein necessary for a balanced diet. Whether you pick commercially canned meat or home canned meats, make sure you remember the recommended shelf-life and how to determine if your canned meat is still good.
Just because the SHTF doesn’t mean you can’t enjoy delicious beef stews or roast beef over potatoes!

Bethany Hayes is a mother of three kids who has a small, suburban homestead. When she isn’t homeschooling or gardening, she might be focusing on building up their homestead or preserving the harvest.
Great article! I have a question about ground beef. Do you have to put water in it for it to be safe to eat?