In a world where refrigeration is widely available, many of us don’t really think about preserving food much, because quite frankly the refrigerator does it for us.
Preppers, however, are aware of the fact that when the grid goes down, some if not all of the food we have in the fridge will spoil.
That’s why storage and preservation are necessary in survival preparation. We can learn a lot about Native American food preservation, but in this article we’ll be focusing on the two most important ones: drying and smoking.
As a society we are essentially spoiled with all of the technology available to us for food preservation.
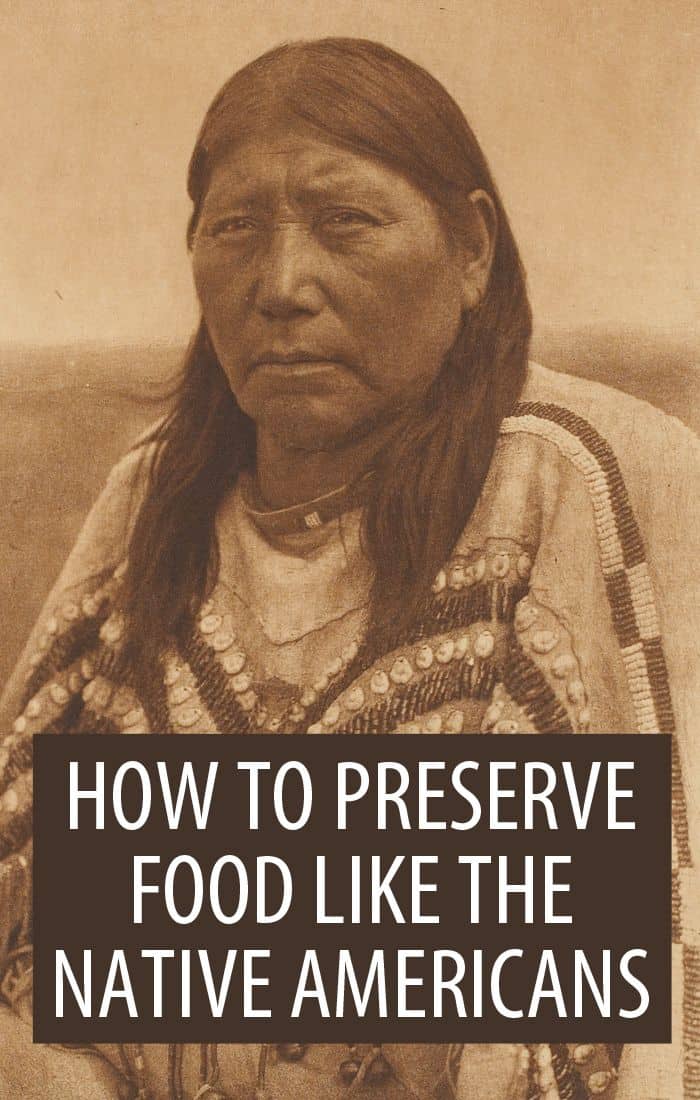
The Native Americans had a more difficult time of it but were able to preserve the food for a high quality calorie source in lean times. Here are the methods they used to preserve their harvests.
Sun-Drying
Using the heat of the sun to preserve foods by drying them out was the most widely used method. Simply they would prepare a spot and lay out the fruits and vegetables to dry; turning them often in order to make sure they dehydrated evenly.
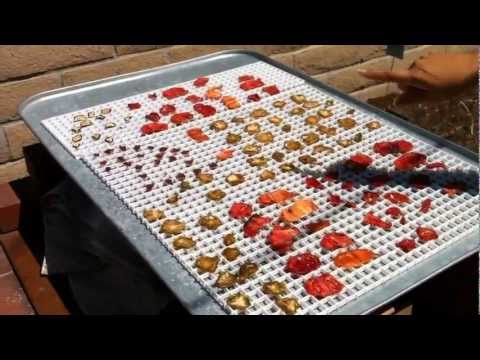
These days we have many dehydration machines that we can use to dehydrate our foods, so we don’t really need to use such primitive methods as the Native American did. But for the sake of example, let’s see how to preserve fruits and vegetables by sun drying.
Fruits and vegetables are very easy to prepare, and take little prep time. It’s important that you have a clean spot that has at least 8 hours of direct sunlight.
Gather the fruits that you want to dehydrate and cut them according to your desired length and size. Acquire a large and flat plate or platter to lay your fruits out on.
Some people opt to use a drying tray that’s made specifically for sun drying foods. The choice is up to you. Once you have your surface, then lay them out and wait for the sun to do its job.
Post someone to guard duty, making sure the insects, animals and birds don’t scoop in for the easy meal. Among the easier fruits to sun dry are:
- Wild Berries
- Apples
- Strawberries
The idea is to get as much of the moisture to evaporate as possible.
The sun does the drying, and the breeze wicks away the moisture. It is this effect that will shrink, harden, and preserve your food.
If there is any moisture left in the items that you are drying, then moisture can build up which breeds bacteria. This is why the sun is so effective since it dehydrates the bacteria to death.
Another common way to sun-dry foods is to tie a string between two trees and hang the food out in the sunlight. The air movement around the food items will act to keep pests away and get rid of the moisture.
If bugs are becoming an issue, for example house flies can be persistent in their quest for food. Having a small smoky fire near your food will deter any potential pests from laying eggs on your drying food.
If you’re sun-drying meat, you are looking for the pieces to bend and snap. Any significant flex means that there is still moisture within that needs to be dried out.
Fruits will be pliable and soft since the sugars inside won’t evaporate with the water. Dried veggies tend to dry much more than fruits and meats and shouldn’t have the same pliable texture.
Once you’ve dried the desired amount of fruits, store them in mason jars or vacuum sealed bags. Sun-dried and stored in a cool dark place prolongs shelf life, extending the life of the berries far beyond their original fresh state.
You can retrieve these items at a later date and use them for snacking or meal preparation.
Vegetable Dehydration
Vegetables tend to have more water so their drying process may take a longer time. Corn is very easy to dehydrate. The best way to dry out corn is to take a stalk of corn, and cut the kernels off of it and spread it out on a flat plate.
The sun will dry it completely and leave a tasty treat. Among other vegetables that are good for dehydrating are:
- Squash
- Potatoes
- Onions
- Beans
Of course, you can choose from dozens of other fruits and veggies you can dehydrate.
Using the sun is the main way to dehydrate vegetables but there is an alternative and that’s just to let nature take care of it.
Beans, for example, can be left on their vine and over time the sun will naturally dehydrate them. This is evident when you can easily snap them in half when the drying process is done.
Other vegetables like pumpkins were dried in strips and then constructed into floor mats as they wove the strands into themselves. Veggies with a lot of moisture such as berries and mushrooms had to be picked and dried in the air or by the sun.
Once these items have been dried, store them in mason jars or vacuum seal them and place them into your survival food pantry. The key to preserving the dried foods is to store them in a cool and dark place.
When planning out your pantry, this was a main factor. Food is best preserved when it’s stored away from direct sunlight and in a cool climate. It’s suggested that food is stored in temperatures at 60F or less.
Granted the Native Americans did not have mason jars or any apparatus to vacuum seal bags, but they did realize the need to keep their foods in cool and dark places.
Many Natives who had settled certain areas stored their foods in cool dark caves or cellars that they’d dug out.
The Home Farm Ideas’ Youtube channel has a great video on sun drying fruits and vegetables on a rack. See how to do it easily here:
Meat Preservation
Meat can be very tricky. The Native Americans learned over time how best to prepare and dry meats.
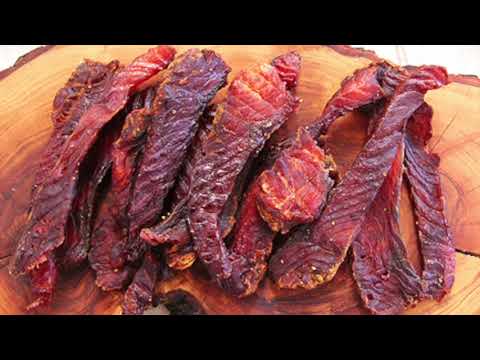
What they learned was that the thinner the meat, the easier it is to preserve. Then the idea of slicing the meat into thin pieces and drying across a rock became widely popular.
Doing it this way gave them the ability to dry the meat in a quicker amount of time. It was also easy to pack away, carry with them, and store. Jerky meats are the product of this idea.
In order to use this method, it is very important that you have a clean place to lay out the meat that you want to dry. Then once you’ve selected a sunny clean place, proceed to slice the meat into very thin strips.
Longer strips are favored over short thick strips. Thick strips will not work. Aim for thin bacon like strips of the meat. Here are a few types of meat that you can sun dry:
- Deer
- Rabbit
When you cut these thinly and lay them out to dry, after they have dried you can eat them for a long time.
You can pack the jerky in day packs, fanny packs for quick access to protein and you can also think about long term storage and vacuum sealing jerky strips in packs to access later.
The Invention of Pemmican
Over time, when the Natives found the need to go in search of their food, they needed to pack some foods to go with them.
Along with nuts and berries and fruits, they also packed some of the meats that they had dried.
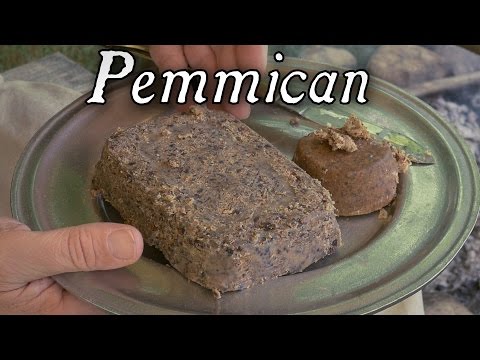
They took the meat and mixed it with animal fats, spices and berries which was then packed and carried with them.
This was sort of like a fast food for them and they called it pemmican. Pemmican was a brilliant invention and the people enjoyed its quick preparation and its nutritional benefits. It is an ultimate survival food. If stored right, pemmican could last up to 20 years!
There is another version of Pemmican called Wasna. You see, pemmican is actually the Cree version meaning “fat” or “grease” whereas the Lakota (or Sioux) version is called wasna which means “anything” and “ground up”.
Wasna generally used chokecherries formed into patties which were then added to he rendered animal fat. It was also highly nutritious for lean times or longer journeys.
Watch this informative video about pemmican, by Jas Townsend and Son:
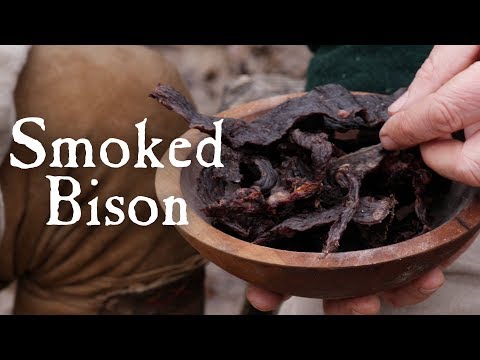
Smoking Meat For Preservation
The process of smoking meats has been used for several centuries. People still smoke meat now to preserve the freshness and extend the shelf life. Native Americans in particular smoked the fish that they caught.
Fish such as salmon and trout do not last very long so some type of preservation method was in order. No doubt they sun dried it, but dehydrating it robs it of its flavor. So the idea of smoking the fish was born.
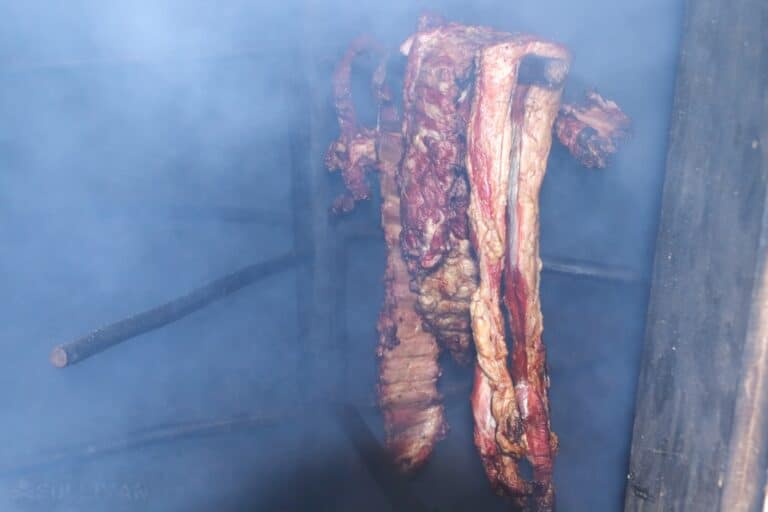
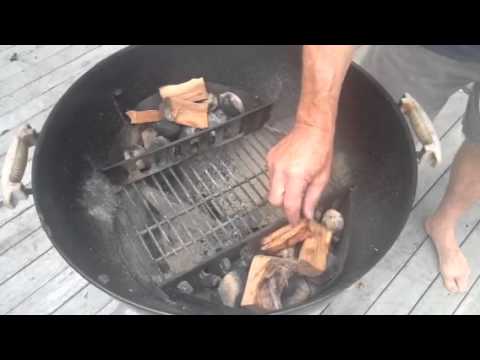
The key to smoking meat is to expose it to a low indirect heat for a long period of time while smoking it. This is achieved by building a small fire and placing the meats on a rack above the heat source.
Once the meat has been placed on the smoking rack, then it’s time to start placing kindling wood underneath it so that the smoke will infuse the meat.
The best smoking method that you can use virtually anywhere is a small grill. Layer the grill bottom with hot coals, add your grate, and place the meats on a section of the grill grate that is not in the line of direct heat.
Smoking meats is a favorite, with smoking fish like salmon comes in at a close second.
You may choose to simply season it with salt and pepper before smoking or you can come up with your own flavorings and rubs to apply or infuse before the smoking process begins. It’s totally up to you.
Native Americans used both indoor and outdoor smoking processes for their meat preservation.
Traditional teepees and smoke shelters were used to create a low humidity smoky environment that the food could dry out in. These were generally used to smoke entire animal hides as well as the meat.
The enclosed houses had a smoke station located at the bottom of the shelter, sometimes in the ground itself.
The raw meat was then laid out on strings suspended inside the house or laid out on thin rocks so that it was exposed to the smoke circulating in the room.
Smoked Fish (Salmon)
Because of the thickness of its flesh, salmon is a favorite when choosing a type of fish to smoke. The Native Americans used salmon more frequently than any other caught fish to smoke and preserve.
Here’s a great video on how to smoke salmon. Again like the meats, choice of seasoning it up to you.
The Root Cellar
Native Americans used to dig out pits in the ground where they were going to create a cold root cellar.
They lit a large fire inside the pit to destroy any bacteria and other nasty things that could spoil the food they were storing. Afterwards they lined the pit with reeds and stored their food underground in clay containers.
Not only is this a great freezer for those tribes that lived in colder climates, even in the heat the ground is naturally colder which would act almost like a refrigerator in keeping the food cold.
It was so effective that even in modern society, homesteaders are building their root cellars underground. If you’re looking to beat the heat then dig underneath.
Wrap-Up
The Native Americans were a people known for their ability to live off of the land, and make use of it without having a great impact on it. Their methods have withstood the test of time, and are still being used today.
They were experts with a lot of things that pertained to the land and nature. They adapted and changed their methods over time in order to make sure that their people survived. And that’s the goal of any prepper: to preserve and extend the lives of his own.
Taking these tips and incorporating them into your survival food preparation will help you to extend the shelf life of your foods and increase your life expectancy as a result.
A couple of Native American recipes you might like:
Mira has been prepping for 10 years. Living in the outskirts of metropolitan Atlanta with her 3 children, she’s preparing not just for SHTF events but also for everyday emergencies.
I have read where some people put their food between window screens and flipped it over. they had tomatoes but took the seeds out before dehydrating it
I find it frustrating that you refer to Native American peoples in the past tense, as though their language, culture, and food/forage practices are lost. They are still here.