Paracord has seemingly limitless applications. It’s terrific cordage for setting up a shelter, making traps, and even utilitarian purposes like attaching stuff to your pack or tethering critical gear to your person to prevent loss.
It can even be woven into things like paracord bracelets and knife handles…
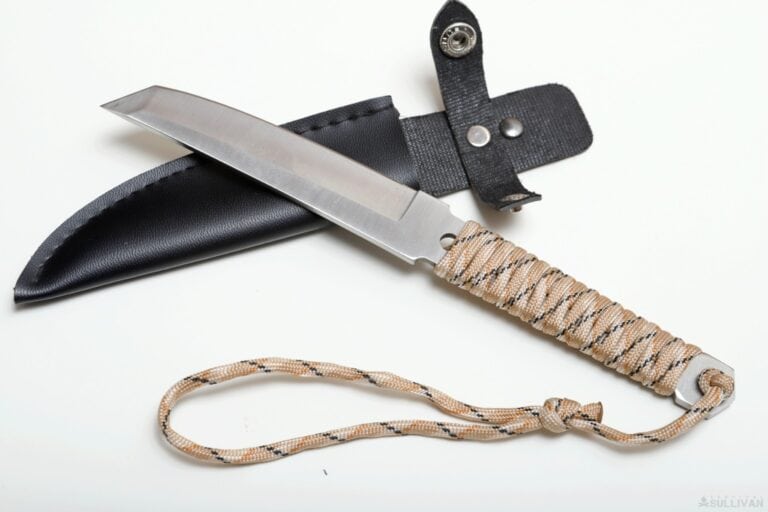
I particularly like Paracord for knife handles because it’s durable, inexpensive, offers a good grip in all conditions, and it lets you carry just a little bit more paracord on your person.
If you already have paracord, you can replace a busted handle easily if you know what to do.
But that’s the trick: many Paracord weaves are intricate, time-consuming, and easy to screw up. Not so with this incredibly simple variation I’m about to show you!
If you’ve always wanted to do your own paracord handle wrap but we’re too intimidated to try, this is the best place to start.
Caution: Securely Cover the Blade of Your Tool
Before you do anything else, make sure the blade of your tool- knife, hatchet, or something else- is securely sheathed or covered.
If you don’t have a sheath or edge protector, you can easily make one using a few sheets of paper folded over a few times and then secured with duct tape.
If you drop your tool or if the cordage snags, you can be badly cut during this procedure!
I know you get tired of hearing it, but remember, safety first!
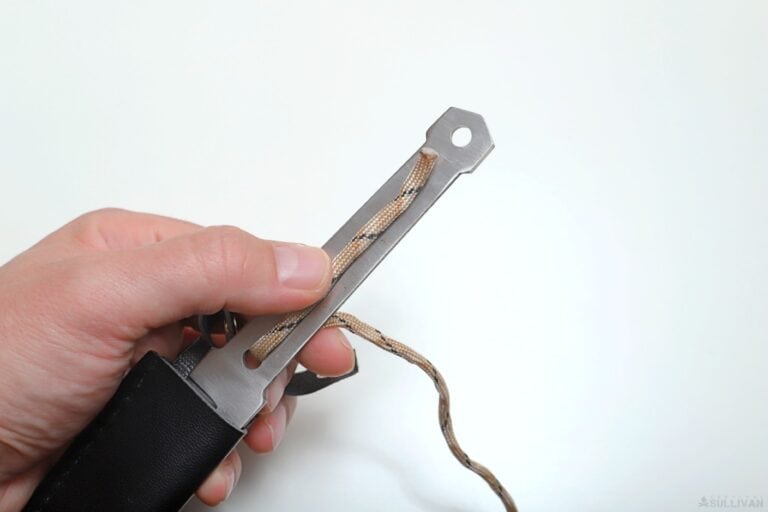
This Wrap is Designed for “2-Hole” Handles
One more thing. This wrap is designed specifically for 2-hole handles. That means you’ll need one hole at the back end or bottom of the handle and another farther along the handle near the handguard or at the end of the gripping surface.
So long as your handle has these holes, this wrap will work!
Easy Paracord Handle Wrap Steps
You need very little to successfully execute this wrap. All you need is around 80 inches of paracord, or more depending on the length of the handle, something to cut the paracord with and a lighter.
A metal tool, to help you smash and seal the burned edges of the paracord, is helpful.
Step 1. Cut Paracord to Length
Measure out your Paracord, and cut it cleanly. Use your lighter to seal the edges. Take care to smash them flat neatly so they can still fit through the holes in your tool handle. If done and the ends have cooled, proceed.
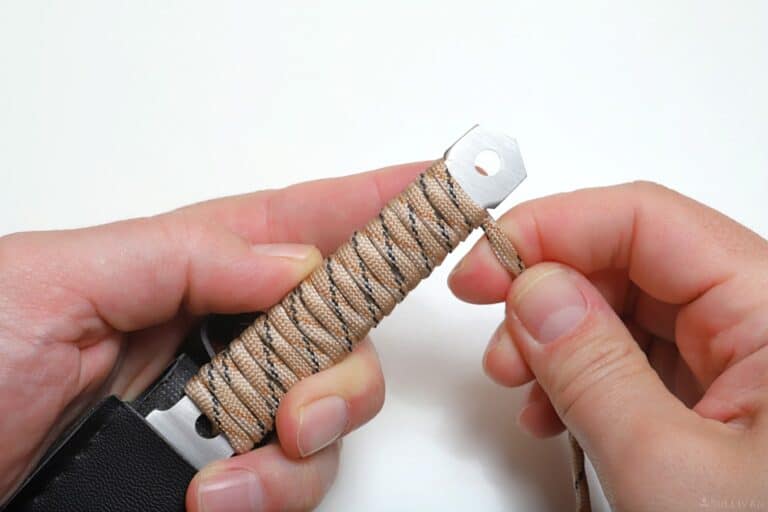
Step 2. Insert One End of Your Cord Through Upper Hole
Making sure the edge is protected on your tool, insert one end of your cord through the hole that’s closest to the blade.
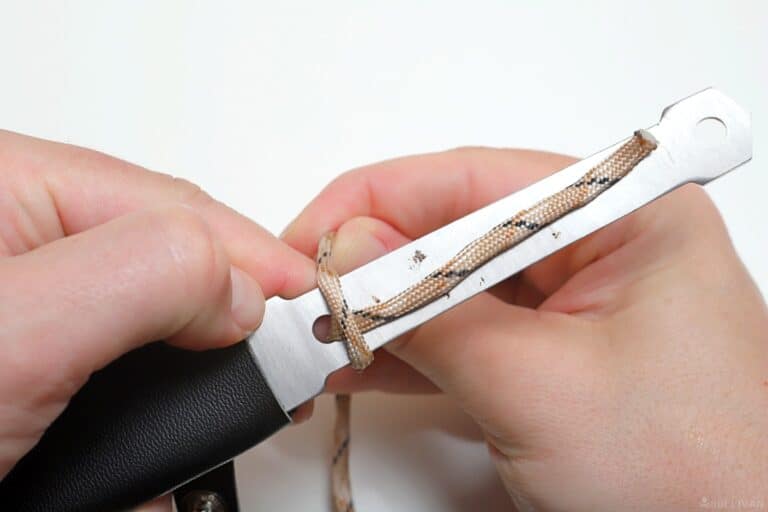
Step 3. Align End of Cord With Handle
Continuing on, pull enough cord through the hole until it almost reaches the opposite hole. Lay this and down along the length of the handle, keeping it straight and flat. This part has now become the standing end of your cord.
Step 4. Start Wrapping
Starting with the cord on the other side of the handle, start making tight loops along the length of the handle. Start at the hole you just passed the cord through and continue towards the opposite hole.
Step 5. Keep Wrapping
Depending on the length of your handle, you might be wrapping for a little while.
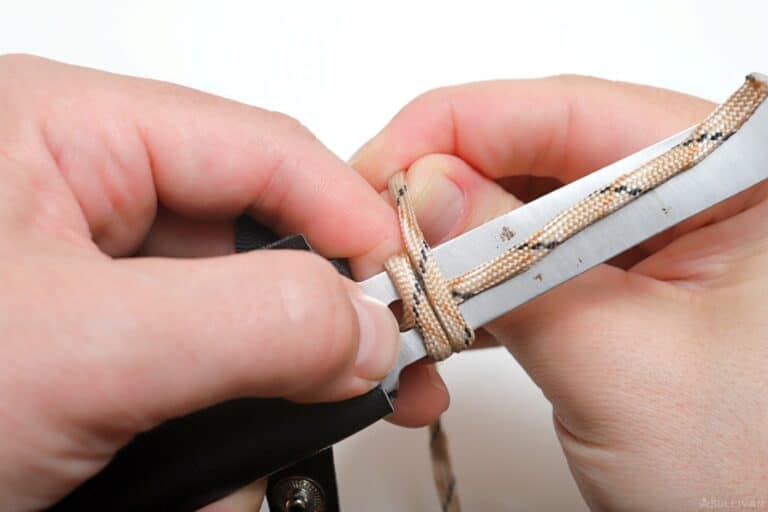
Make sure that you always keep tension on the line and that each loop is tight, adjacent, and secure as you move along. It’s critical that these loops hold down the standing part of the cord along the handle and that it doesn’t slip out of position.
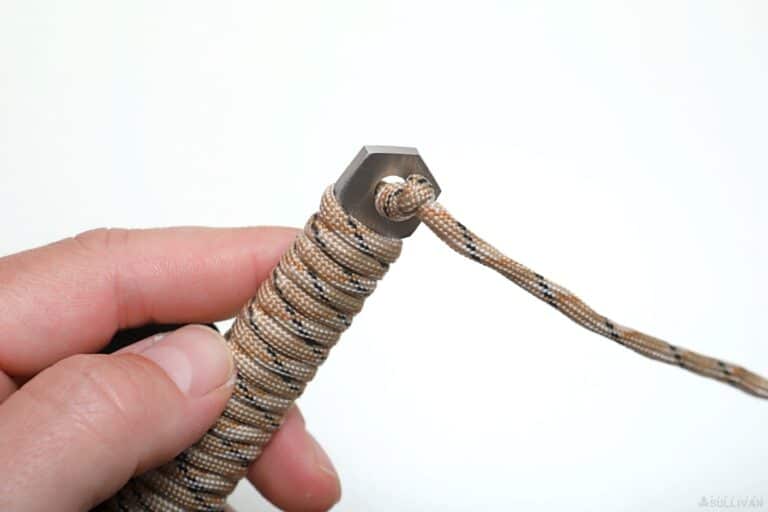
Step 6. Pull Cord Through Remaining Hole
Once you have a loop immediately adjacent to the last hole, complete a turn and then pull the end through the hole in the same direction that you did the first one.
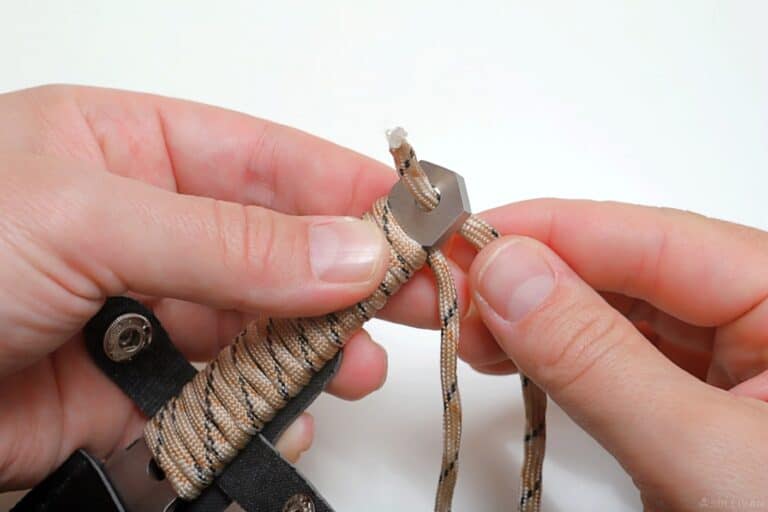
Pull it all the way through and to the right hand side:
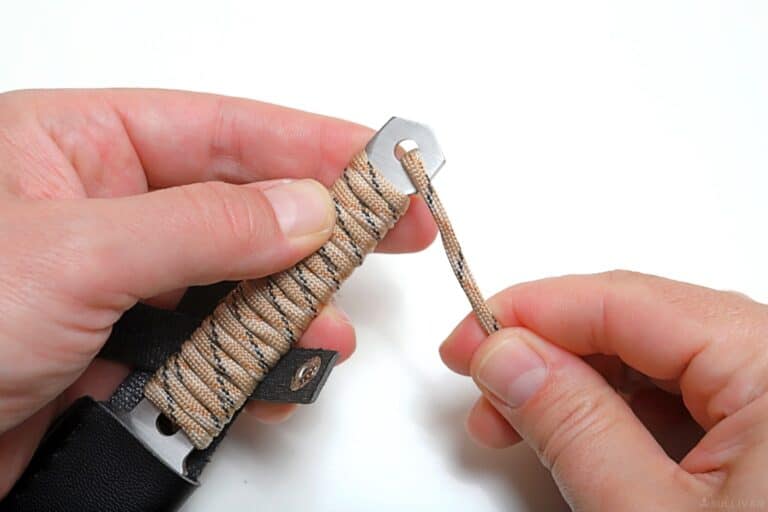
Step 7. Secure Handle Wrap
Now all you need to do is make an overhand knot very close to the hole.
As you might expect, you need to pull the cord all the way like so:

Once you have the knot set but not tightened, work it down as close as you can to the handle before you snug it down. This will secure the handle wrap in place…
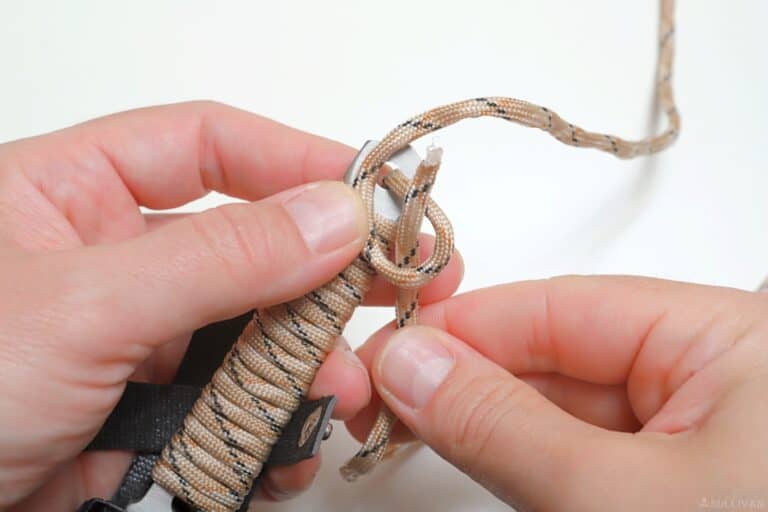
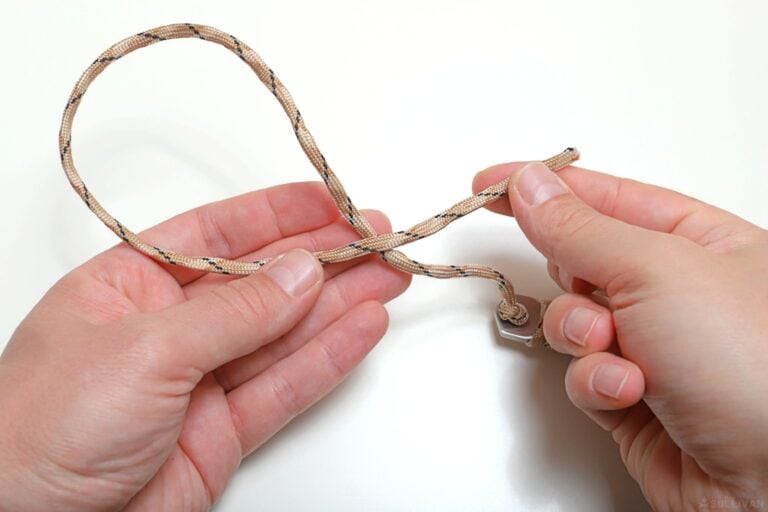
Step 9. Tie Scaffold Knot To Create Lanyard.
This is a great time to create a quick adjustable lanyard with the remainder of your cordage. If you don’t have enough, start over with a longer piece. If you don’t want a lanyard, cut the remnant off, seal the end, and you’re done
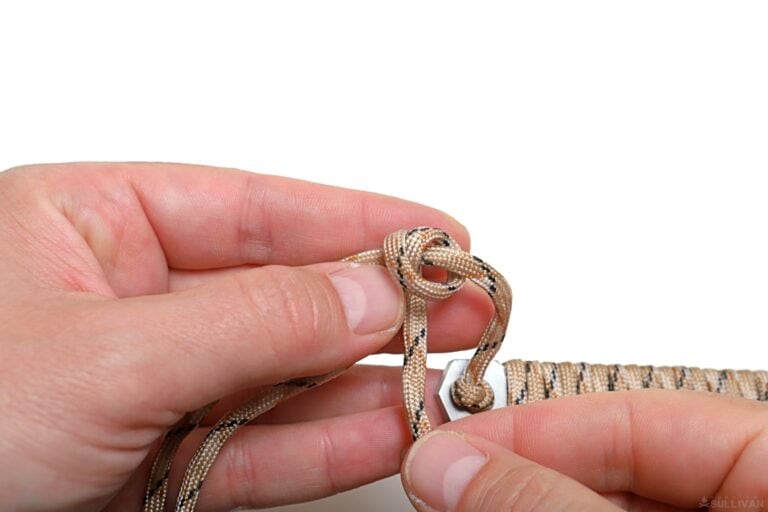
But if you do, with the remnant in your left hand, start creating a loop by laying the working end over the standing part as shown:
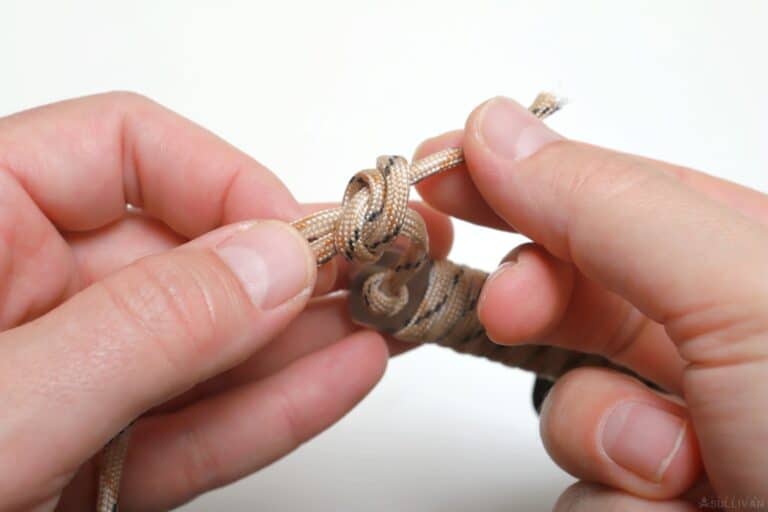
Step 10. Make Two Loops
Before wrapping it over the standing part twice, the second loop crossing back over the first as shown:
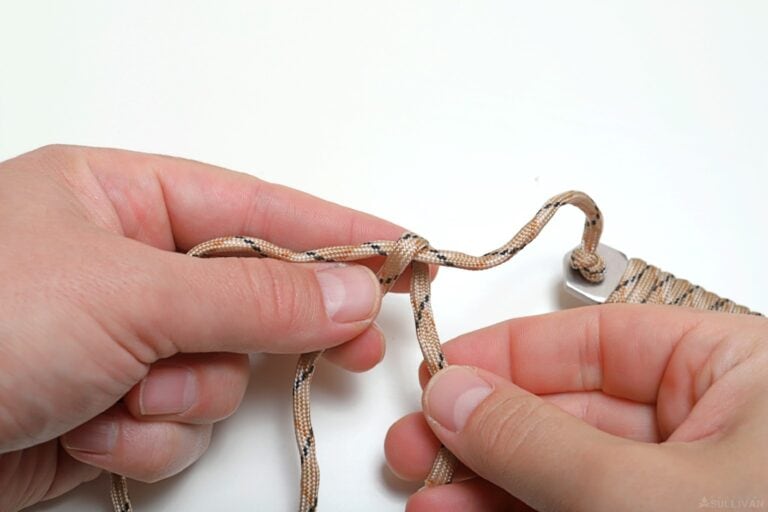
And now the second wrap:
And finally, pass the cord end through both of the loops you just made:

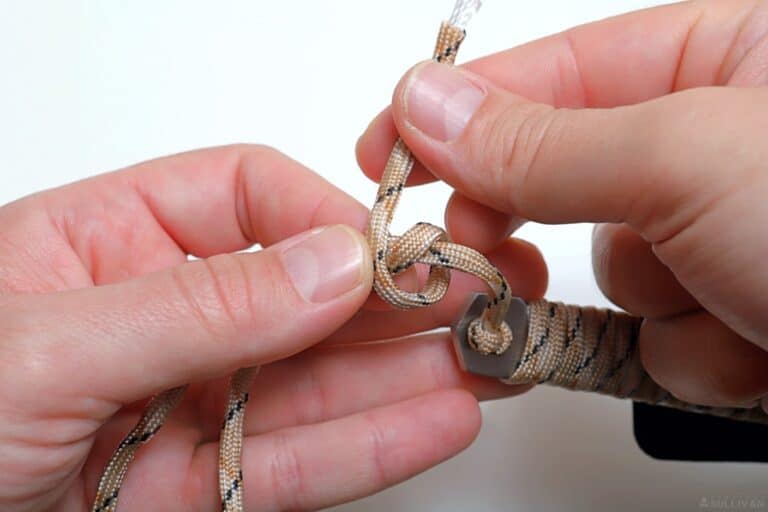
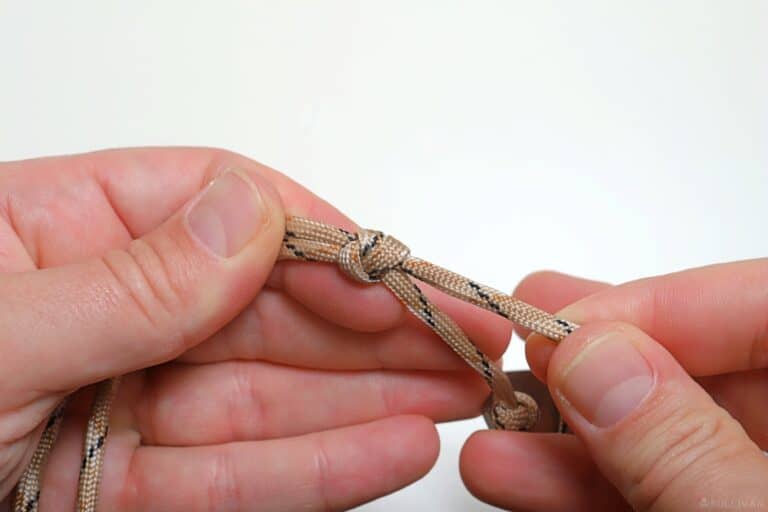
Step 11. Tighten Knot
Pass the working end through both loops you just created and tighten.
Step 12. Adjust Lanyard
See if you can adjust the size of the lanyard loop by pulling on the knot. It should glide freely up and down the length of the standing part.
If you ever want to undo your lanyard, all you need to do is slide your knot all the way off the far end, and it will collapse.
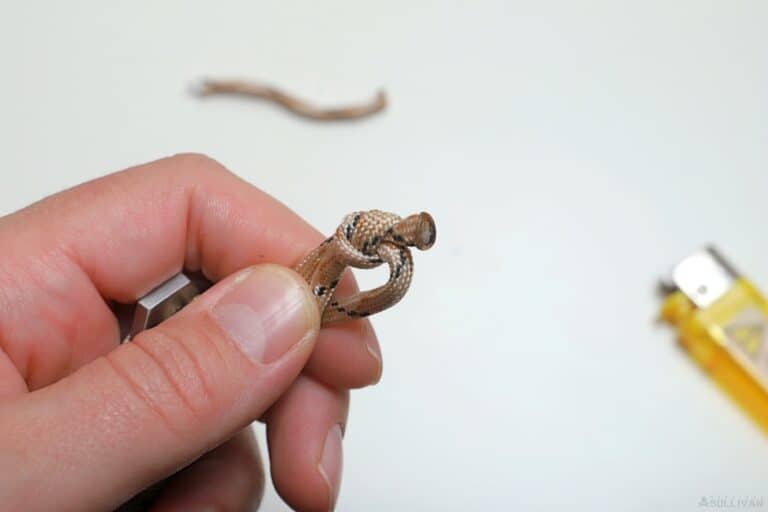
Step 13. Finish Seal the End of the Cord
Cut the remaining Paracord with scissors, burn the end with a lighter, and use the scissors’ blade to flatten it while still hot, like so:
Step 14. Finished!
Well done, you just created a simple, easily memorized and easily applied handle wrap using Paracord for a 2-hole tool handle.
This design is simple, but if you make the wraps tightly and evenly it will stay tight for a very long time, and it’s just as easy to redo it when it’s time for a tune-up.
Helpful Tips
- If you want to undo the handle wrap, all you need to do is dig out the overhand knot that used to cinch down by the second hole. Then you can pull the slack back through and unwrap the handle in a flash.
- Make a slimmer handle by using gutted cord. You’ll have to be more cautious to prevent it from slipping around and keeping everything tight, but it’s possible to make a lower profile handle by gutting your Paracord and just tying this with the outer sheath.


Tom Marlowe practically grew up with a gun in his hand, and has held all kinds of jobs in the gun industry: range safety, sales, instruction and consulting, Tom has the experience to help civilian shooters figure out what will work best for them.