I think everyone by now is at least passingly familiar with the hand drill method for making fire.

It’s a pop culture trope that has been in circulation for decades: a poor, bedraggled survivor or a primitive tribesman kneeling over a board with a stick, furiously rubbing it between his hands to generate enough friction to start a fire.
And believe me, it’s not just a conceit in storytelling: The method actually works, and has been around since ancient times.
It’s nice to know that you can start a fire using nothing more than a couple of pieces of wood, but I will warn you it isn’t easy, and it requires tons of practice and endurance in equal measure.
Nonetheless, it is a great skill to have in your survival repertoire. Keep reading and I’ll tell you how to build a fire using the classic hand drill method.
Tools and Materials
You don’t need much to make both parts of a hand drill system. A couple of choice pieces of wood, a cutting tool, and of course tinder and fuel for the fire.
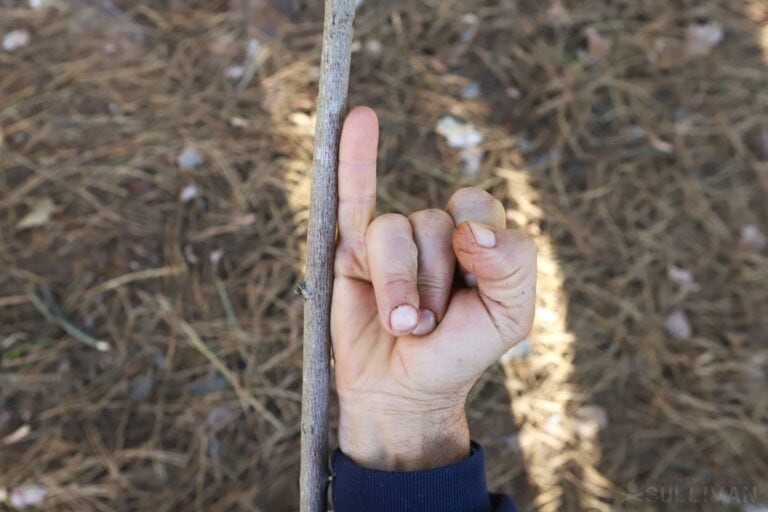
Hardwood Stick: you need a good, hardwood stick that is about 24 inches in length and the diameter of your pinky to serve as the drill itself.
This stick should be as straight as you can find and also as free as possible of imperfections like knots, broken branches, and so forth.
Remember that you’ll be spinning this stick between the palms of your hands over and over again at a high speed, so any blemishes can quickly turn into hot spots and then blisters.
Softwood Plank: you need a flat piece of softwood that is about ½ an inch thick to serve as the hearth.
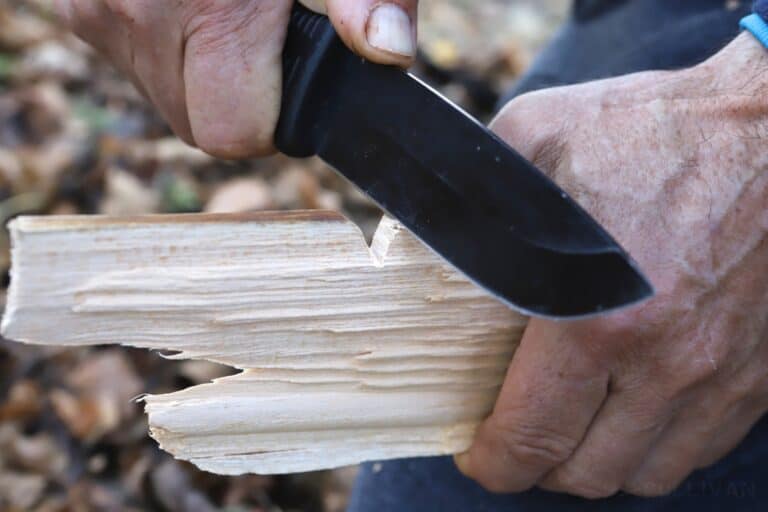
That’s a fancy term for the piece of wood that you will drill your stick into. If you can find a suitable piece, great, but if not, you can make one by batoning or chopping a rough board from a large branch or smaller tree trunk.
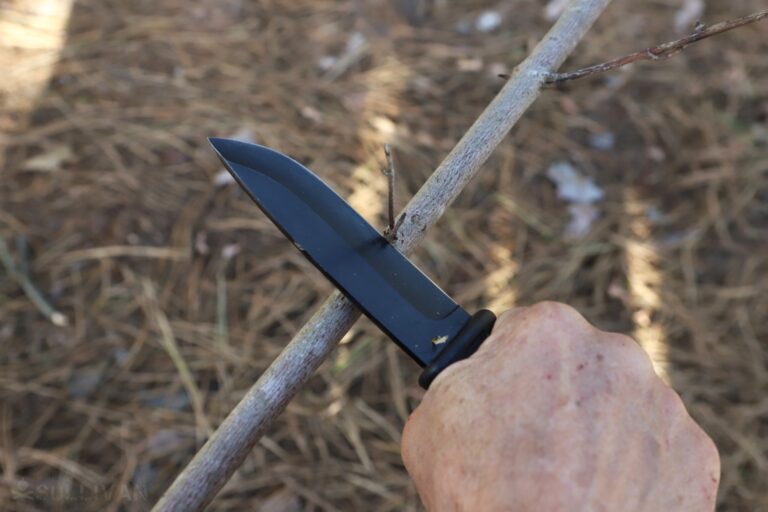
Knife: a sturdy camp or field knife is all you will need to gather, carve, and then refine both components of your hand drill. Sharp is better, as is a knife with a nice, fine point because there are a couple of steps that require close control and intricate carving.
Hatchet (Optional): if you don’t have a knife, you can handle all of these tasks with a hatchet. Even if you do have a knife, a hatchet is very useful for splitting a branch to make the hearth.
Tinder: as always, you need tinder to start a fire effectively. In the case of a hand drill, it is vital because you’ll want the coal to spill off of the hearth and directly into your tinder bundle for ignition.
Firewood: if you’re going to have a fire, you’ll need firewood or some other fuel. Use whatever is at hand and build it in the way that is best for you. Just make sure your fuel is good, set and ready to be ignited by the tinder. This is a labor-intensive process, and you won’t get a do-over if you mess it up.
And that’s it. Assuming you have the tools, you’ll be able to gather everything else you need easily and quickly. Now, time to get on to business.
Making a Fire with a Hand Drill, Step-by-Step
The following steps will walk you through crafting and then using a hand drill to start a fire.
Step 1: find the right stick. Remember, you’re looking for a hardwood stick to serve as the drill. Ideally, it should be about 2 feet long, the diameter of your pinky, completely straight and very smooth.
Test the wood with your thumbnail if you aren’t sure what kind it is; hardwood is unlikely to dent under pressure.
Step 2: smooth the drill. Using your knife, remove any rough bark, knots, raised spots, branches, and anything else that will interfere with use or facilitate blisters.
Step 3: carve blunt end on drill. Using your cutting tool, carve a blunt end on the drill. This should be a rounded surface that’s something like a pool cue in shape, and mates very closely in the depression you just carved in the hearth in the previous step.
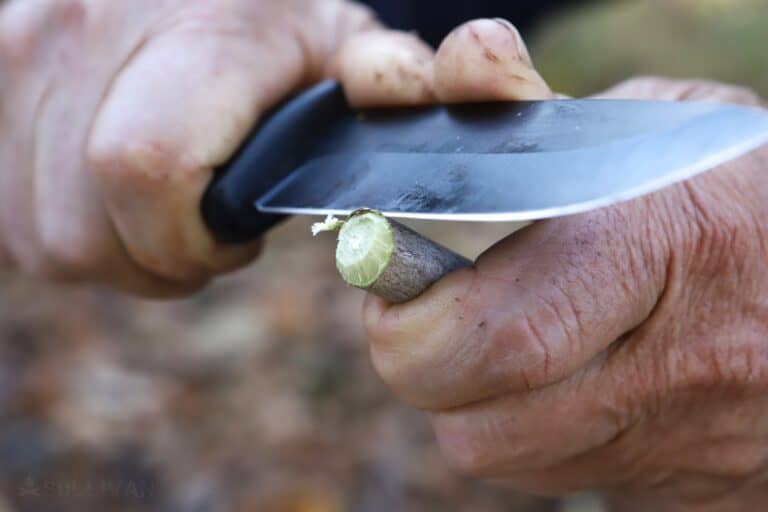
Take your time, get this right, and try to maximize the surface area contact on both. This will greatly increase friction and heat generation.
Step 4: prepare the hearth. Assuming you couldn’t find a suitable piece of wood, you can use your knife or a hatchet to make one from a thick branch or small trunk.

The hearth should be about a foot and a half long and no thicker than ½ inch where you’ll be drilling.

Step 5: carve notch in hearth. Using your cutting tool, carve an even, v-shaped notch on one long side near the end. On the opposite end, make sure there is enough room for you to plant a foot to keep it stable.
Step 6: carve bowl. Using the tip of your knife, carve a shallow, smooth bowl-shaped depression at the point of the V you carved in the previous step.
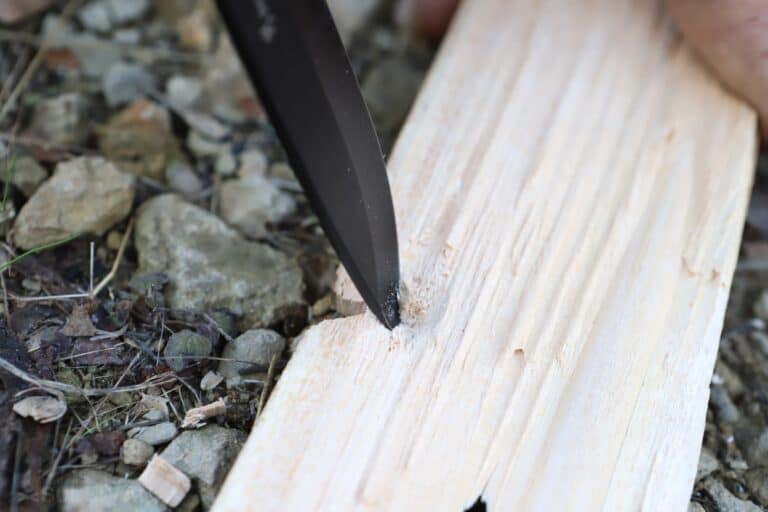
This bowl should be a little wider than the width of your stick, but not so wide that it allows the end of the stick to skitter around.
Step 7: Place tinder. Prepare your tinder bundle and place it on a thin piece of wood or sturdy bark immediately beneath the notch you carved in the hearth.
This will allow your ember to spill out of the notch and directly into the tinder, hopefully igniting it. Make sure you have a way to safely handle it when it ignites. See pic for details. IMG_3009
Step 8: prepare firewood. Get your firewood set and conveniently nearby, because you’ll be taking the tinder to it straight away after it catches. Make sure everything else is in order.
Step 9: start drilling. Place the rounded end of the drill in the corresponding depression on the hearth:
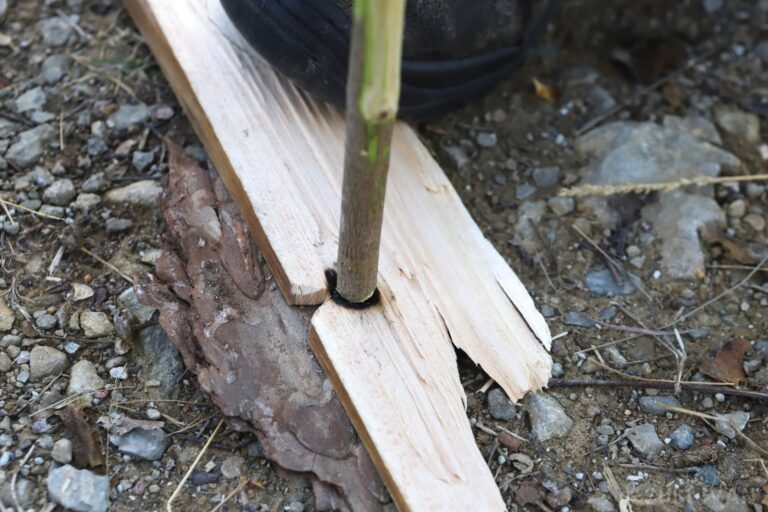
Kneel over it, placing one foot on the hearth to hold everything still.
Now, starting at the top of the drill, put your hands together like you are praying, then rub them back and forth like you’re trying to warm them up as you slide them down the length of the drill. When you get to the bottom, immediately go back to the top and repeat the process.
Step 10: keep on drilling! Maintaining downward pressure on the drill at all times as you repeat Step 9, keep your senses alert: If you smell burning wood, that’s a good sign, and likewise, you should see dust start to accumulate, turn brown, then black. You cannot stop!
Step 11: observe for ember and smoke. Look closely and see if you can spot a tiny, glowing ember just ahead of the drill. This will usually be accompanied by some thick curls of smoke. Once you think you’ve got it, move on, but don’t stop drilling until you do.
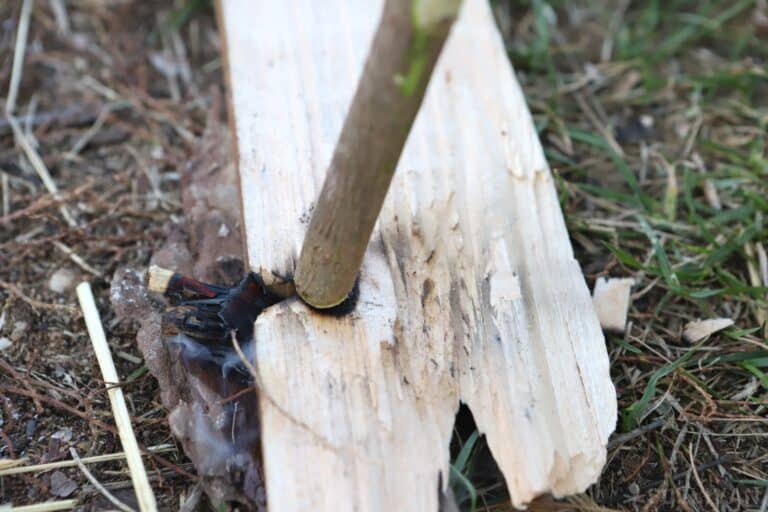
Step 12: dump ember into tinder. Depending on where precisely the ember formed on the hearth, you might need to carefully dump the glowing ember into your tinder.
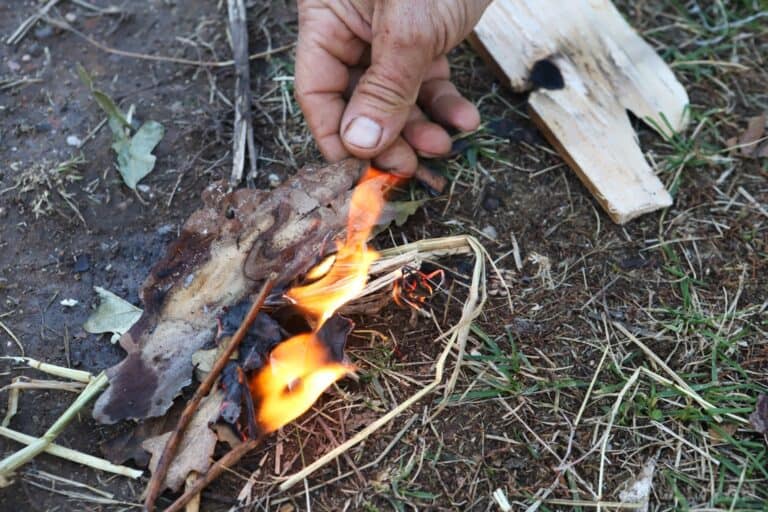
Step 13: blow on tinder. Carefully, gently cup the tender around the ember and then blow on it to feed the fire. Work quickly but carefully so you don’t smother it or blow it out.
Step 14: Place tinder in firewood. Once the tinder has caught, carefully and quickly move it to your firewood and place it where it is needed. Use a little bit of kindling or extra tinder until the fire is going properly.
Step 15: finished! Congratulations, you have successfully created a fire using one of the oldest primitive methods known to man. You’re probably a sweating, gasping mess by this time but at least you aren’t going to die of exposure in the night.
Helpful Tips
Endurance is Everything
It’s difficult to overstate just how taxing this method is when it comes to fire starting. Believe me; you’ll look at your lighter with new appreciation! Accordingly, if you aren’t fit or are easily winded this isn’t a method you can depend on to save your life.
Make Sure Your Wood is Dry
There’s so much that can go wrong with this method that it pays to make sure everything is perfect. Your stick, your hearth, your tinder, and your firewood should be perfectly dry for best results.
Don’t Overreact
A common mistake I see with this method is that people get excited when they spot an ember and then they overreact, spilling it into the grass, losing it, putting it out accidentally, or generally just fumbling and fouling things up.
Remember, keep your wits about you and move quickly but smoothly and delicately. That ember can easily die if you aren’t careful! That means you have to start all over…

Tom Marlowe practically grew up with a gun in his hand, and has held all kinds of jobs in the gun industry: range safety, sales, instruction and consulting, Tom has the experience to help civilian shooters figure out what will work best for them.
I perform this technique at least three times a year, to retain the skill. I achieve it, but it’s always a pain in the butt. (I also practice the bow drill, and steel and flint … equally tedious, but I do it anyway … Might accidently need it.)