The icicle hitch is perfect for securing a line to a rod. This is a slide and grip knot, meaning the load can be moved from one line to another.
This is the loop method variation. You can find here the Icicle Hitch “end method” of tying the knot. Below are the steps for the loop method…
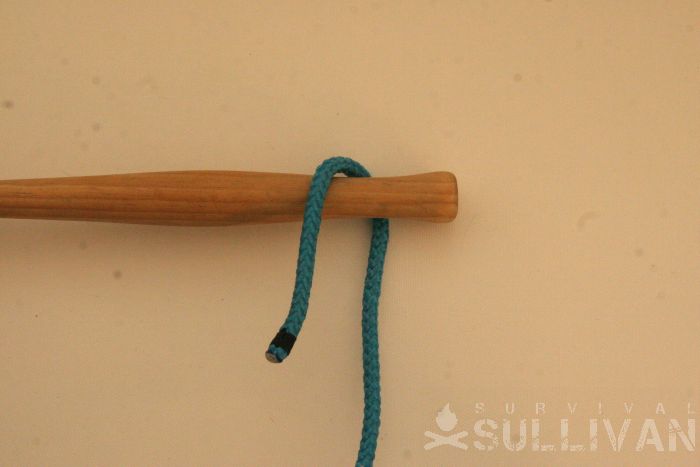
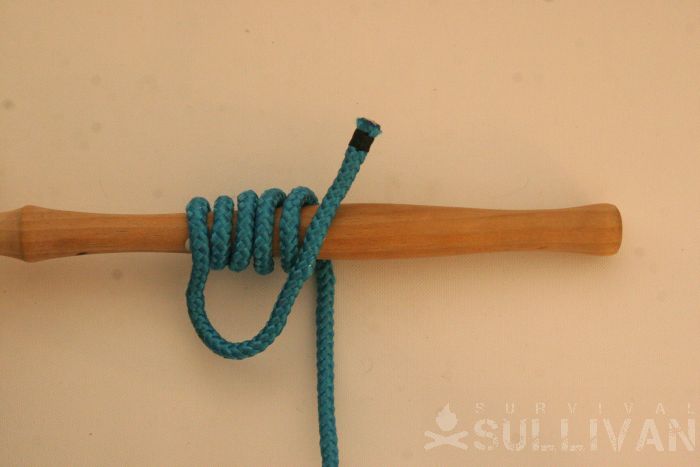
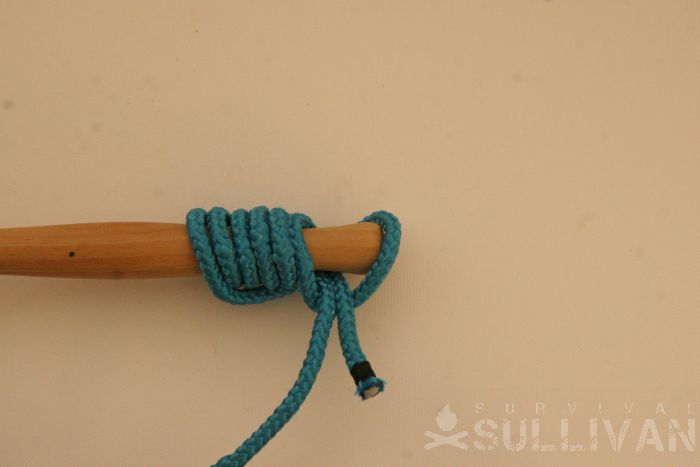
Steps 1 through 5. The first few steps are the same as would be if tied with the end. Make a succession of turns away from the end. Then lay the working end over the pole, nearer to the end of the pole than the turns are:
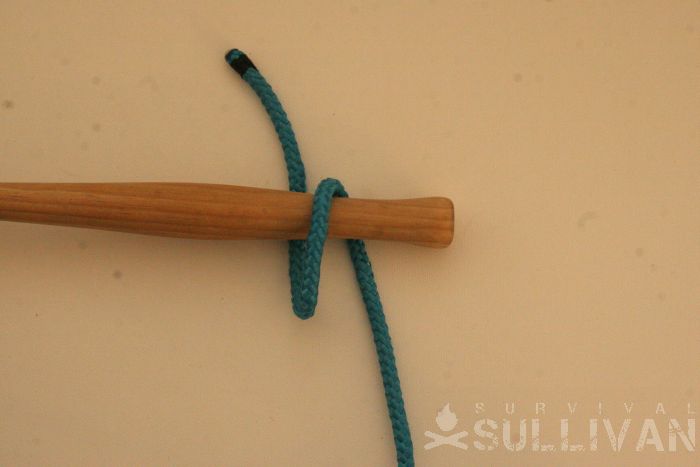
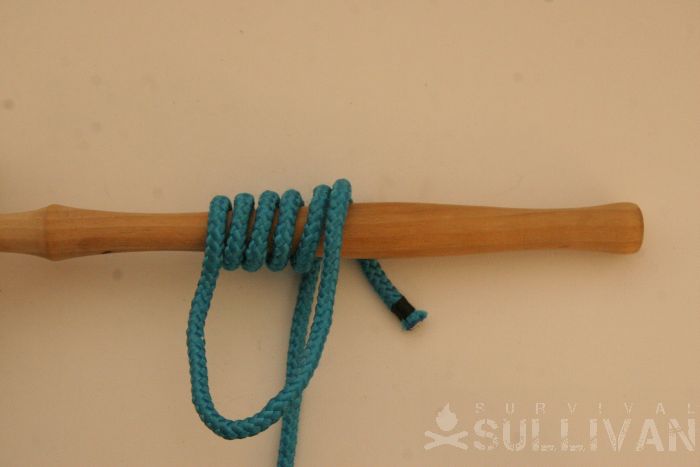
Step 6. Take the working end under the pole, to lie next to the standing end. Note that a large bight has been left in the working part:
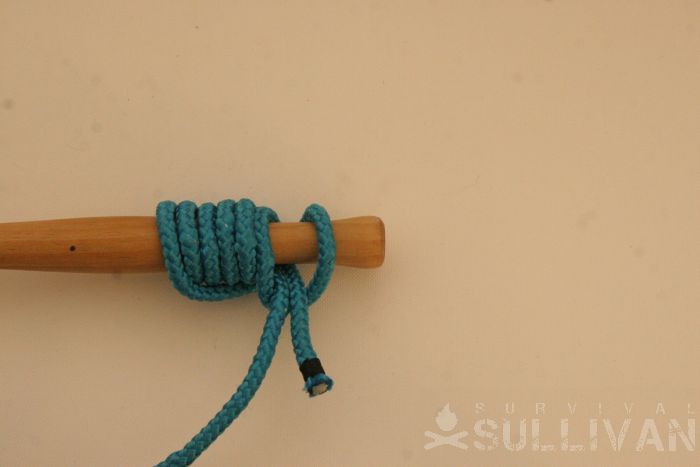
Step 7. Twist the bight over itself, putting the side nearer the end of the pole over the side further from it:
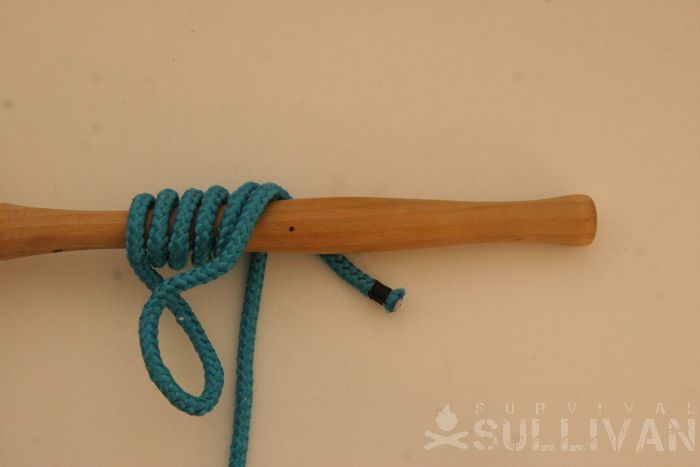
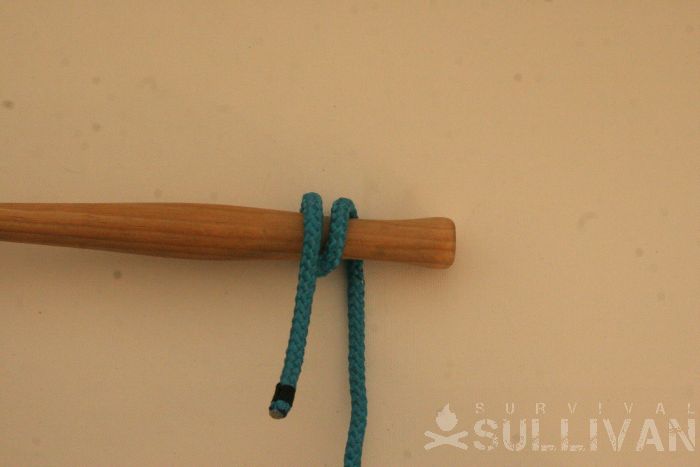
Step 8. Retaining the twist in the bight, lay the bight underneath the working and standing ends:
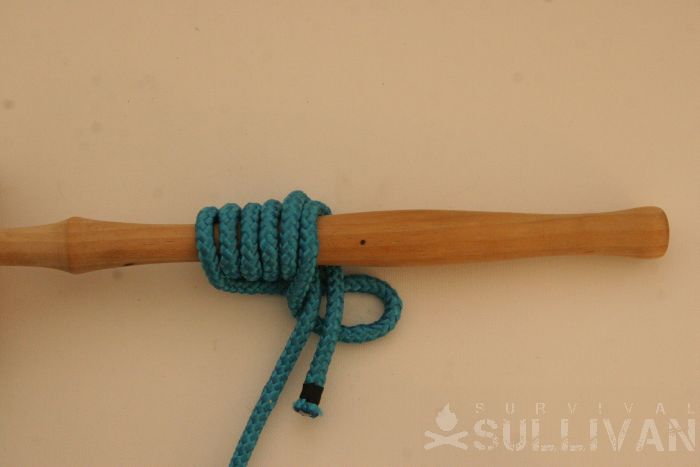
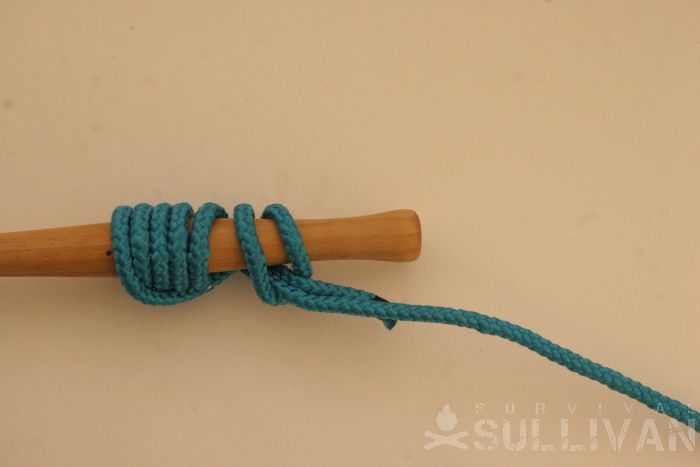
Step 9. Slip the bight over the end of the pole:
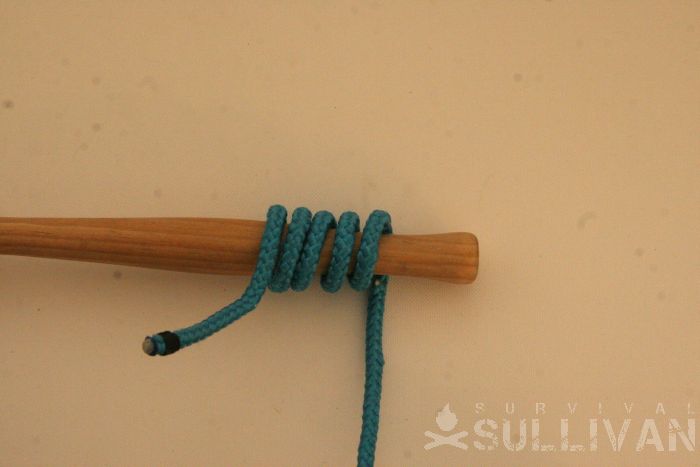
Step 10. Snug the bight up against the rest of the knot:
Step 11. Pull on the standing end to tighten the knot:
I have found that the extra slack in the middle of the knot (which is difficult to pull out before the force is applied) when using the loop method makes the knot elongate a lot more than it would otherwise, so it may be best to use the other method unless absolutely necessary or where safety is not a concern. Read our complete guide for even more survival knots.
Nick O’Law has been exposed to survival from a very young age. In his teenage years, he learned A LOT about bushcrafting, such as making snares and traps, and even how to make DIY knives.
If you haven’t ye read and tried his knot-making articles on Survival Sullivan, you should definitely check them out.