Rendering tallow and preserving it will allow you to create a valuable multi-purpose prep that can last for many months (even over a year) on the shelf.
Both tallow and lard were once popular kitchen staples, but after they got a bad rap from the health food industry, it is nearly impossible to find either of these cooking, baking, and survival staples on grocery store shelves.
The only reliable way to create a reliable stockpile of this highly versatile preparedness resource is to make your own.
The tallow rendering process is simple, fairly quick, and does not require the purchase of any expensive or hard to find kitchen tools. In fact, most folks already have the few items needed in a cabinet in their kitchen.
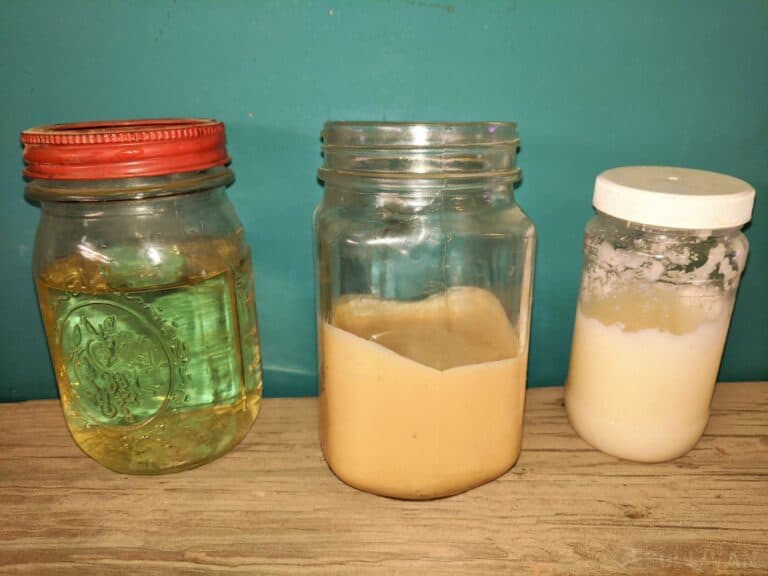
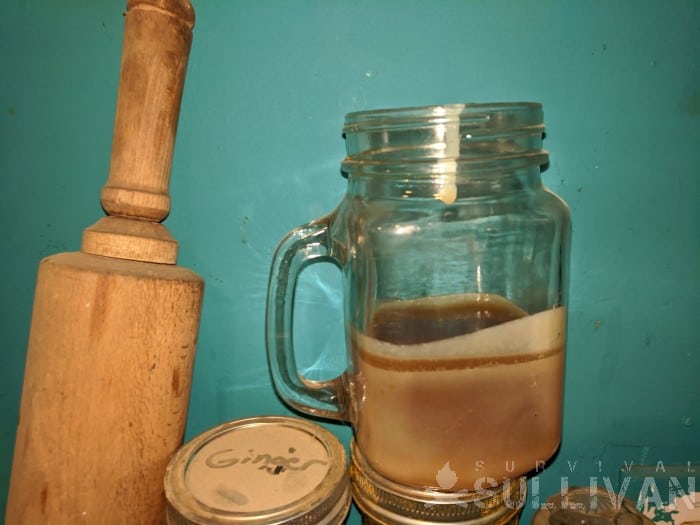
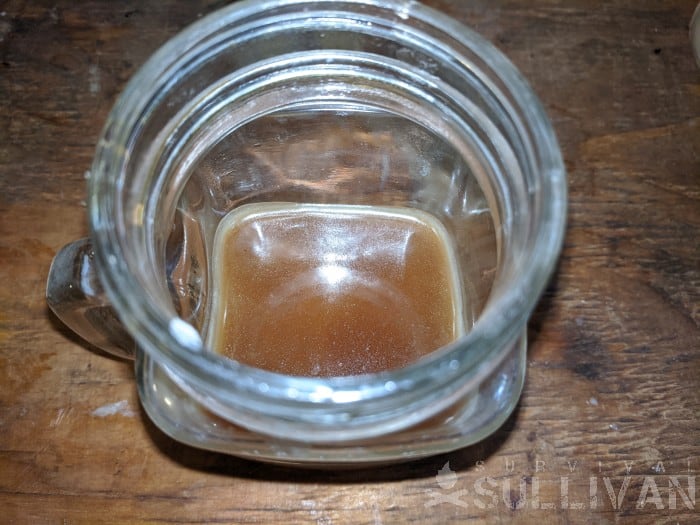
In the photo above you can see how the golden liquid appears inside of a jar before it starts to harden, as it is halfway hardened and keeps a brownish tint, and then when the tallow is completely solid and is a clear white.
If your solidified tallow has a bit of a brown tint, it is still safe to use, you merely scorched some of the meat during the rendering process.
Rendering animal fat allows you to make use of more of the animal you raised or hunted so that no useful part goes to waste.
The Difference Between Tallow, Lard, and Suet
Tallow is the fat rendered from beef livestock and mutton like cattle, sheep, goats, deer, elk, and other ruminant animals. Lard is the rendered fat from hogs.
Suet is also an animal fat used in baking and cooking (among other uses), but it is specifically the hard fat that comes from the loins and kidneys of cattle.
Suet is the unrendered fat that is used to make tallow. Schmaltz is a different kind of animal fat entirely, and it comes from chicken. Bear fat is most commonly referred to as “bear grease.”
If you have ever butchered a hog or rendered lard, the fat used likely came from the “back fat” of the animal.
Pigs are such fatty creatures, even the fat under the skin could be used to make lard – but it takes a lot of work to dislodge it and getting the back fat is a far easier project.
Raw pig fat is almost always more unsaturated than tallow, making it a lot less of a chore to remove because it is far more pliable and softer, as well.
Beef cattle also have fat under the skin, but not such a thick wall of it like on a hog. Usually, beef animals (cows in particular), hang longer than hogs after they are slaughtered.
Because of the increased hanging time, the fat layer just beneath the skin is usually left in place to help prevent both moisture, and oxygen loss.
Unlike suet, both tallow and lard can be stored without refrigeration for long periods of time without turning rancid. As long as either tallow or lard are kept in airtight containers like Mason jars, oxidation should not occur and the animal fat will still be safe to use:
Tallow is composed significantly from triglycerides, which help the human body better absorb nutrients and minerals – like calcium.
This type of rendered animal fat is 50 percent saturated fat, 42% monounsaturated fat and 4% polyunsaturated fat.
When tallow has hardened into a solid state, its texture is very much akin to that of butter. Because tallow tends to become hard or crumbly – or both once cooled, it is less pliable than lard, and not used as often for making pastries.
Tallow has a much higher smoke point than lard. Lard begins to smoke at 370 degrees F but tallow does not hit its smoke point until heated to roughly 400 degrees F.
The higher the smoke point, the more foods that ingredient can be used to create.
When butter, rendered animal fat, or a cooking oil is heated past its smoke point, that fat begins to break down, and releases not only dangerous free radicals but also acrolein. This substance is what creates that scorched look and taste to burnt food.
Tallow has more of a waxy texture than either lard or commercially produced cooking and baking products created to replace it – like Crisco.
What Is Rendering?
All mammal bodies contain fat in two distinct areas – around the kidneys and under the skin.
The raw fat you will need to render tallow (or lard and schmaltz) must be disattached from the connective tissue before it can be processed and used as a cooking oil or in any type of survival supply use or product.
During the rendering process, the animal’s connective tissue is warmed up only gently, so the fat is turned into a liquid temporarily, and melts out and away from the fibrous tissue.
This fibrous material should not be wasted. You can fry it up in a skillet until it is crisp or bake it in the oven to make “cracklins’.”
This delicious snack made from animal fat is probably far more healthy a treat than likely anything you would find in a vending machine.
The liquid oil from the fat is what you must capture to make tallow (or schmaltz or lard).
Tallow contains the following micronutrients:
- conjugated linoleic acid – CLA.
- Vitamin E
- Omega 3 Fatty Acids
- Vitamin D (though not as much as lard from hogs that were not commercially raised)
- Cholesterol
- Palmitoleic Acid
- Vitamin A
- Vitamin B6
- Vitamin B12
- Vitamin K2
- Potassium
- Niacin
- Phosphorus
- Selenium
- Glycosphingolipids
- Iron
- Riboflavin
- Palmitic Oil
If the ruminant animal the suet is taken from to render into lard was commercially raised on soy and corn, the animal fat will not contain as high of a percentage of beneficial fatty acids as the same wild or farm-raised animals.
Although using traditional animal fats in cooking and baking was shunned heavily in the 1990s, so much so that McDonald’s and other popular fast food chains stopped using it to make their signature French Fries, tallow is now on the all star ingredient list in both Paleo and keto diets.
Because of all the vitamins, minerals, as well as healthy acids and oils in tallow, it is often used by herbalists to create antimicrobial and anti-inflammatory natural remedies.
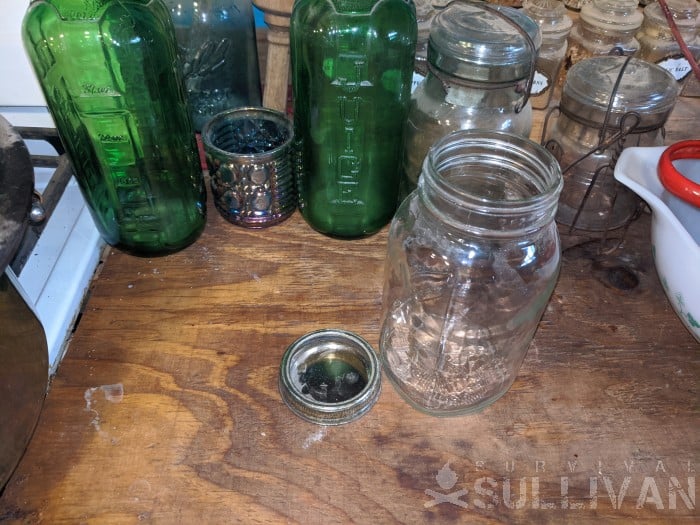
The only supplies you will need to render tallow are a large cook pot, cook pot lid, a sturdy wooden or metal spoon, and a spoon rest – as well as your Mason jars with lids and rings or similar containers.
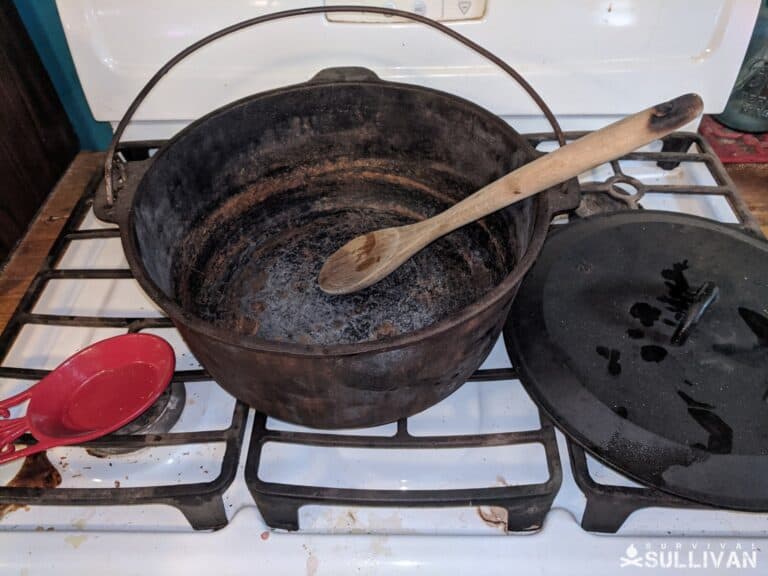
I prefer to use cast iron for tallow and lard rendering. I achieve the quickest results when using the cast iron, but doing so does require more stirring to prevent scorching because the pot holds so much more heat than a stainless steel or enamel one.
Because all of the rendering can be rather rough on the cast iron pot, I keep one set aside just for this task, and to use as a double boiler for herbal remedy making.
Steps to Rendering Tallow
The first part of this process involves actually garnering the beef animal fat. If you raise and butcher your own livestock or are an avid hunter, the only ingredient you need to render suet into tallow will be absolutely free.
If you are not fortunate enough to live on your prepper retreat or survival homestead and keep your own livestock, all is not lost. The animal fat from cows especially, is often just tossed aside as trash by commercial or “backyard” butchers.
Sometimes, if you merely ask for some suet (or raw pig fat) he or she will likely be glad to give it to you just get it out of the road.
Sometimes, if you get lucky, a rural grocery store or a similar niche shop that supplies items for herbalists, Paleo, and keto diets, may have suet for sale.
Although prices vary by location and season, if suet is offered for sale, the price should range between roughly $.50 to $1 per pound.
The suet may be sold frozen. If it is frozen, or if you froze the home butchered suet yourself until you garnered enough to make a big batch of tallow, allowing it to thaw completely at room temperature before starting the rendering process.
This is about three pounds of suet or beef animal fat, in a 4-gallon cast iron pot. Because I am doing more than 50 pounds of tallow rendering at once, I did not take the time to cut each potful into small chunks.
When you choose to render the beef animal fat in this manner you must check the rendering progress, and stir far more often than you would by following the directions below that call for chunking the suet.
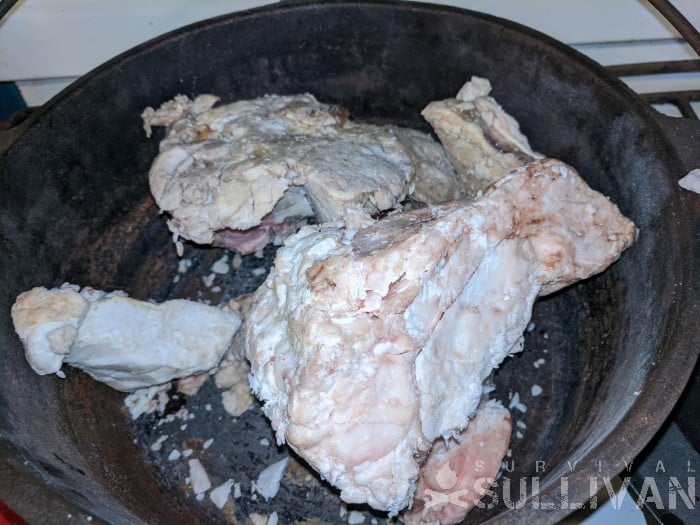
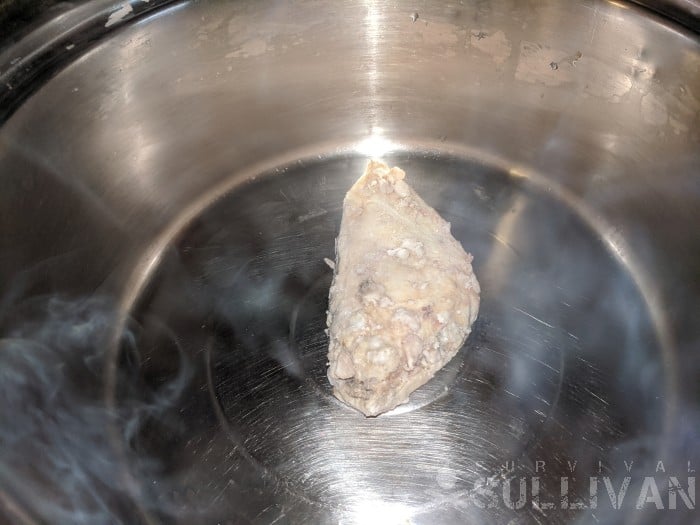
Step 1. Chunk up the beef animal fat with a knife or use a food processor to complete this step more quickly.
Check the suet before putting it into the machine to make sure no pieces of meat are still attached – cut away any that you may find.
Step 2. Place the suet in a large cook pot. I can get about 4 pounds of beef animal fat in my 5-gallon cast iron pot.
Fill the pot close to the rim of the pot.
This is a medium sized chunk of beef animal fat that weighs only a few ounces.
The rendering process takes about an hour longer (in my personal experience) when using an enamel or stainless steel pot than it does when you use cast iron.
But, using a pot like the one shown in the photo with small or medium chunks of suet does not require as much checking, stirring, or flipping of the beef animal fat pieces.
Step 3. Turn the heat on LOW and place the lid on the cook pot.
Step 4. Lift the lid occasionally and give the beef animal fat a stir and check on how it is melting down for 60 minutes.
You will get the best idea on the progress after stirring because the fat cooks down from the bottom first.
This is what the rendering process looks like at roughly 35 minutes in. Notice the yellow liquid in the bottom of the stainless steel pot – that is the tallow and cracklins that have already been rendered.
I used my wooden spoon to chunk off two small to medium sized pieces of fat from the large chunks in the cast iron pot and added them to this pot. There is no approximately half a pound of beef animal fat being rendered in the photo above.
I will continue to cut or wriggle off pieces of the large chunks and add them to the stainless steel pot to keep the process moving along quickly.
You do not need to engage in the same process unless you are working with a large batch of suet and using multiple pots that are being strained as they accumulate tallow and cracklins’.
Step 5. Continue the stir and checking progress step for another hour. Do not rush the process by turning up the heat, scorching the suet will ruin it.
Some folks prefer to use a manual potato masher than a wooden or metal spoon at this point to mush up the now softened beef animal fat to help it get to and through the melting stage.
During the second hour the medium pieces of beef animal fat have really cooked down, and created a lot more liquid in the pot.
Step 6. Repeat step 5 for about the next two hours if rendering four pounds of suet or more.
You will notice how much more “soup”- or oil-like the beef animal fat looks at about hour three.
There will be a noticeable smell during hours three and four, but nothing that will run you out of the kitchen. It mostly smells like you have been frying meat for a really long time.
Rendering fat on a nice day when the windows can be opened and a fan turned on really does help. Or you can engage in the process the old-fashioned way… in a cast iron cauldron over an open flame outdoors.
It may take between five to seven hours to render the suet into tallow. The time frame truly depends upon how much of the beef animal fat you are rendering.
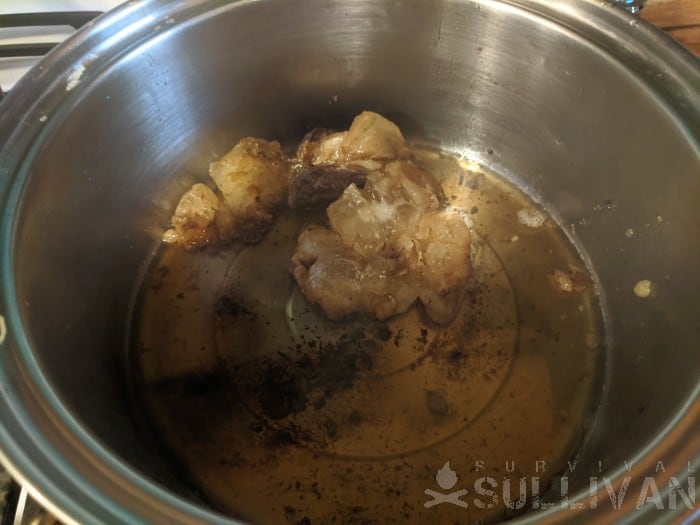
Step 7. Keep lifting the lid and stirring to conduct a review until you are left with nothing more than a pot full of stinky liquid, and the meat and gristle that can be turned into cracklins.
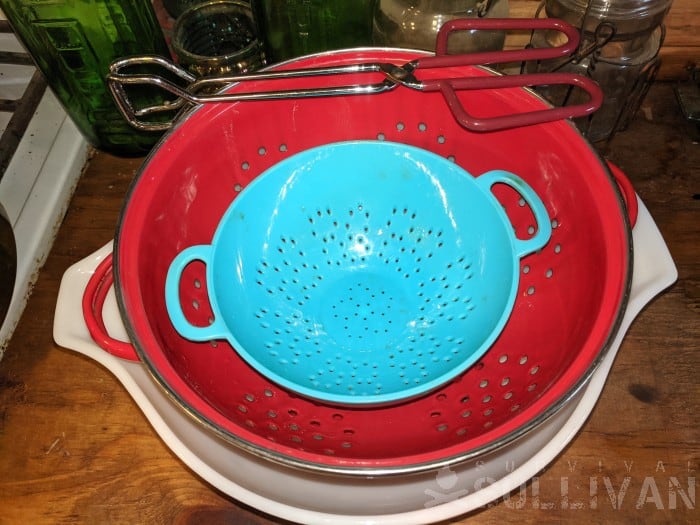
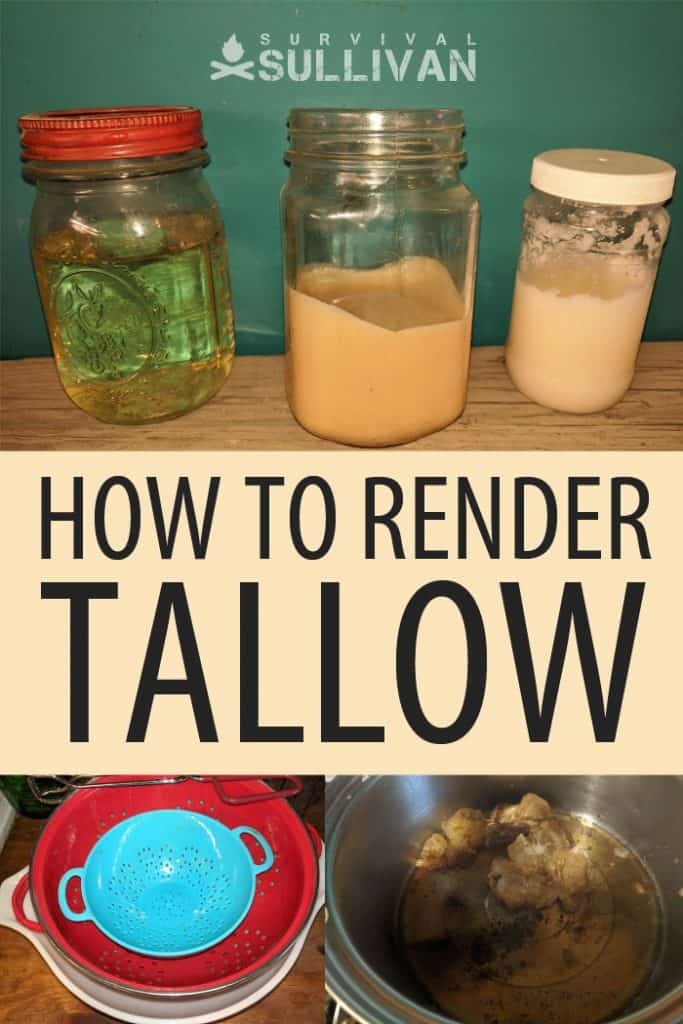
Step 8. Once you have only a pot of tallow and cracklins, use a fine mesh strainer or a lined typical kitchen colander to drain the liquid into a fresh pot – collecting the cracklins in the top to either sprinkle with salt and other seasonings to fry or pitch.
Always inspect the golden liquid being strained into a clean bowl or pot before pouring it into the Mason jars:
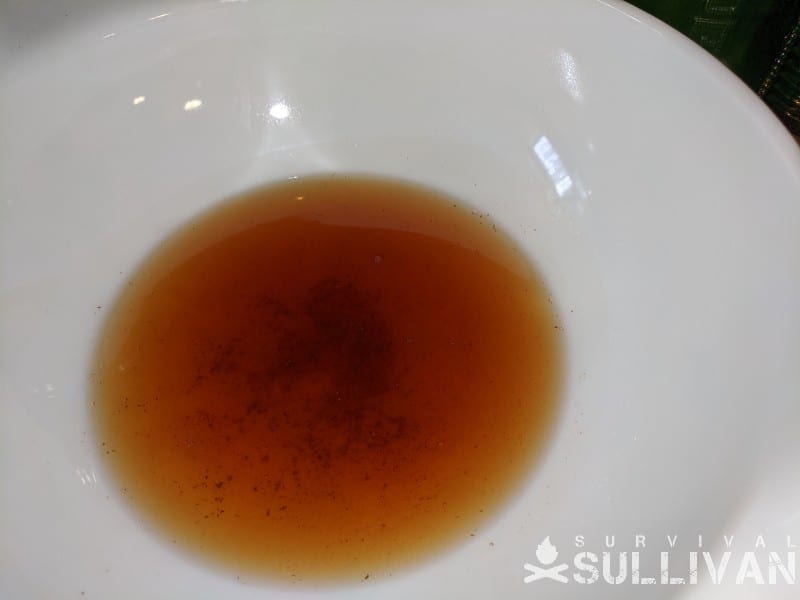
The residue in this tallow must be strained away again to prevent it from going into the storage jars and possibly causing bacteria to grow – which will make the rendered beef animal fat turn rancid.
Step 9. Pour the golden tallow liquid into Mason jars.
Step 10. Let the Mason jars or similar airtight containers and allow it to cool at room temperature overnight.
The tallow starts to harden almost instantly after it is poured into a Mason jar, even though it is incredibly hot coming out of the cook pot.
Be careful when pouring the tallow into the jar because any drips will harden and create a candle wax like film on the glass.
Never pour hot tallow into a cold or wet Mason jar or similar glass container – this will often cause the glass to crack or the tallow to splash everywhere.
Keep the glass container at room temperature or sterilize it at around 200 degrees in your oven, as you would when canning, pulling a jar out only when you are ready to pour the rendered beef animal fat.
Step 11. Come morning, you will have jars full of snow white and solidified tallow that is ready to either use or store.
The contents inside the Mason jars will closely resemble hard coconut oil.
How to Store It
The incredibly shelf stable nature of tallow is one of the reasons it should become an integral part of your food security plan.
Although tallow is recommended to only be stored for 12 to 18 months in an airtight container in a cool, dry, and dark place, many preppers actually rave that suet they have rendered into tallow has lasted for years.
Tallow I rendered five years ago has still not gone rancid. I would not use this in human food preparation at this point – even though it looks and smells safe to use, but I will gladly utilize this beef animal fat for most of the non-edible survival uses noted below.
Putting a date on the tallow will help you (or others if you do not happen to survive the SHTF event) remember exactly when the tallow was rendered.
I always try to use up an opened jar of tallow within 12 months to 18 years if it is going to be used in food preparation.
If the stored tallow becomes overly solidified from being exposed to cold temperatures, simply place the Mason jar in a pan of hot water for roughly 25 to 30 minutes to soften it. Do NOT ever freeze tallow, that usually causes it to become rancid.
Store tallow in Mason jars or similar airtight containers that are not too large to be used up in a relatively short amount of time.
Although tallow is incredibly shelf stable, every time the jar is opened the contents inside are exposed to moisture, and tiny amounts of debris that can shorten its longevity or cause it to turn rancid in an untimely manner.
Learn To Make Tallow Today
The copious amounts of survival uses for tallow, combined with the simple and free (or cheap) cost of rendering this beef animal fat, make it a perfect prepper must have item.
Even the stinky smell that results during the rendering process should not deter you from actively saving or seeking suet to start stockpiling tallow for use both daily and during a SHTF long-term disaster.

Tara Dodrill is a homesteading and survival journalist and author. She lives on a small ranch with her family in Appalachia. She has been both a host and frequent guest on preparedness radio shows. In addition to the publication of her first book, ‘Power Grid Down: How to Prepare, Survive, and Thrive after the Lights go Out’, Dodrill also travels to offer prepping tips and hands-on training and survival camps and expos.
Thank you for such as useful post. So from 4 pounds of suet, you got about half jar of tallow? Is it about a pint?
I rendered 2.5 cups from just over 2lbs.
Mr. Sullivan, this is a great article and one supply that I’ll be making along with the pemican. I scratch-cook, bake and make my own ghee for frying and cooking which has a shorter but still, a very long shelf life (compared to butter) and can be refrigerated. Don’t forget bacon grease. Grease from baked vs fried bacon is best. Recall your grandmother’s “Drips” crock on the counter? Well, maybe not – I do. It seemingly sat there for years without issue. When she needed to fry, dip some out.
Liberally applied, it can make even a leather boot flavorful. When you’re out of food, who cares what’s on your plate? 😉
My only disappointment is that I didn’t pursue this years ago. By now, I could have easily executed an “INCH.” Now – not likely so or for long. My chances would be better if I were living in my familiar, boyhood hills in upper Appalachia. Not so well even here, in the Sierra Navada foothills. Age quietly creeps up on you and one day you discover that you’re too old for a lot of things – INCH-ing being one of them. So, to all those out there who are well under 70, be confident and just do it!
There is no such thing as “overly prepared.”
If you want to be taken seriously and not for someone with poor sanitation habits, I’d forgo the badly rusted cast iron and either clean it up and re-season it and TAKE CARE OF IT, or get a new one. Sorry, but it’s an issue for me.