This is a very similar method to other ways of tying the bowline but is very fast and controlled, if the anchor point is behind you, and you want the knot in front (e.g. if you have taken a line from and truck and walked to a load you wish to tow) the method is different.
If you are going to learn one, learn the others as well to aid speed and control in different situations.
A. P. Herbert wrote that ‘the Bowline is the king if knots’ for its versatility and general usefulness.
The Bowline is widely loved because it will hold strong under tension but will never completely ‘jam’ or bind shut. It can always be opened by folding down the ‘collar (where the working end passes around the standing part just before it goes back through the loop) and working the knot open.
Steps
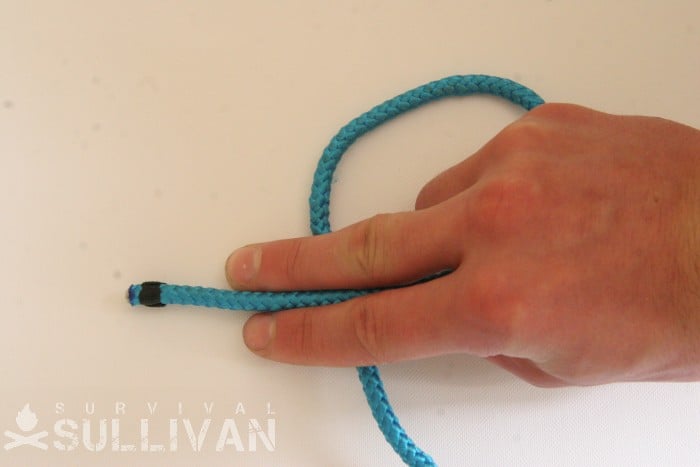
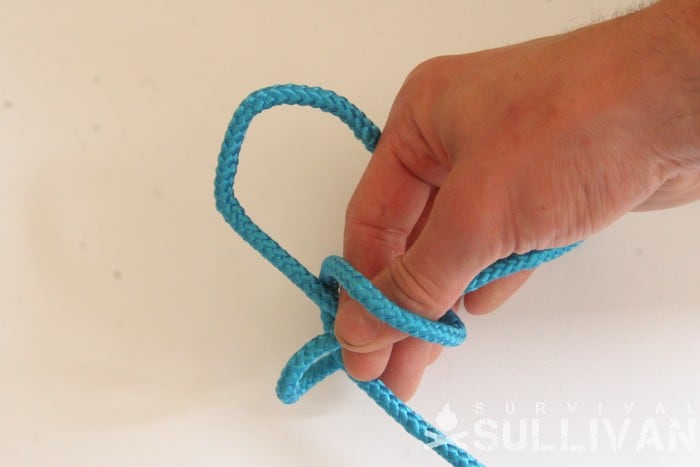
Step 1. Lay the working end over the standing part, making a loop (which will become the loop of the finished bowline). As before, note carefully the finger-placement: use your index and ring fingers along the line, pointed toward the working end:
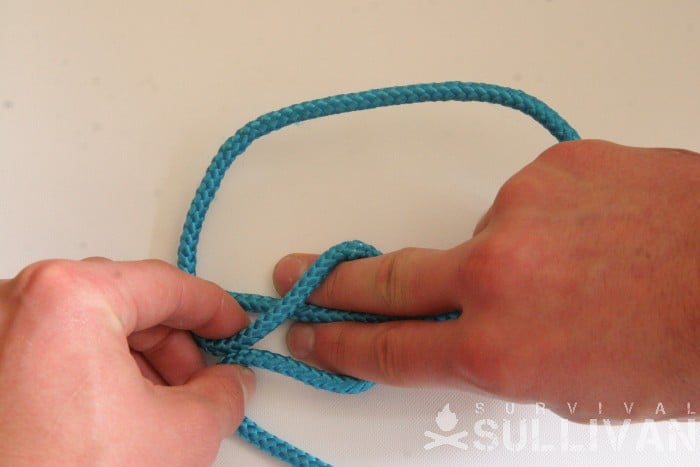
Step 2. Use your other hand to pinch together the parts of the standing line on each side of your first hand, to form a bight, the middle of which runs under the index and middle fingers of your first hand:
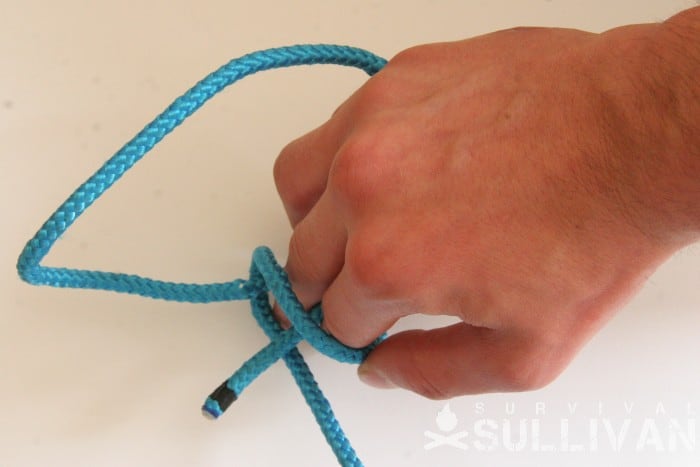
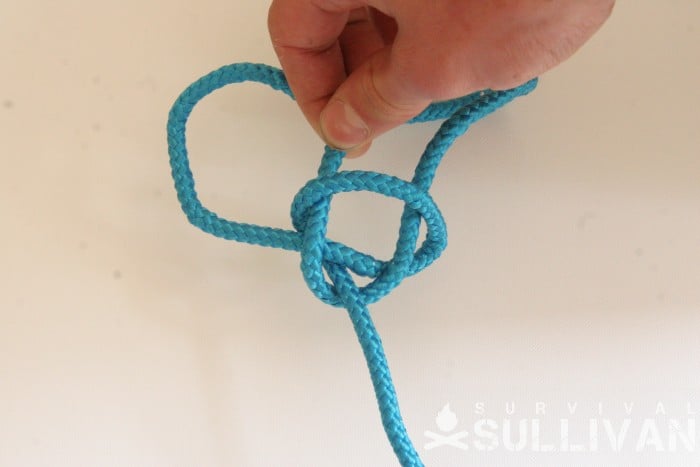
Step 3. Turn your fingers away from you and upwards, going through the loop you first made and through a full 360°. You should get something like the picture above. Note how in this picture the working end is above the standing part:
Step 4. Using whichever hand or movement you feel most comfortable, move the working end to below the standing part:
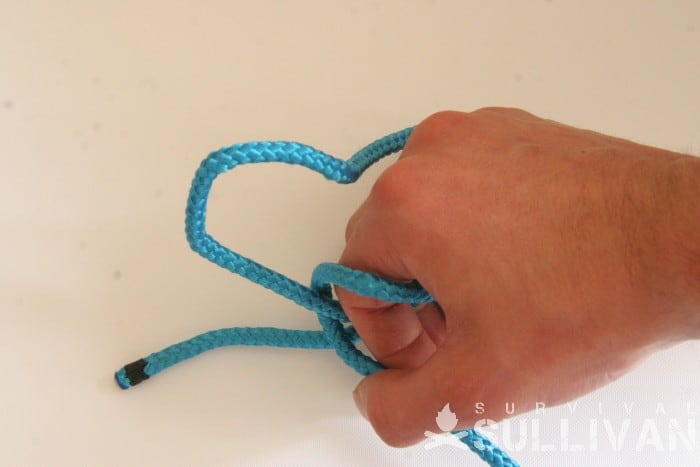
You can’t see it in this sequence of photographs because the structure of the knot had to be made clear, and I wanted to make the steps as simple as possible, but when I use this method to tie a bowline I do this step and the step before in one smooth motion, bringing the working end straight past and under the standing end as I turn my hand.
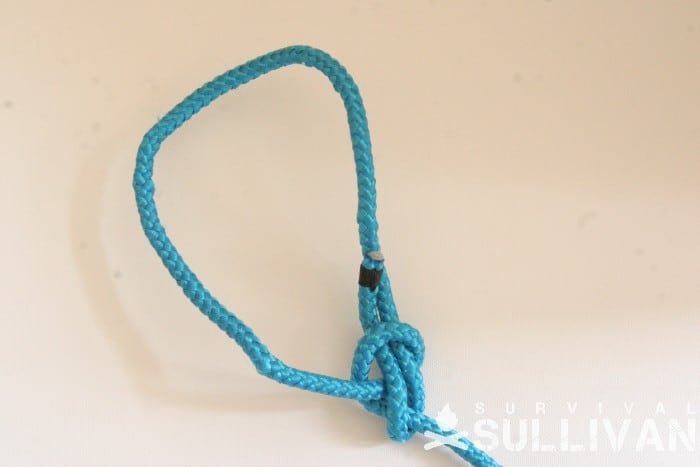
Step 5. Reach directly for the working end with your thumb and index finger:
Step 6. Pull the working end through the knot, and tighten (you will be pulling away from you):
The finished knot should look something like this:
Related Knots
This is not really a specific knot in it’s own right, it’s a different formal way of tying a bowline, which is the same however you make it. There are lots of different ways of making a bowline, with the anchor point and loop made in different configurations relative to where your hands are when you are tying.
- There are many variations of the bowline: the Bowline on a Bight, Portuguese Bowline, Spanish Bowline and various lesser known variations. You can read in great depth about them here (the second row in the table).
- Being an end loop, the bowline is related to all other end loops, like the Figure of Eight on a Bight (or ‘reathreaded’) and the Angler’s Loop.
Conclusion
The bowline is such a useful loop to know that if you learn to use knots you will be glad to have practiced different ways of tying it fast.
This is a very good way to know, because the control on the line makes mistakes unlikely, even with poor visibility or bad conditions (like a boat rocking about underneath you!).
Nick O’Law has been exposed to survival from a very young age. In his teenage years, he learned A LOT about bushcrafting, such as making snares and traps, and even how to make DIY knives.
If you haven’t ye read and tried his knot-making articles on Survival Sullivan, you should definitely check them out.
Gotta learn these with my eyes closed or even behind my back, eh?