
Storing food and other goods in mylar bags is one of the best ways to preserve them for the long haul. These things have a place in every prepper’s repertoire, but the expense of the bags and, the bigger issue, the expense of the little machine needed to seal them turns many away.
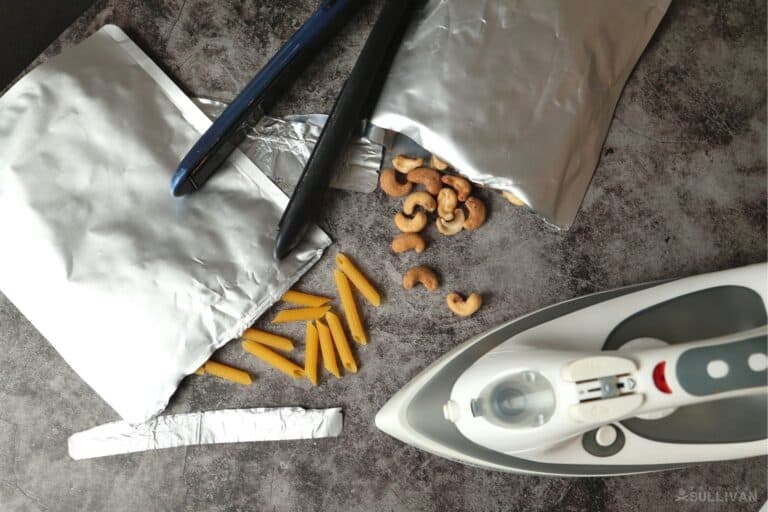
Luckily, you don’t have to overspend on the bag sealer that is a one-trick pony: you can properly and permanently close your mylar bags using nothing more than a clothes iron or a hair straightener. Both are items you probably have in your home right now, and if you don’t, you can get them far more cheaply than you can a piece of specialty gear.
Using the methods I’m about to teach you, you will officially be without excuse when it comes to mylar bags for storage. Keep reading and I’ll tell you everything you need to know.
I Don’t Have to Use the Special Bag Sealing Machine?
No! Companies make a mint convincing you that that’s the case. Those mylar bag sealers are, in reality, little more than oversized hair straighteners or hot knives themselves…
Sealing up a mylar bag is really just about the principle: fusing the two sides using heat, preventing air and moisture from getting in. We can do that easily enough with the two tools I mentioned above and, I promise, the items or food that you store will be just as safe and long-lasting.
What You’ll Need
Mylar Bags: obviously. Pick any mylar bags that you want for this purpose, sized according to your needs. I recommend one- or two-gallon bags as mainstays since they are the most flexible and versatile, and not too big to seal easily with the tools below.
Note also that you cannot use mylar bags that have a built-in zipper-style seal, nor should you! They don’t work as well as the ones that require a heat seal in any case.
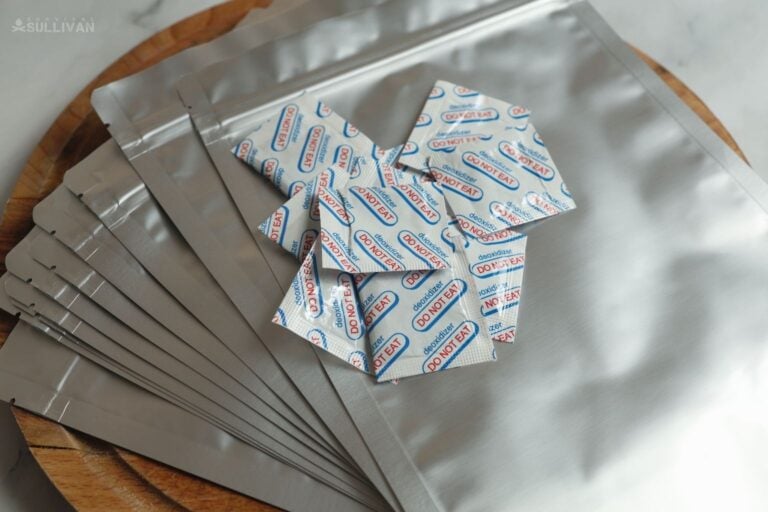
Oxygen Absorbers: a must-have for mylar bag storage, but often forgotten. Oxygen absorbers do exactly what they say, pulling all the oxygen out of the inside of the bag through a catalytic chemical reaction. Without these, your goods will still be exposed to some oxygen and moisture inside the sealed bag. This is obviously disastrous for food, which will go on to spoil.
These things are sold in different sizes, or ratings, for different volumes. A good rule of thumb is to go with a 300cc O2 absorber for a 1-gallon bag, doubling it for a 2-gallon bag, and so on.
Clothes Iron, Electric: a common, electric clothes iron is all you’ll need, but it helps to have one with adjustable temperature or fabric settings. Note that this is a dry ironing process. You can use a steam iron, but don’t even put water in it if that’s what you have! You can make things a little easier on yourself if your iron has precisely adjustable temperature, but it isn’t strictly necessary.
(as an alternative) Hair Straightener: as an alternative to the clothes iron, an electric hair straightener works wonders and is quick and easy. In my experience, a clothes iron works a little bit better, but I have plenty of friends that swear by the hair straightener. A hair straightener is a bit trickier to use on larger bags, but that’s the only shortcoming.
Solid Ironing Surface: you’ve got to have this if you’re using the clothes iron. And no, I haven’t had great results using an ironing board; they are too soft!
Whatever surface you pick must be heat-resistant enough to not deform or catch on fire, and solid enough that you can reliably press both sides of the bag together without them shifting. I like using an old, smooth wooden cutting board for the job.
That’s all you need. Relevant step-by-step instructions for each method are in the next section.
Step-By-Step Instructions
Using a Clothes Iron
Step 1: Clear and prep work area, preheat iron. You’ll need space to hook up the iron and load your mylar bags before laying them down on your ironing surface.
Tangles and spills can be disastrous and a fire hazard, so tidy up your work area, then plug in your iron and get it preheating on the medium or wool setting. If your iron has precise temperature control, set it for 350° Fahrenheit.
Step 2: Fill mylar bags with food or goods. Load your mylar bags with whatever you are storing, food or otherwise. Make sure you leave at least 3 inches of space at the top so you can get a good seal.
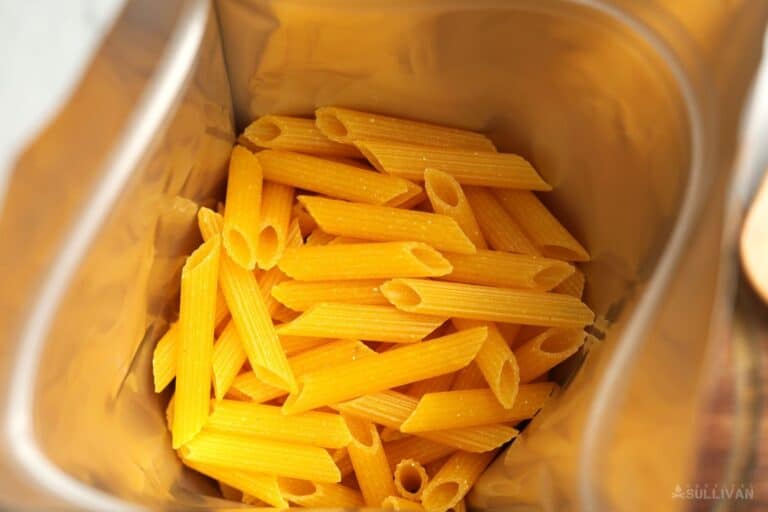
This part is important: if you overload the bag, it will be harder to close it properly and seal it, potentially ruining everything inside! Get bigger bags or simply use more of them if you’re storing large batches of stuff. For single items, if you have to cram it into the bag, it’s not going to work anyway.
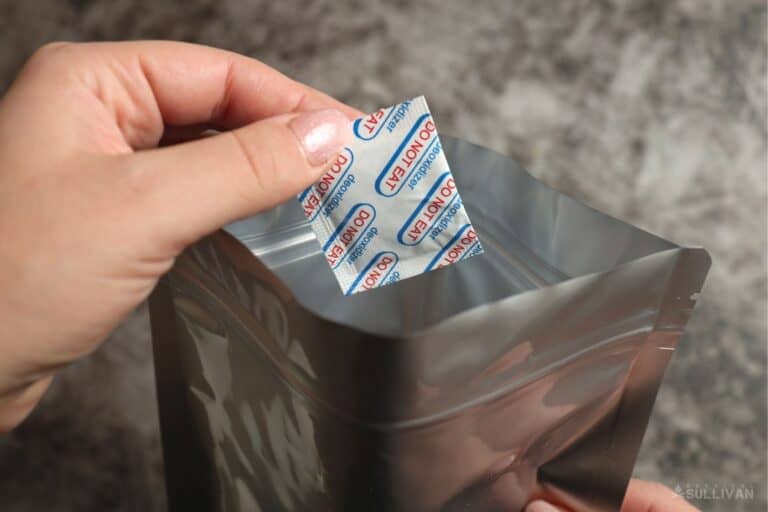
Step 3: Toss in oxygen absorber. With your goods loaded, don’t forget to throw in an oxygen absorber that is rated for the size of the bags you have chosen. Again, the rule of thumb is 300cc for every gallon of bag volume.
Step 4: Close and flatten bag opening. If needed, jostle and tap the bottom of the bag on your work surface to help everything inside settle away from the opening, then hold both sides of the bag closed and carefully lay it down on your ironing surface. Be sure that both sides are smooth, flat, even, and free of wrinkles and obstructions.
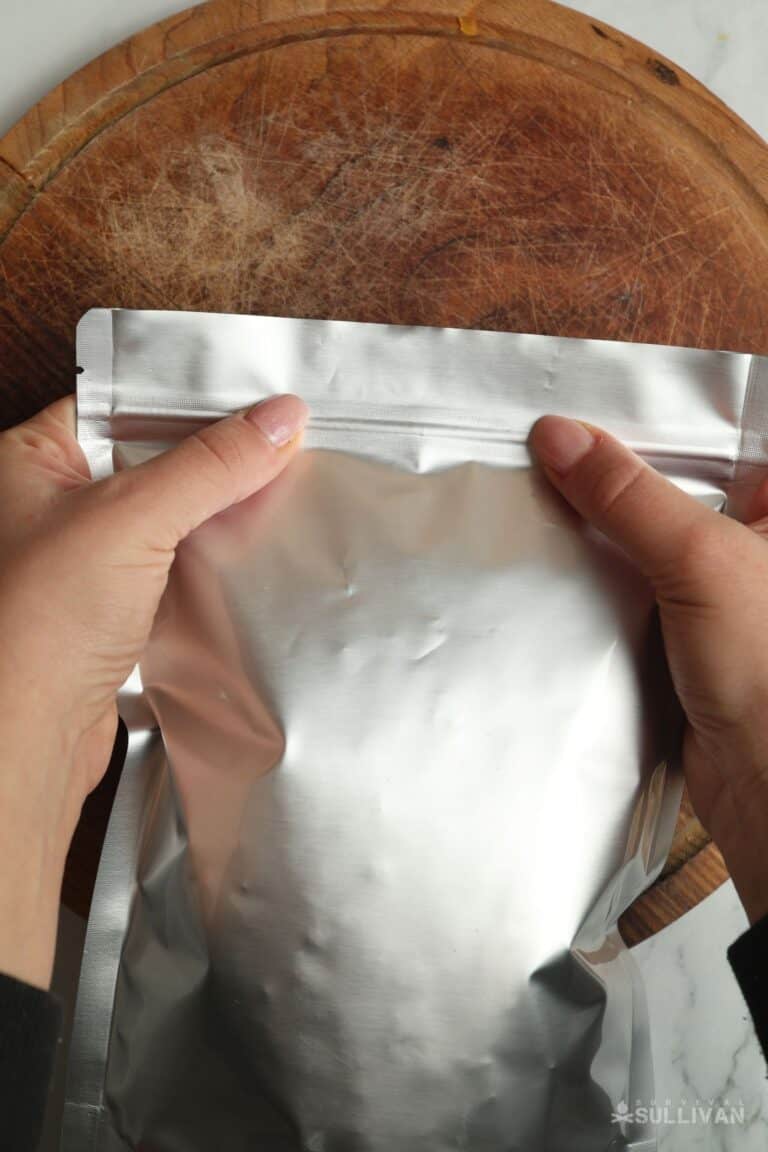
Step 5: Run iron evenly over opening to close. Grab your hot iron and working from one end, run the tip of it (or one side of it as shown in the photos) across the bag slowly.
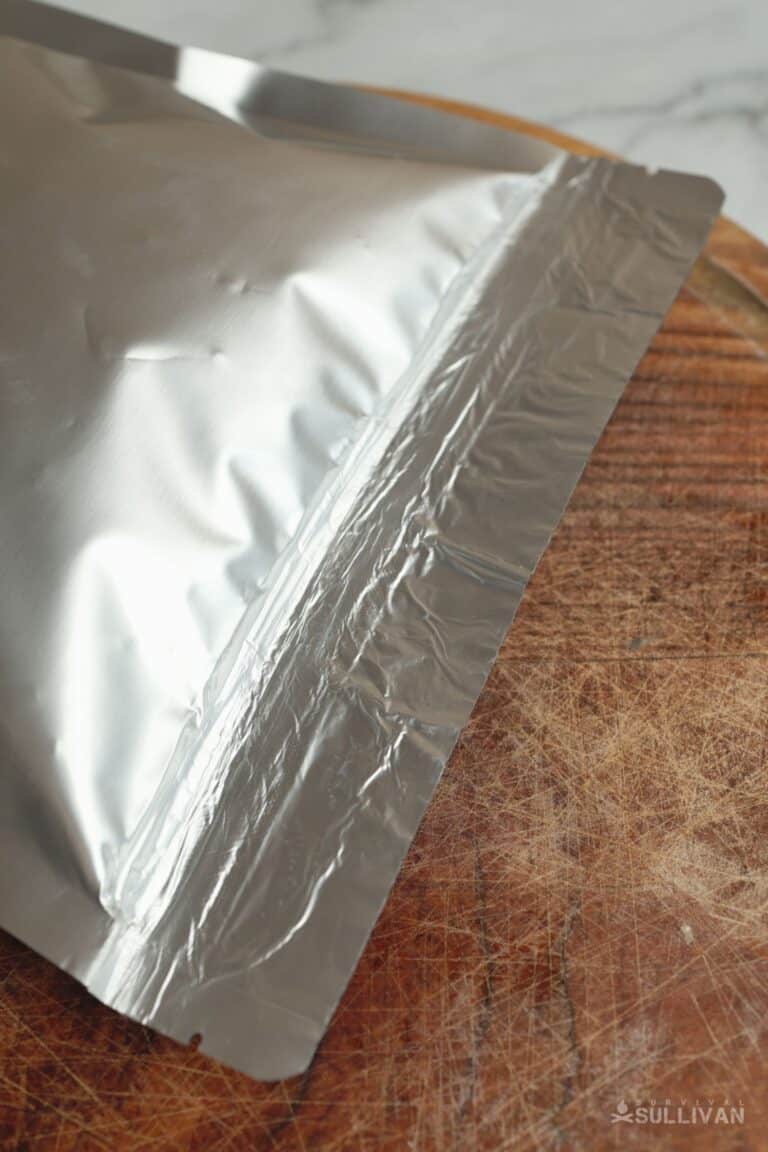
The bag will take about 3 seconds of contact with an appropriately hot iron to fuse together and seal. It might be helpful to practice on an empty bag so you can get a feel for it. If need be, or if you think you went too fast, repeat the process going in the same direction from the same side.
Step 6: Check for good seal. Give the bag a few seconds to cool down and be careful because the edges could be hot where you ironed it! Inspect your work and look for obvious openings or slipping, or even wrinkles – some of which might indicate a failure (though you will get wrinkles, so don’t panic!)
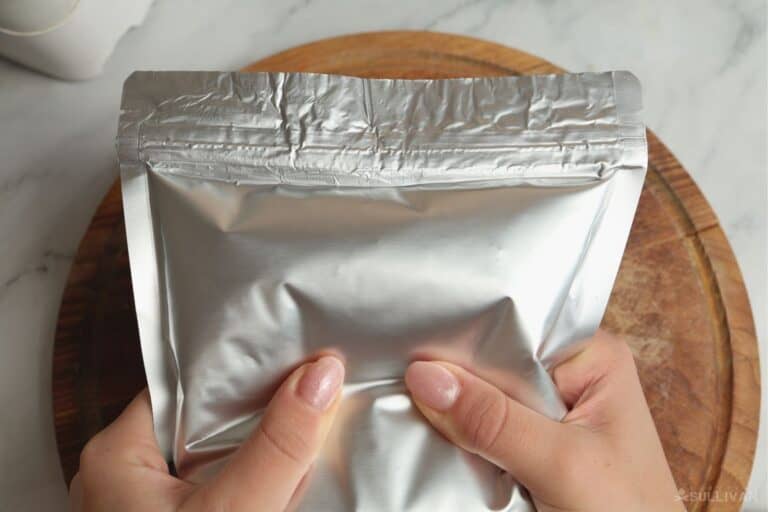
Press on the midsection of the bag gently and feel for air escaping. If you do feel it, repeat the previous step to get a good closure but only once. If it fails again, you should remove your food and transfer them to a new bag.
Step 7: Done! Assuming you got a good seal, you are finished.
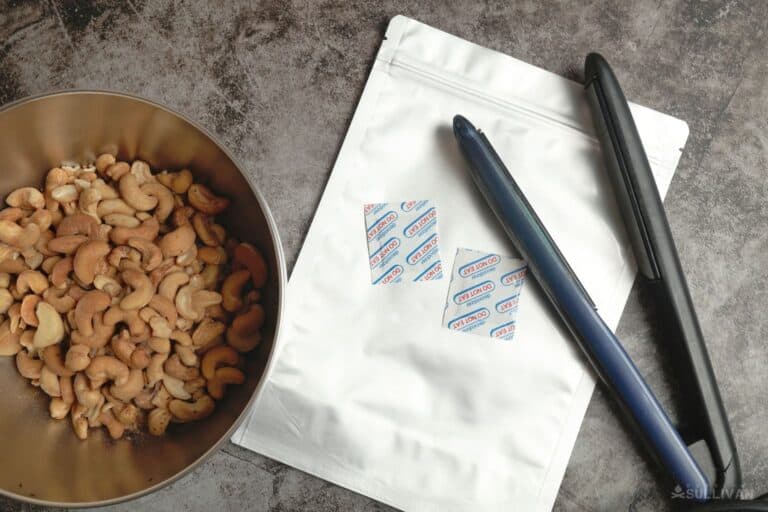
Using a Hair Straightener
Step 1: Preheat hair straightener. Plug in your hair straightener and give it at least 5 minutes to get hot. If yours has adjustable heat, turn it on high.
Step 2: Fill mylar bags with food. Fill up the bags with whatever it is you are storing, being careful to leave at least 3 inches near the opening so you can get a proper closure and seal.
Step 3: Toss in oxygen absorber. Once the bags are filled, don’t forget to toss in your O2 absorber. A good guideline is to use a 300cc unit for every gallon of bag volume.
Step 4: Close and smooth mylar bag opening. If needed, tap and jostle your bag while upright so the contents will settle away from the opening. Then smooth out the opening taking care to keep the sides of the bag level, smooth, and free of wrinkles or other obstructions.
Step 5: Clamp straightener over opening, pull across slowly. You can lay the bag down or keep it standing upright at your preference. Clamp the jaws of the hot straightener over the opening and pull it slowly to one side. You’ll need about 3 seconds of contact with an appropriately hot straightener to melt and fuse both sides of the bag together.
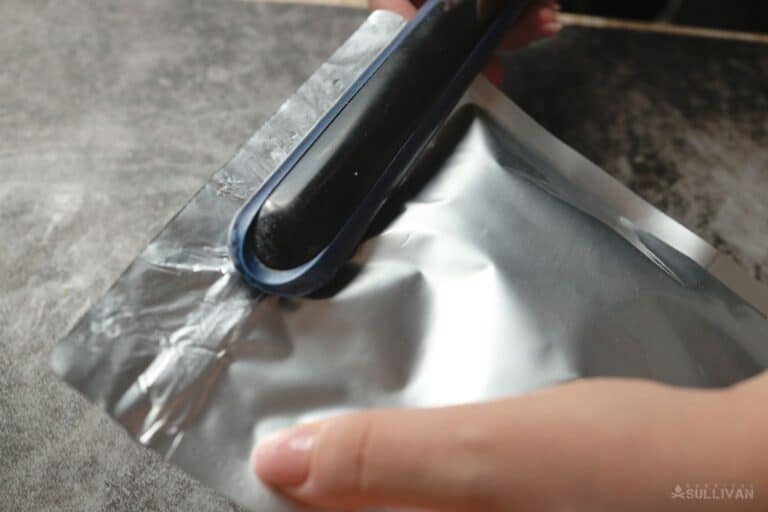
Technique is important here… You might have an easier time using the tip or point of the hair straightener perpendicular to the opening, or you might clamp the length of the jaws over one side in a parallel fashion. Again, experiment on an empty bag to see what works best for you.
Step 6: Repeat Step 5 on opposite side of opening, if needed. Take care to overlap the section you heated previously if you do.
Step 7: Check for good seal. Inspect your work. Look for bubbles, wrinkles or anything else that might indicate a bad seal. Press on the midsection of the bag and listen and feel for air to escape. If the seal is no good, repeat the previous steps to try and close it. If it still fails, you’ll need to use a new bag.
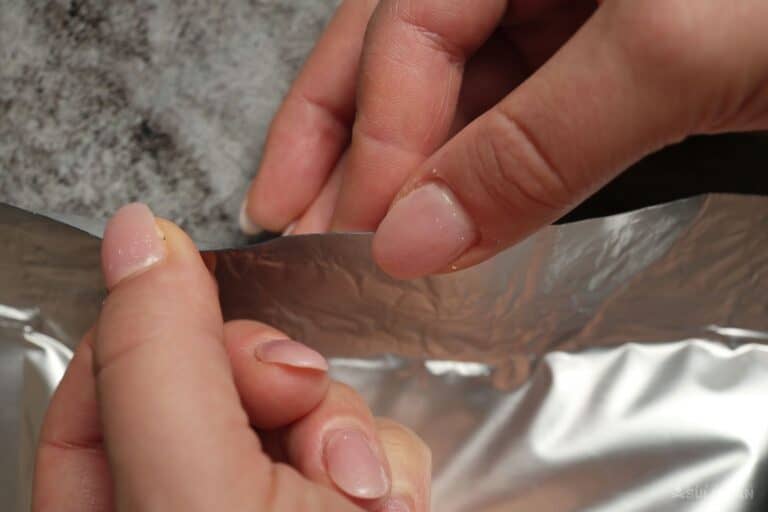
Step 8: Done! Assuming your seal passes the test, you are finished.
Always Label Your Bags Before You Put Them Away!
Do not, under any circumstances, forget to label each of your bags with the contents and the date that it was sealed.You might only have a few, you might have a great memory and even an inventory written down in a notebook, but trust me when I say that every one of these metallic bags looks completely identical after a few months in storage.

Tom Marlowe practically grew up with a gun in his hand, and has held all kinds of jobs in the gun industry: range safety, sales, instruction and consulting, Tom has the experience to help civilian shooters figure out what will work best for them.