Preppers are prone to stockpiling wheat as part of the family’s food security plan. While doing so is an excellent idea, one day those 5-gallon buckets of wheat might run out. Buying long-term wheat buckets can not only get rather expensive, they take up a lot of storage space.
Growing your own wheat, especially red winter wheat, ensures you will not only have a solid food base at your fingertips but the means to make straw to supply bedding for livestock as well as a covering for seeds during the spring planting.
Hard wheat berries can be grown for the berries to grind into flour, straw, to grow wheatgrass for small container gardening and to harvest seeds to stockpile for future growing seasons.
A grain mill will be necessary to grind the hard red wheat – and hard white wheat into flour. Typically, folks mix the red or white wheat at a 1 to 1 ratio with standard flour to garner more familiar tasting bread, pancakes, rolls, biscuits, or muffins.
Table of Contents
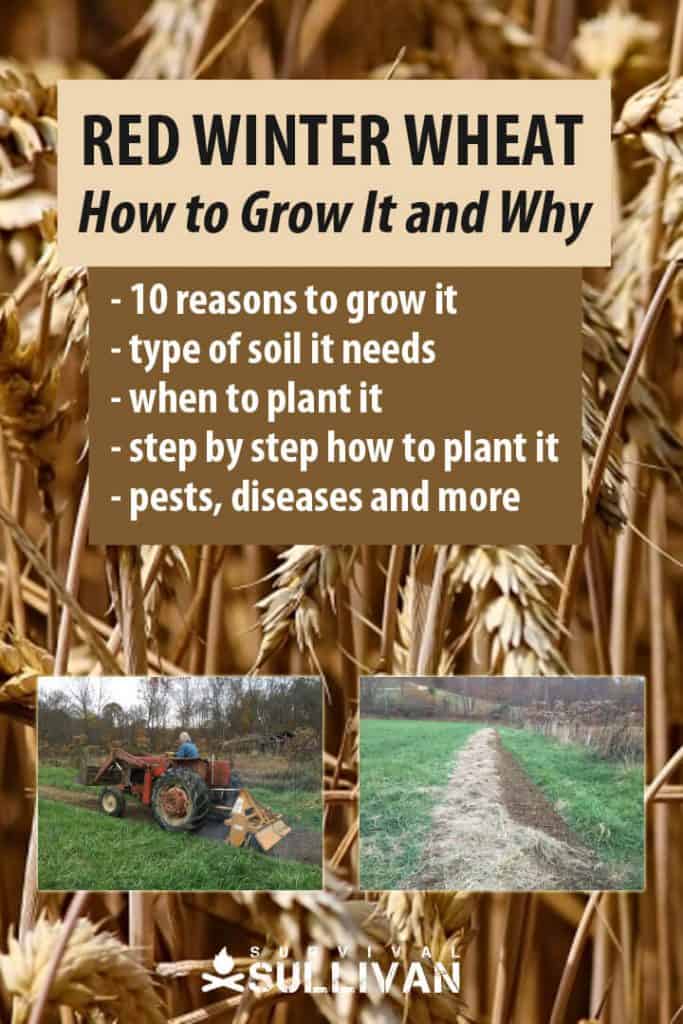
10 Reasons to Grow and Stockpile Red Winter Wheat
Disclosure: This post has links to 3rd party websites, so I may get a commission if you buy through those links. Survival Sullivan is a participant in the Amazon Services LLC Associates Program. As an Amazon Associate, I earn from qualifying purchases. See my full disclosure for more.
- Wheat is both extremely filling when used to make bread, cereals, pasta, baked goods, stews, and as an ingredient in other food staples.
- Whole wheat, like red winter wheat, boasts a plethora of nutritional benefits thanks to the endosperm and brand germ of which it is comprised. Wheat is also high in fiber and protein.
- If you store the wheat in 5-gallon buckets with mylar bags, inside it can last up to 25 years – just like the more expensive commercially manufactured variety. The buckets must have a firm fitting lid and be stored in a cool dry place to prevent insects from getting inside and moisture from seeping in and causing mold growth. Wheat is shelf stable far longer than the the resulting flour.
- Your stockpiled wheat can be run through a grain mill and turned into flour for baking. A crank grain mill does not need electricity to function – always a plus during a long-term disaster.
- Cracked red wheat berries (wheat kernels) can be cooked and used as a cereal alternative. They actually taste quite good, especially if you part with a little fruit or sugar to throw into the bowl, as well.
- If you have a large survival homestead you can plant enough red winter wheat to cultivate your own straw for livestock bedding and seed covering. If you live on an in town lot or even in an apartment you can grow wheatgrass sprouts in shallow containers to either feed any small livestock you are keeping during the winter – or yourself.
- Wheat berries can also be prepared like rice and used in casseroles, stews, soups, and chili dishes.
- Wheat also makes a great bartering item during a long-term disaster.
- Red winter wheat is extremely drought, disease, and insect resistant. If the weather and other environmental conditions destroy all of your other crops, you could still have a robust field of wheat to use to make food.
- Red winter wheat is an excellent cover crop to plant in the fall to infuse nutrients back in turned soil and prepare the ground plot for seeds and plants cultivated in it the following spring.
When to Plant It
Red winter wheat is typically sown directly into the ground in late September through the middle of October. Which agriculture growing zone you live in will determine if you need to plant slightly earlier or can plant a little later. We live in growing zone 6, and plant the middle to the end of October.
The first month to month and a half after the wheat is planted is when the vernalize process takes place. This means the seeds are “signaled” not to flower until the weather cools and being to warm again in the spring.
These first few weeks in the ground also give the red winter wheat seeds time to get acclimated to the cooler temperatures. Seeds planted later than the middle of October can still produce a robust yield – as long as they are in the ground before the first hard frost.
But, when you plant wheat outdoors later in the fall, a robust yield could become only a solid one. The later the seeds are planted in the fall, the greater risk of the red winter wheat developing rust.
Seeding red winter wheat closer to the recommended start day can enhance its chances of being winter hardy.
If the plants that develop from the seed have a minimum of three visible leaves and a crown that has developed (the space at the base of the wheat shoot the red winter wheat “regrows” from at the start of spring) chances are optimal that it will be strong enough to survive the long hard cold months of winter.
But don’t get overeager and plant the wheat seeds too early. Cultivating them before the recommended time in the fall for your growing zone could allow them to mature too much.
If excessive growth does occur, the chances of the plant developing mold when it is hit with a chilly rain or snow increase.
Type of Soil to Plant Red Winter Wheat In
The seeds will germinate best in a moist soil. If planted in a dry soil red winter wheat seeds often will not grow or experience stunted sprouts. If the soil is too dry and you are nearing the end of optimal planting time, do not wait for rain.
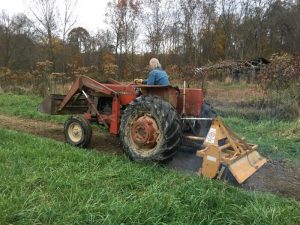
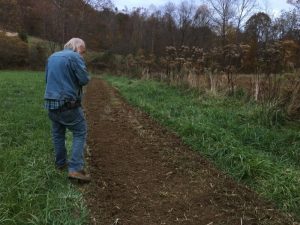
Till the dry ground. It may take up to four or five passes and water somewhat liberally after planting the seed.
Calculating Seed Density
The growing conditions specific to your soil type and current weather patterns will play a significant role in how heavily you plant the red winter wheat seeds.
If you are experiencing dry conditions or drought near the end of the recommended planting date, do not wait for rain. Get those seeds in the ground and then water them.
When planting the winter wheat seeds, you should aim for approximately 30 to 35 plants per every square foot:
The typical red winter wheat survival rate (if you followed proper planting techniques) is about 70%.
How to Plant Red Winter Wheat
Instructions
- Till or rake the ground where the seeds are going to be planted. You should aim for about a 1 to 2 inch depth when turning the ground.
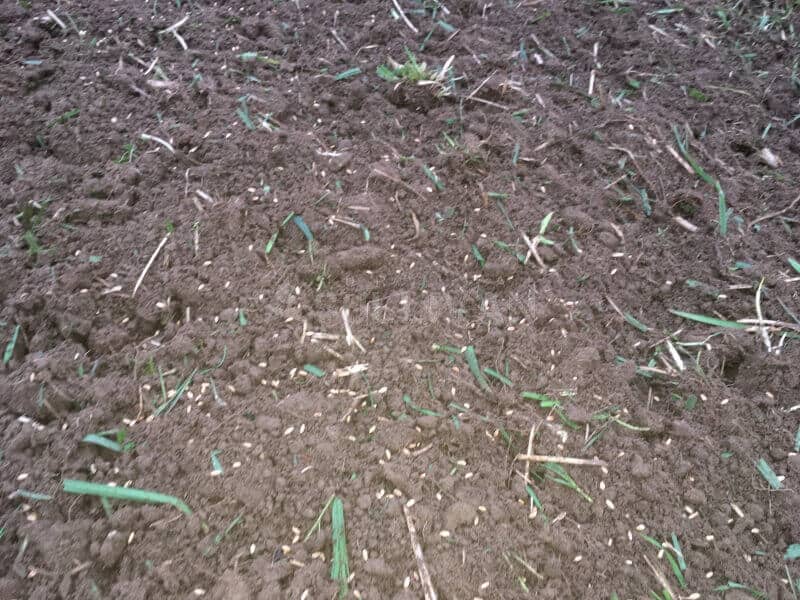
- Broadcast the seeds directly on top of the turned soil. You can use a seed spreader tractor attachment if cultivating a large patch of ground, a seed spreading bag with a manual crank attachment if during around ¼ to ½ of an acre, or simply walk along the rows you tilled and broadcast them manually by hand.
- If you are dealing with dry ground, even after tilling, spray the area with a garden hose to water. Use a wide and light spray setting so you do not disturb the seeds any more than absolutely necessary.
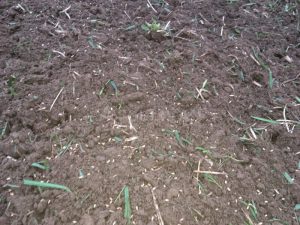
- Sprinkle hay or straw sheaves lightly over the broadcast seeds. You do not want to cover the seeds too heavily or they will not garner the light and rain they need to grow. Covering the seeds lightly with hay or straw prevents birds from eating the seeds and creates enough humidity to help them get a good start in the growing process.
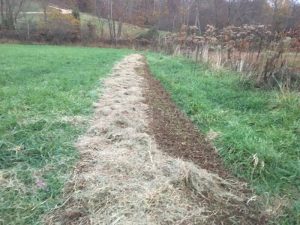
It took one square bale of hay to lightly cover the red winter wheat seeds planted in this 500 foot long and three foot wide row.
Wheat Diseases
Although this looks like a long list of diseases, most are not common during typical weather patterns and some are limited to specific growing zones.
During times of intense humidity or rain, you should check your wheat regularly for signs of rot, fungus, mold, and mildew diseases.
If the stalks has a yellow streak and the wheat heads are drooping or folding under, odds are the plant is struggling deeply and may not make it to spring. Some wheat diseases are caused by insect infestations.
You should treat your wheat with natural pesticides or insecticides just as you would your regular summer season crops.
| Smut – both loose and flag | Wheat Streak Mosaic Virus |
| Brown Rust – leaf rust | Black Rust – stem rust |
| Powdery Mildew | Eyespot – Strawbreaker |
| Yellow Rust – stripe rust | Stinking Smut – dwarf smut |
| Head Blight – scab | Sooty Mold – black mold |
| Alternaria Leaf Blight | Bacterial Spike Blight |
| Snow Mold – fusarium leaf blotch | Partial Blunt – karnal blunt |
| Downey Mildew | Karnal Bunt (Partial Bunt) |
| Blotch – septoria tritici, septoria nodorum, septoria avenae Blotch, and spot | Take-All |
| Black Point | Bacterial Leaf Blight |
| Southern Blight – Sclerotium Wilt | Ergot |
| Rot – foot, common, and crown | Tan Spot Blotch |
| Barley Yellow Dwarf | Rhizoctonia Root Rot – sharp eyespot |
Wheat Pests
| Cereal Leaf Beetles | Wheat Curl Mite |
| Stink Bugs | Thrips |
| Hessian Flies | Aphids |
| Sawfly | Mites |
| Cutworms | Wheat Stem Maggot |
| Armyworms | White Grubs |
| Stalk Borers | Slugs |
| Crickets | Snails |
| Wireworms | Grasshoppers |
When and How to Harvest Red Winter Wheat
The winter wheat is harvested in the spring, but how you harvest it will depend largely on what you want to do with the yield. Depending upon your growing zone, it can take 7 to 8 months for the red wheat to be mature enough to harvest.
Cover Crop
If you planted the red winter wheat as a cover crop to infuse more nutrients back into the soil, you will need to till it under in the spring as soon as the ground is soft enough to do so.
When the wheat is tilled the root zone containing vital nutrients the soil needs, are torn apart and the planting of vegetables to absorb them.
Straw Bales
When growing wheat to make straw, you need 3 straight days of no rain and temperatures above a minimum of 75 F (23 Celsius) (preferably in the mid 80s F or 29 C) to cut, turn, and bale the wheat crop.
If you do not have a hay baler, you can harvest the red winter wheat the pioneer way with a machete or scythe and stack it straight up and down, tied together ¼ of the way to the top, and allow it to dry.
Like hay, damp straw square bales can spontaneously combust – if stacked tightly together in your barn and not completely dry, you could lose the entire structure.
I have seen hay bales combust, destroy the ground around them, and take down a barn. It happens very quickly and sometimes kills the livestock living in the structure.
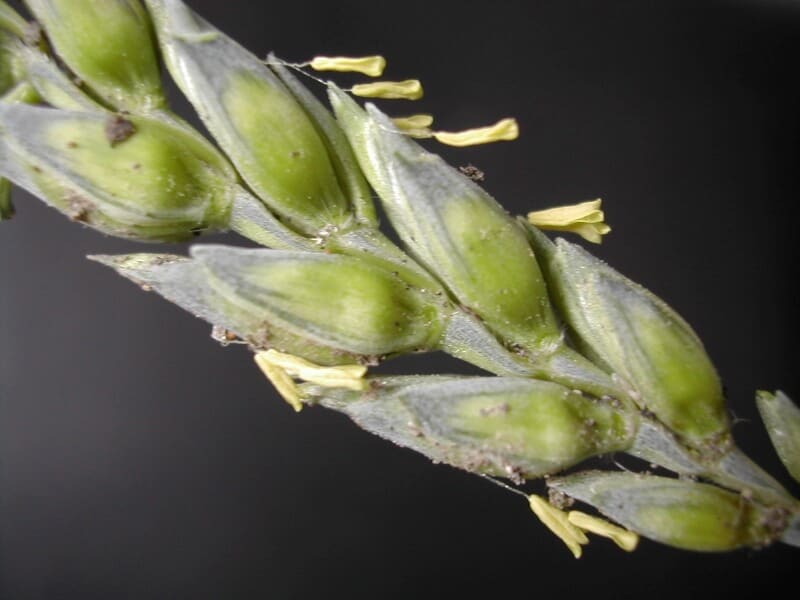
Wheat Berries
Once the red winter wheat has matured and the tops are starting to turn yellow, it is time to harvest the berries. Simply run the tops of the wheat stalks through your hands to shake the berries loose and into a waiting bucket.
Smack the stalks against your bucket to release any berries you may have missed. This is called threshing.
Next, pour out the wheat berries onto plastic sheeting or a tarp to dry. You can speed up the drying process by taking a queue from our pioneering ancestors once again and toss (gently, now) the wheat berries up into the air a few times by holding onto all four edges of the tarp. This process is called winnowing.
Once the red wheat berries are thoroughly dried, they should be stored in an airtight container to reduce their exposure to air, and vastly increase their shelf life.
Including red winter wheat into your survival gardening plan (regardless of how much you have the space to grow) will help stretch your prepping budget further and increase your family’s food stability during a long-term disaster.

Tara Dodrill is a homesteading and survival journalist and author. She lives on a small ranch with her family in Appalachia. She has been both a host and frequent guest on preparedness radio shows. In addition to the publication of her first book, ‘Power Grid Down: How to Prepare, Survive, and Thrive after the Lights go Out’, Dodrill also travels to offer prepping tips and hands-on training and survival camps and expos.
Hi,
Thanks for the detailed information.
I have a question. If I were to grow red wheat over the winter (in zone 6), can I harvest it and still plant that soil for a crop of something else the next spring and summer? Or, will it prevent me from gardening the following year?
Thanks,
Christina
Awesome article, thank you!
I will be planting this fall; some as a cover crop & some to harvest.
Wish me luck!