From times immemorial, humans have picked up a stick to fend off predators or take down animal food sources.
In a survival situation or SHTF scenario, the spear is a fundamental tool in your arsenal, and can mean the difference in making it out in one piece or not.
The spear is the easiest of all the primitive weapons to make. Picking up a long stick and sharpening it is the easiest way to fashion a survival weapon and it’s free.
There are three main types of spears used in three different scenarios:
- the short stabbing spear used for close-quarter hunting and defense;
- the long spear or javelin, used for throwing and tracking targets at a certain range,
- and the lance-type spear used to take down a charging target or a large game animal.
The spear is an easy weapon to use but, as with all things, throwing a spear implies you need accuracy and good timing in order to be successful as a spear hunter.
Spears also work well with pitfall traps that are designed to capture game by causing them to fall into a hole in the ground, usually prepared on a game path that sees regular use.
Here, the spear can be brought to finish off any game that has fallen into the trap.
Constant practice at ranged targets is recommended until judging distance is improved, and an accurate aim is achieved.
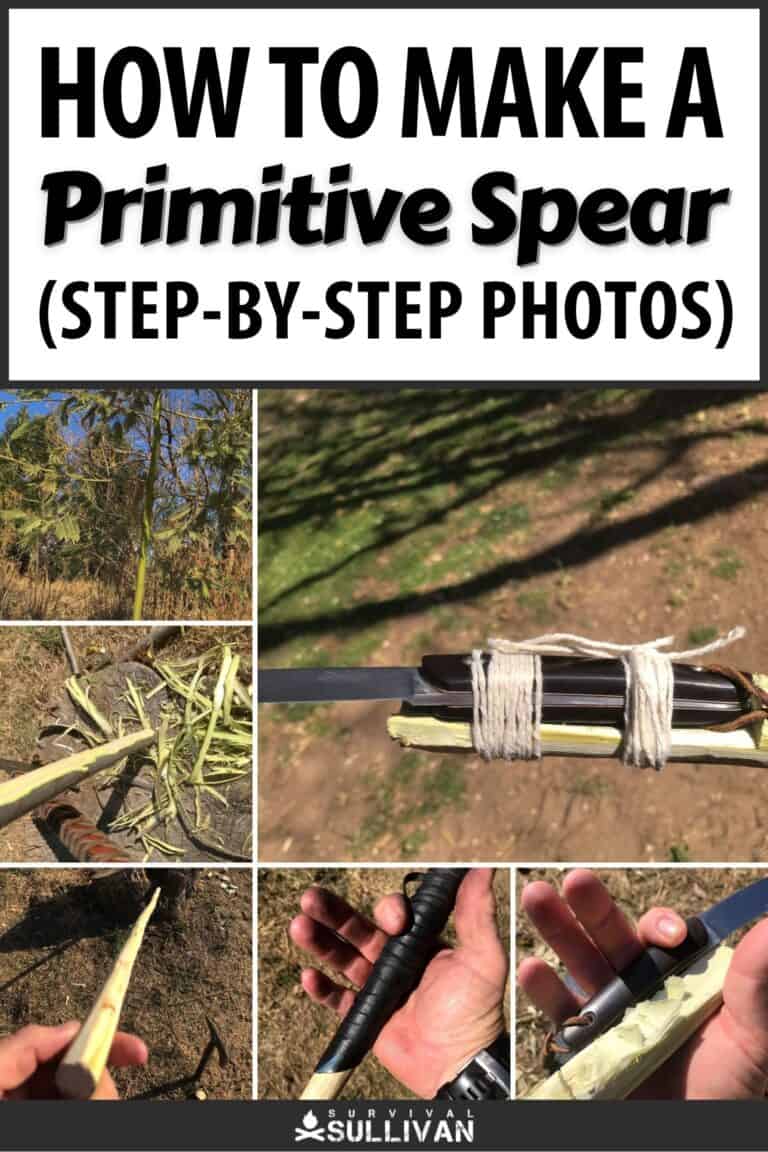
In this article I will take you through the steps to make a primitive spear from materials that are easily accessible to you.
The process is structured with easy-to-follow instructions and uses minimum equipment.
I will assist you in how to select the spear shaft, sharpen and harden the tip, and introduce a couple of variations such as attaching a knife to a pole.
Quick History of the Spear
The transition from a sharpened stick to a balanced shaft tipped with flint, copper, bronze, and finally, steel took centuries, to give it perspective it took 10,000 years for us to enter the iron age.
The spear is truly a beautiful weapon, designed to give us reach, to be an extension of the body and of the self. At war, the spear has played a developmental role in building empires across the globe.
The spear was used with military tactics that brought the enemy into striking distance or held the enemy at bay until they are flanked or trapped.
Early spears were long shafts, the tips cut into a pointed end and hardened in the fire.
Fire drives out the moisture, and moves the wood fibers closer together, compacting them into a much harder compound than the rest of the shaft. Something we’ll be doing ourselves…
The advent of the spear heralded a new era in hunting tactics, where hunters would gather to hunt collectively, taking bigger game.
The advent of gunpowder saw the demise of the spear in both hunting and war, yet the spear remains relevant in hunting and survival.
Level of Difficulty
Spears are easy to make. Pick up a straight stick, sharpen the end, and you’re good to go.
Making a balanced shaft that will fly true and give you the consistent performance you need, requires an understanding of how to tune your spear.
Adding a spearhead will change the balance, require you to fashion a heavier spear shaft, and make a spearhead from materials available to you.
A spear of 6 to 8 feet long is the ideal length on average, but it depends on how tall you are. You can trim it shorter to suit your body type:
Ideal Conditions
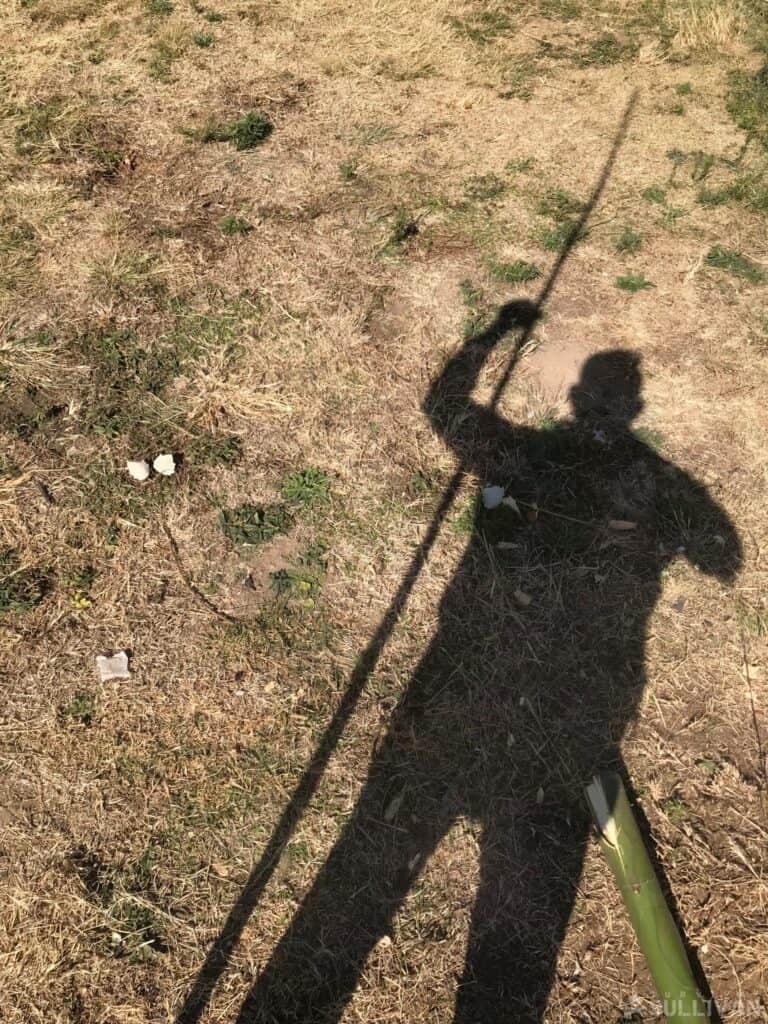
A throwing spear will require enough space for your throwing arm to arch through the movement.
Shorter stabbing spears require less space for throwing and a run-up but need space in which to maneuver.
Longer spears require the space to effectively be brought to bear on a charging target.
The type of prey you can hunt with a primitive spear include mostly small to medium game animals and birds. It can also be effective against larger animals with direct hits to the vital areas.
Best Wood To Use
When you’re out in the wild, whatever wood you can find is the one you’ll have to go with.
But if you have time to be picky, then choose a thicker hardwood like this one to make a bigger spear:
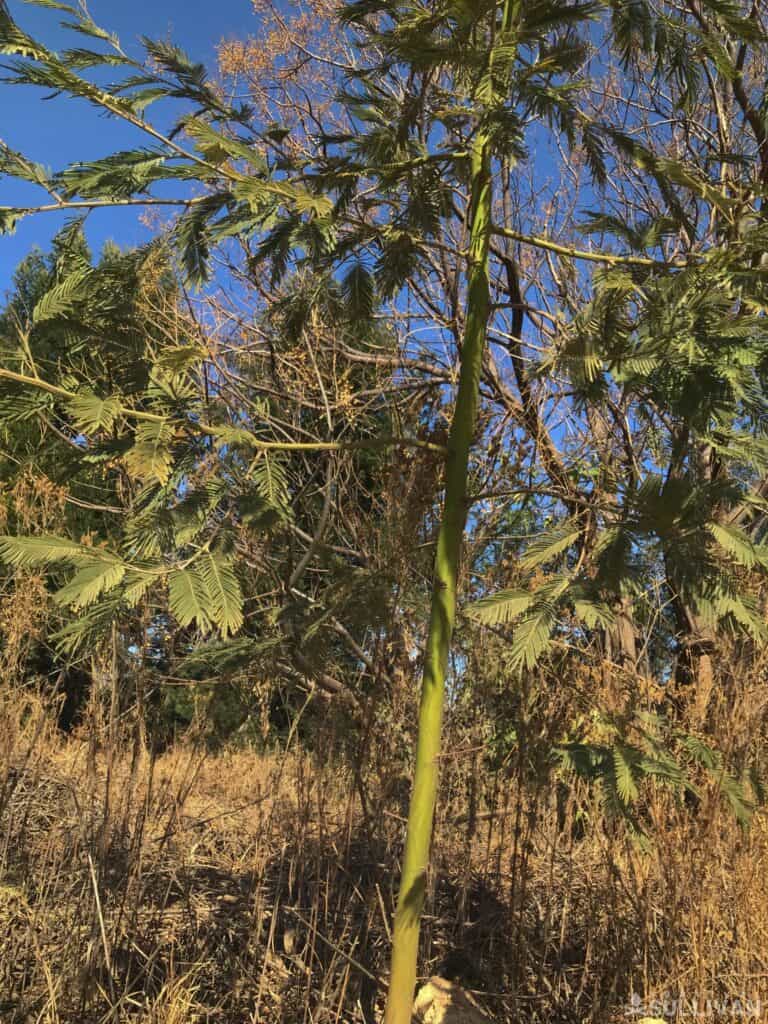
If you want a smaller spear, either because you want to small game, or if you’re not very tall, then a thinner softwood like this one will do:

The one thing you want to make sure is that the branch is between 1 and 2 inches thick, so you can comfortably hold it in your hand, and then throw it.
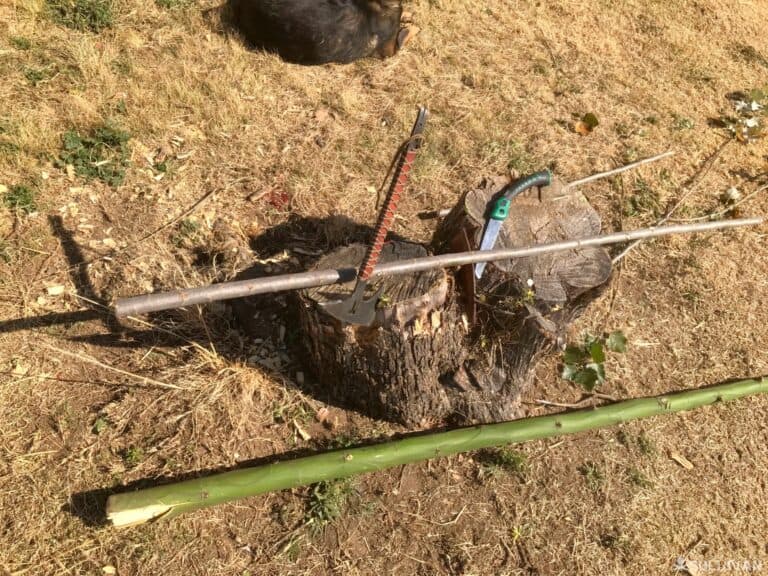
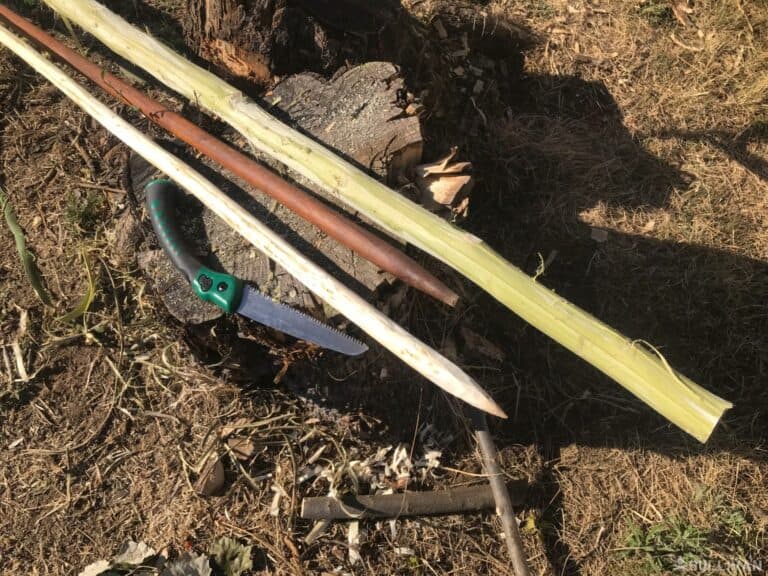
Materials Needed for The Spear
- a long straight branch of wood
- small ax or hatchet
- small wood saw
- large knife
- fire starting kit (to harden the spear tip)
- thin cord for binding to secure a knife to the end of your spear or any other spearhead that you can manufacture
- resin to seal your binding (optional)
Here Are The Needed Steps For Making the Spear
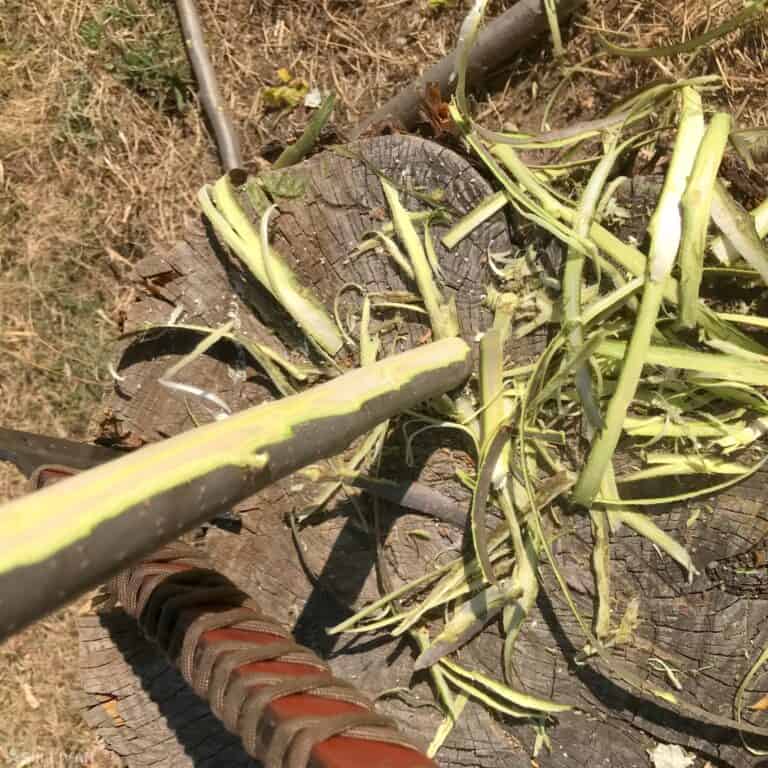
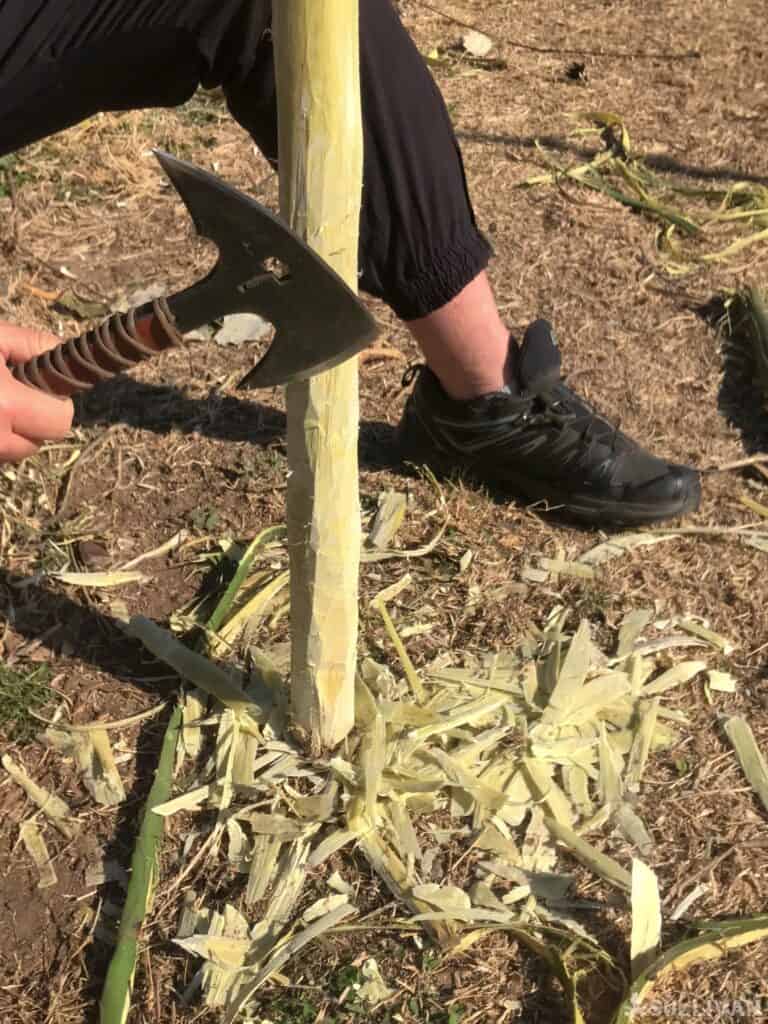
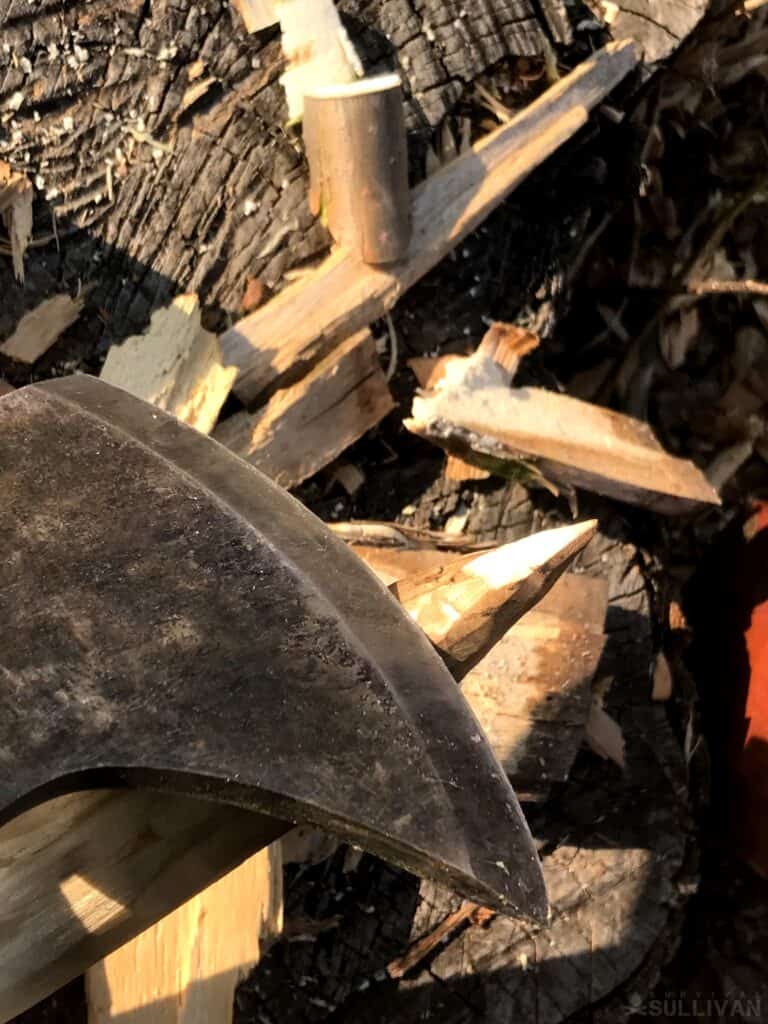
- Cut the branch to the desired length.
- Clean off all the bark, excess branches, and knots. You want to achieve as smooth a shaft as possible to improve the spear’s flight and accuracy.

- Strip the bark off the shaft to allow the wood to dry and smooth the surface as much as possible.
- Lay the spear out in the sun to dry.
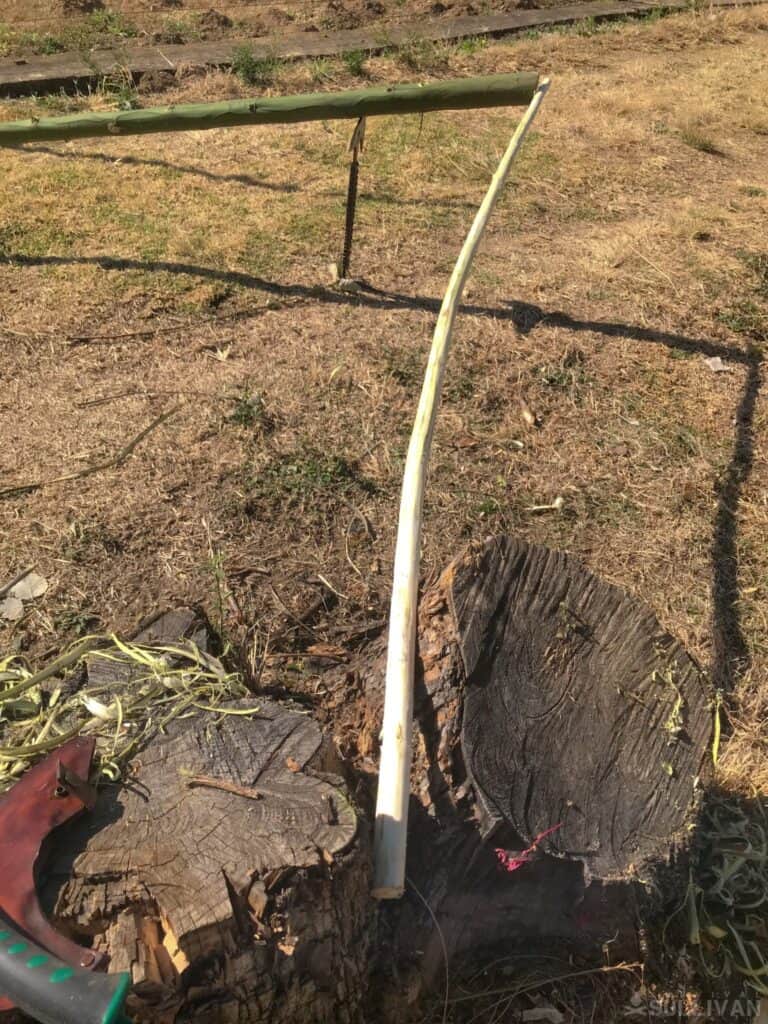
- If it is slightly bent, wet wood can be straightened by setting up a jig of sorts using natural material and bending the branch straight. Use the sun or build a small fire next to the bend to dry out the wood. As it dries, it will hold the new shape. If you use the lighter, thinner shaft then you’ll have your spear ready in about 20 minutes.
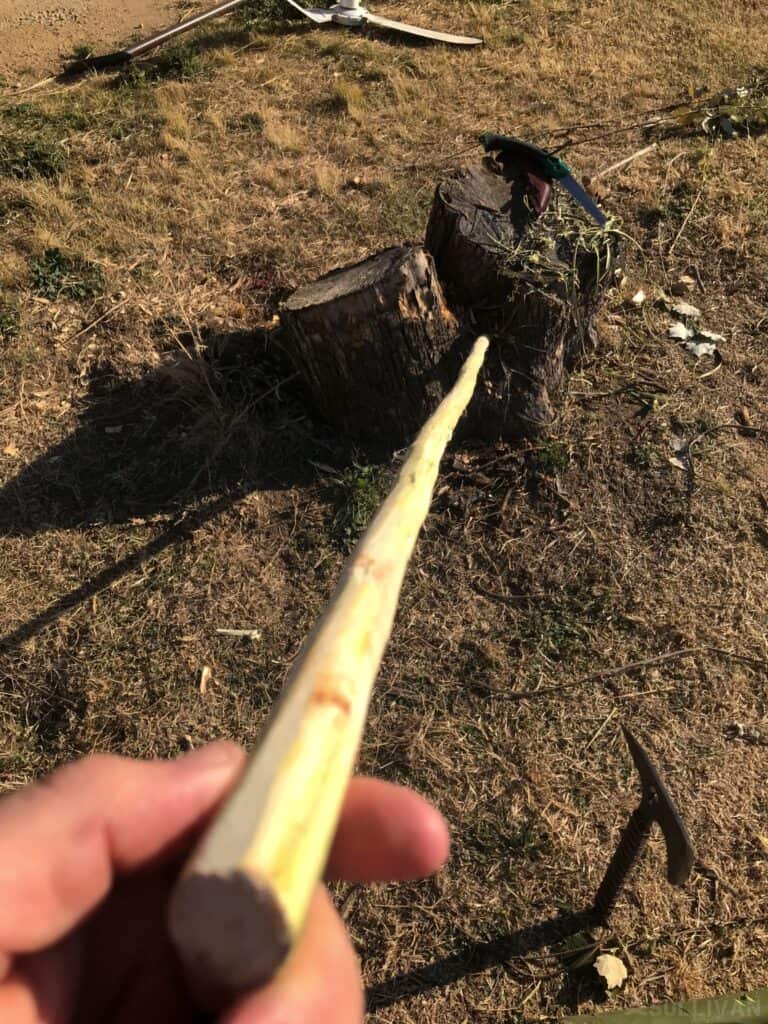
- Working with a heavier, thicker length of shaft, you will need to trim down the shaft to a usable thickness and length.
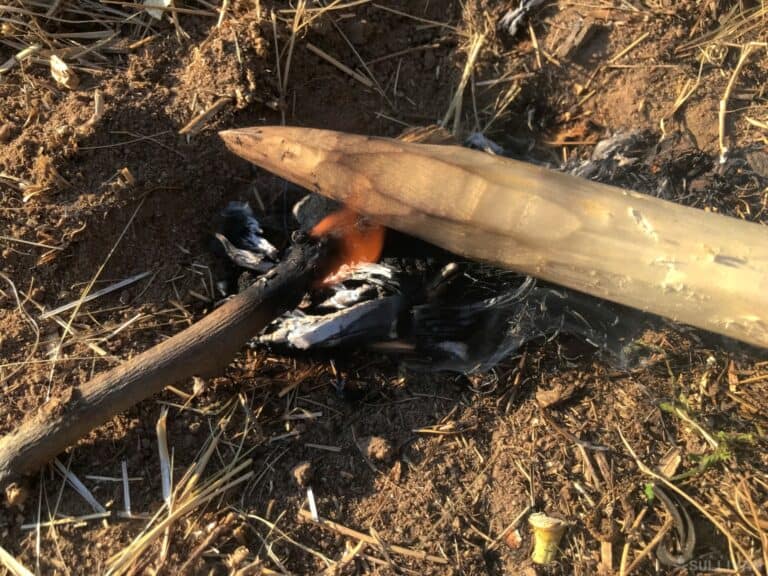
- Once dry, sharpen the thicker end into a point.
- Start a small fire, to harden off the spear point.
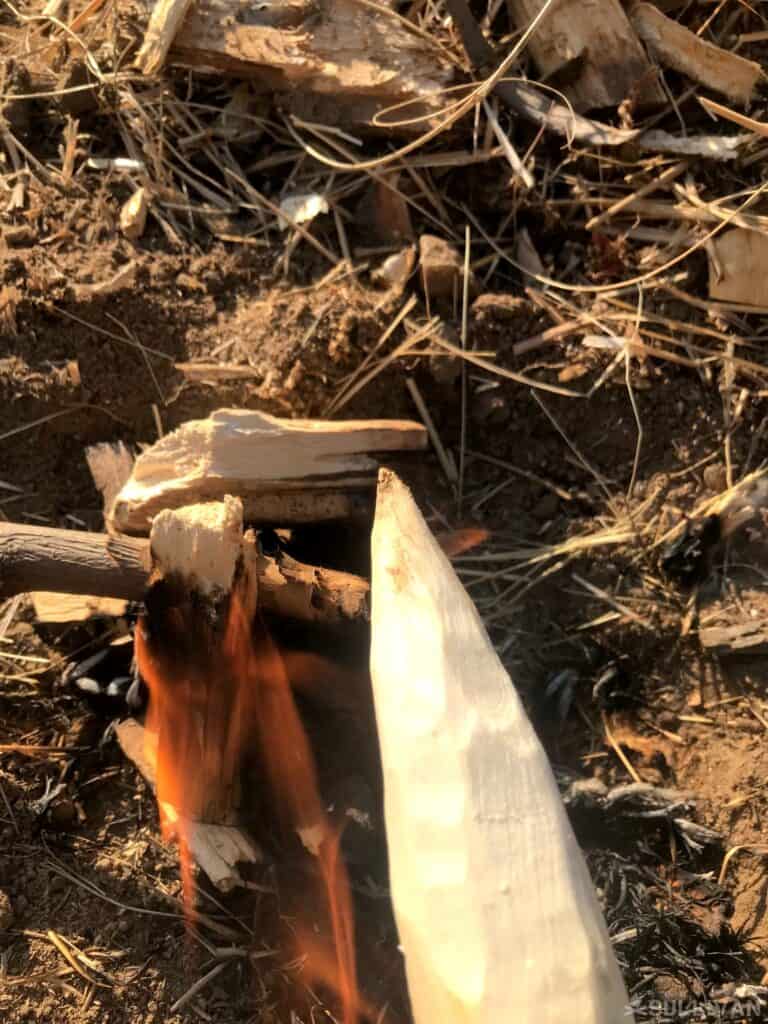
- Hold the point over the fire, rotating it in your hands to spread the heat evenly. Do not let the wood catch fire, this makes the point brittle. A thin, brown layer will form around the wood as you rotate it, indicating that it is drying. Don’t let it scorch, either.
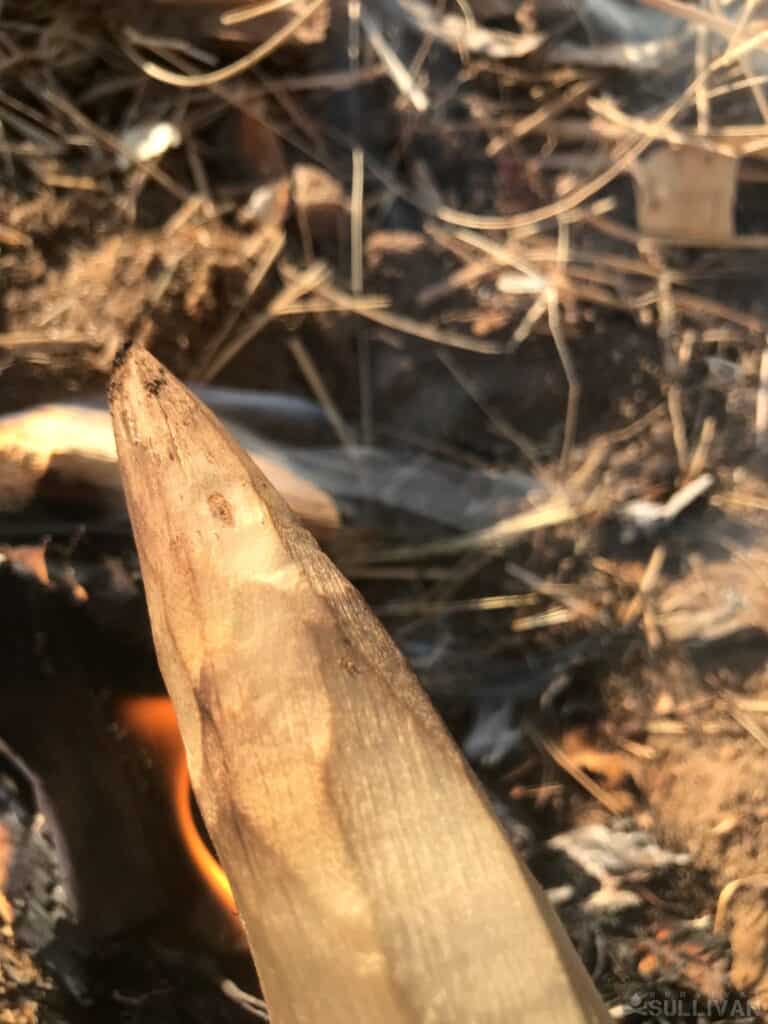
- When the brown layer begins to turn black remove the wood from the fire but keep it close to the heat to complete the drying process slowly.
- The spear can be oiled once dry. This will prevent the wood from becoming brittle and splitting. If you are in a survival situation, animal fat, plant fats, or oils can be used.
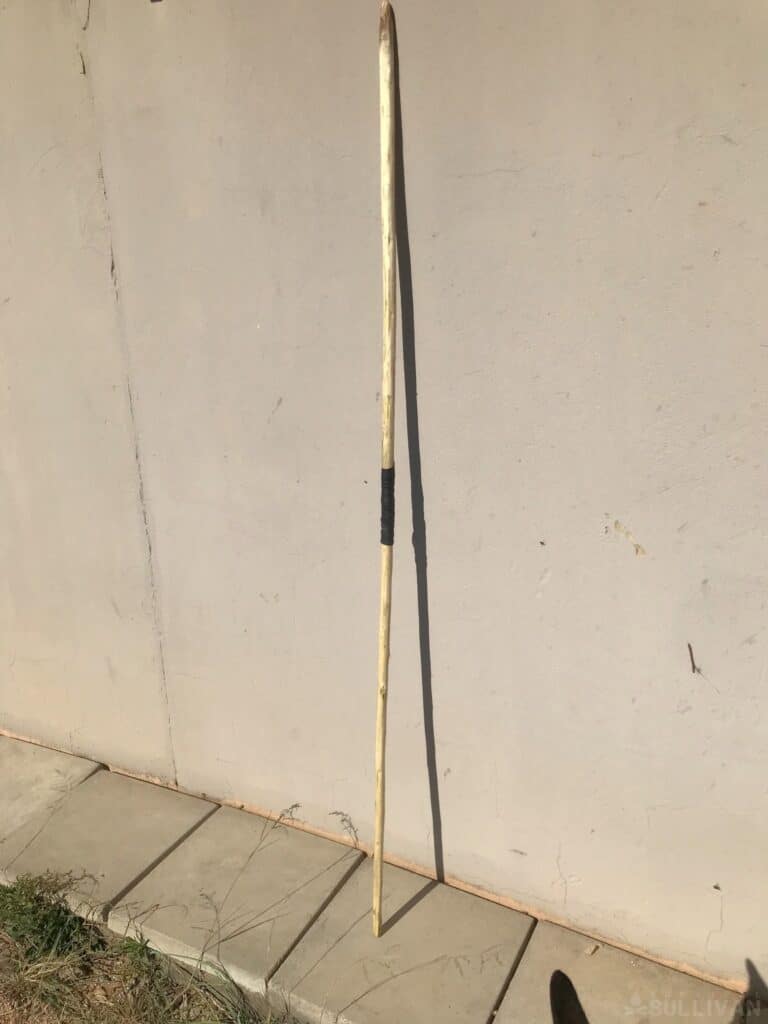
- Make a grip will be in the middle of the spear. You can wrap this point with leather or rubber to give you a firm grip when executing the throw.
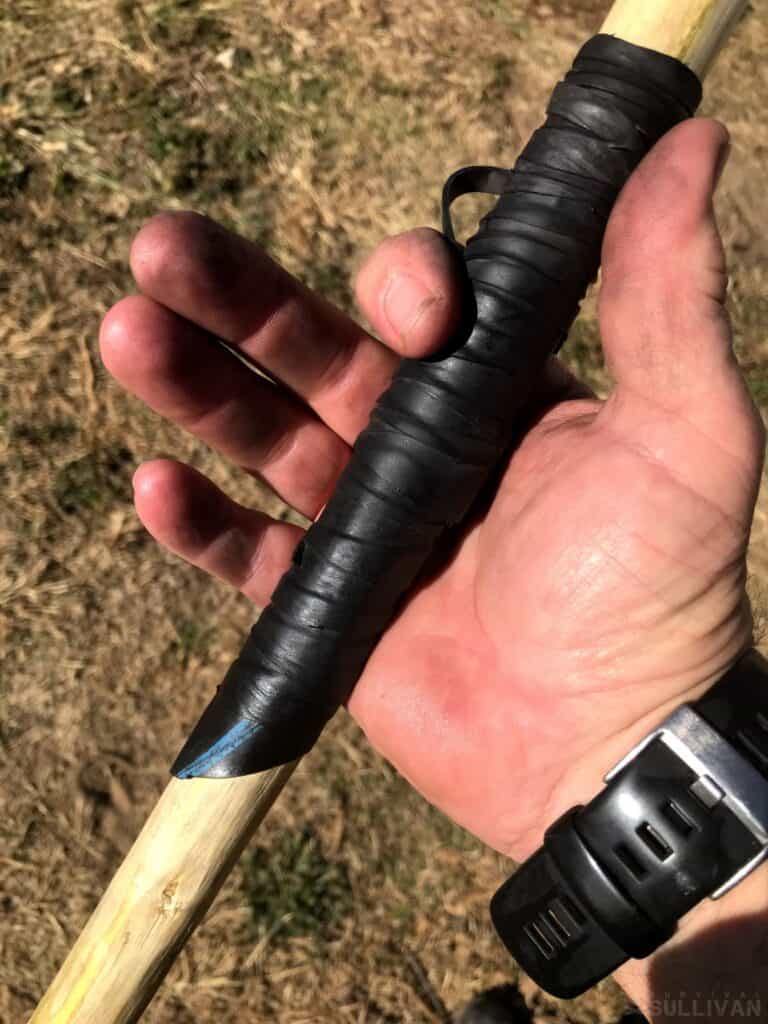
- With your knife or hatchet resharpen the end. The wood will be harder to work indicating that the wood fibers have drawn together, creating a denser working area.
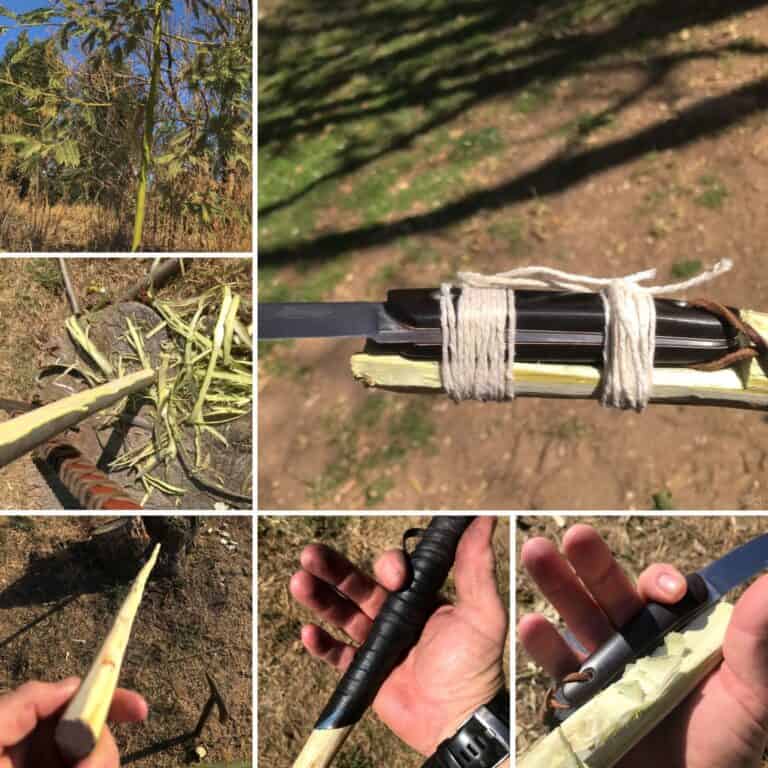
Attaching a Knife as a Spear Head Variation
Fire-hardened spear tips have one major flaw, they blunt on impact, and with continuous sharpening and hardening the spear is whittled away until you have to make another.
In a wooded area, this is obviously not too big of an issue, but if you have to move out of the area with limited resources, this can become a serious problem.
The basic spear is a sharpened shaft, and it wouldn’t take anyone long to attempt to improve on their build, either by attaching a sharpened piece of steel or chiseled stone.
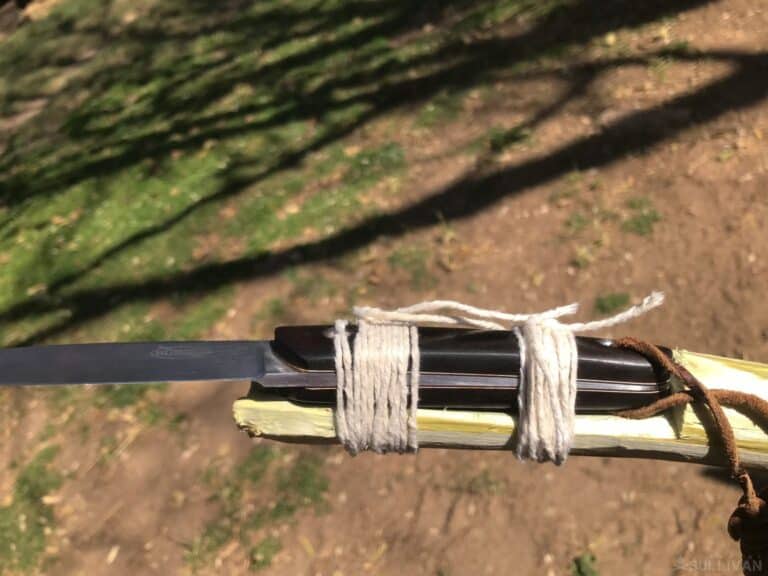
A logical and obvious progression is to attach your knife to the shaft which, under certain circumstances, can be a game changer.
It is vital that your knife is correctly attached, and as secure as possible. Only binding your knife to a shaft will run the risk of losing the knife.
Be aware that the knife is your primary survival tool, and losing it can be devastating. The psychological impact can be life-threatening, breaking your will to survive. Always consider whether the risk is worth taking.
- To attach a knife, cut a piece out of the shaft to accommodate the handle of the knife you are going to fit. Shape the grove to fit the knife handle.
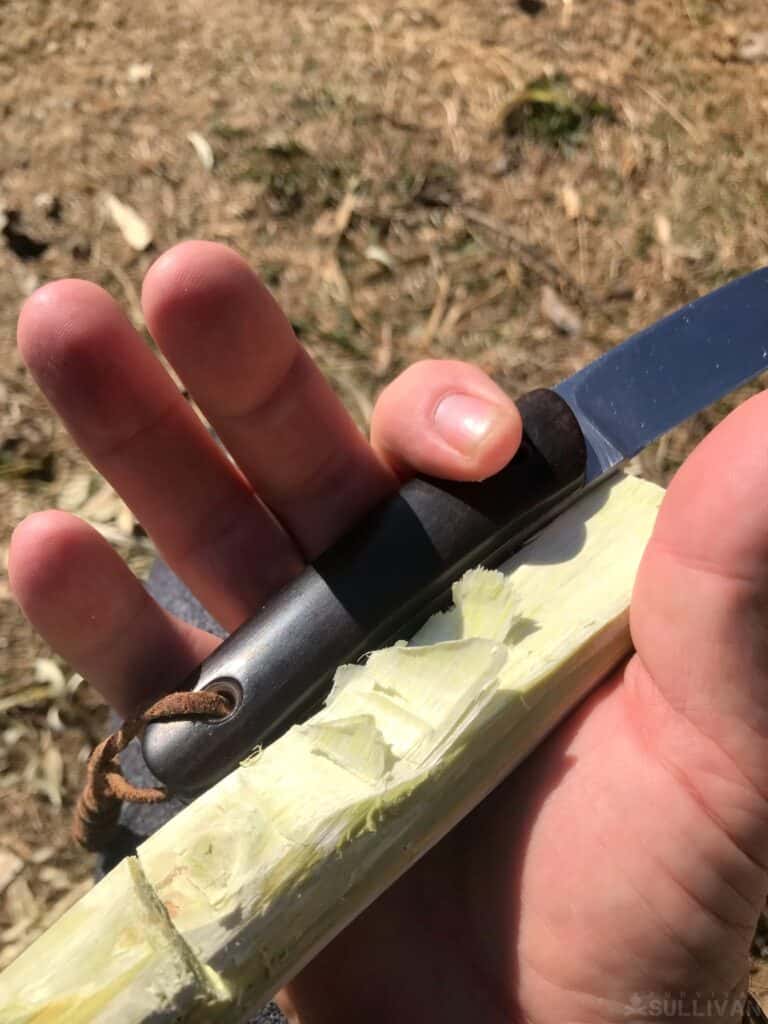
- Fit the knife into the hollow you cut.
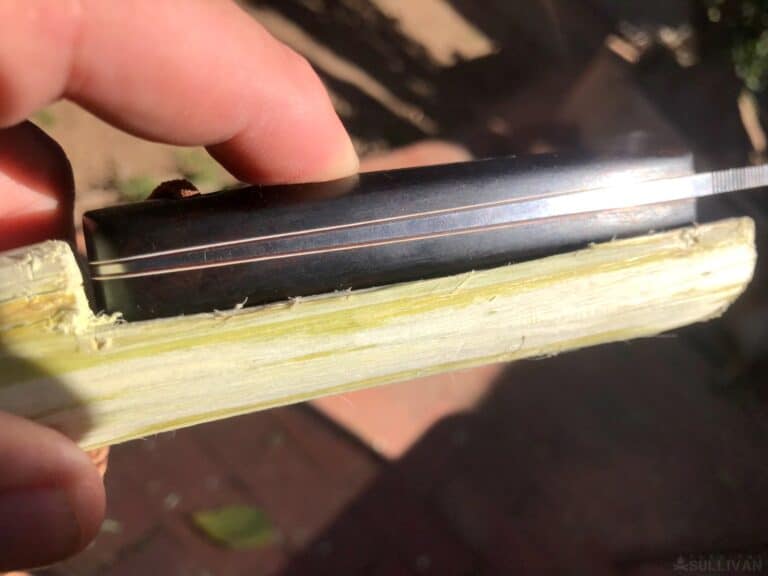
- Bind the knife to the shaft to ensure you don’t lose your blade when working the spear. Do it in segments, so if one binding unravels or breaks, the rest will hold the blade in place. If you use leather for the binding, remember to wet it and stretch it when you bind. The leather will shrink as it dries, wrapping the knife and shaft tightly.
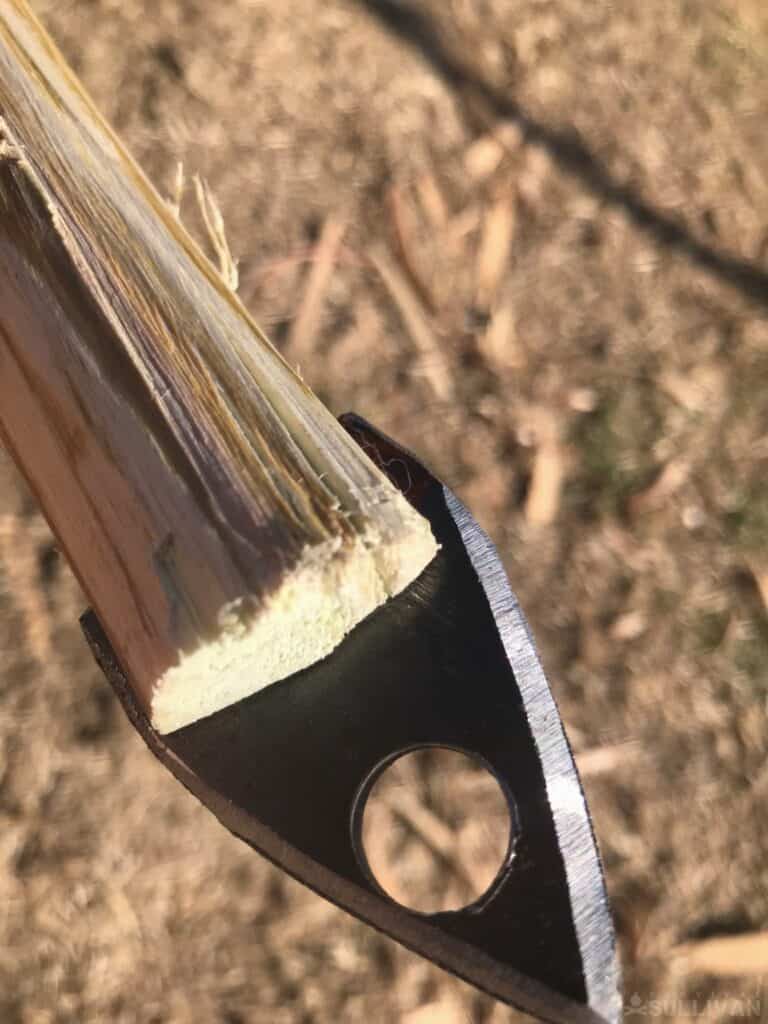
Attaching a Metal Spear Tip Variation
If you improvise a spear tip from stone or metal, cut a slit in the middle of your shaft point. Slide the spear tip into the gap, apply resin over the edges of the opening and then bind the point into place and seal again.
Last Throw
In any survival situation, the spear is a great equalizer. It will keep the wolf from the door and harvest fish, birds, and a multitude of small, medium, and large game animals.
Spears are easy to make but require accuracy to be effective.
The range of an effective spear throw is 30 to 60 feet (9 to 18 meters). It requires good fieldcraft and bushcraft skills or the hunter to get close enough to be effective.
Practice, practice, and practice some more till the spear throw becomes, instinctive and intuitive.
The spear must be considered an extension of the body and arm. Spears create distance between the hunter and any animal that charges.
Finding yourself being hunted is a very real scenario in a wilderness area where bears, wolves, and mountain lions proliferate… so be sure your spear is solid enough to protect you from them if need be.

Harrison Caine is a soldier, a hunter, a trained expert in hand-to-hand combat, hunting. He’s trained soldiers, fought wars, and provided defense services to refugees and U.S. officials. His experience in tough wilderness scenarios is unmatched