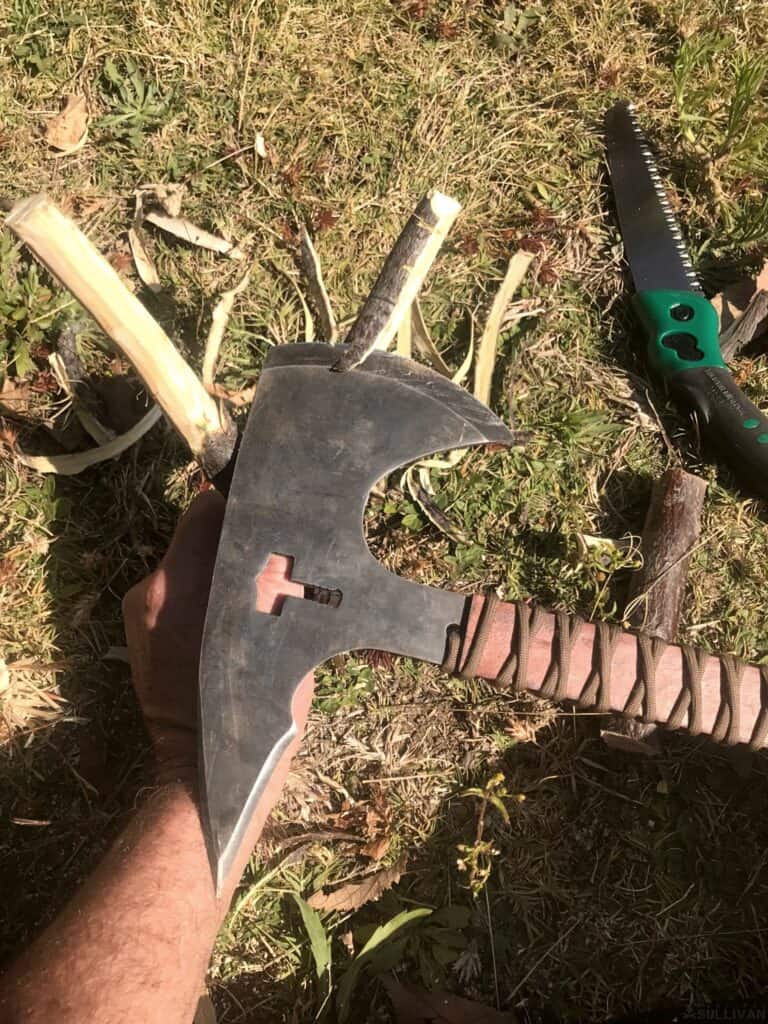
The discovery of rubber heralded a new era of invention and innovation. Human ingenuity would not confine itself to galvanized tires and rubber pipes. No, we would seek ways to use rubber to advance simple and practical tools to help us survive.
Thus, the modern rubber slingshot was invented. This easy-to-make, easy-to-use weapon has the capacity to deliver a small projectile at several hundred feet per second at accurate distances of 50 meters or better.
Our capacity to deliver a projectile at a velocity capable of causing damage or taking down a target has been a constant human pursuit that has driven invention and still does.
Sadly, as a species, we make our greatest technological advances and creative strides under survival pressure and conflict.
On the upside, the development of the modern slingshot has given boys and girls years of cheap fun.
I was five years old when my grandmother helped me make my first DIY slingshot. The product of working parents, I spent a lot of time without them and in the company of the other farm kids.
The slingshot was more than a weapon to shoot things with, it was a form of childhood independence. Once we knew how to make them, we all had them and a mighty fine pack of little hunters we made.
Short History of the Slingshot
The history of the slingshot is a history of rubber. Early rubber was a form of latex and harvested from trees that occur naturally in the Southern Americas, its uses date back thousands of years to around 1600 BC.
Its first uses were for making a latex rubber ball for sport and waterproofing water containers. The problem with naturally occurring rubber is that it is brittle and crumbles easily.
The invention of vulcanized rubber in 1840 spelled a revolution in the use of rubber, leading to the development of products that were more durable, elastic, and cheap.
Once rubber became commercially available, it didn’t take long for the rubber band slingshot to make its appearance.
Rubber was then rarely seen in the rural areas but the cities industrial areas had an abundance of the new rubber material. Initially, the slingshot was known as a weapon used by street youth mainly for vandalism.
The slingshot didn’t take long to find its way into the rural areas where its primary function was to provide a cheap hunting tool that required only round smooth stones for ammunition.
Capabilities and Operation
The rubber band slingshot is one of the simplest primitive hunting weapons to make. It is not ancient per se but has strong roots in our ancient past.
The slingshot is a close relative of the bow and arrow, using similar power generation physics to propel the stone or arrow.
Skill Level Needed
The slingshot is an easy weapon to shoot. Constant practice will produce consistent results.
Instinctive shooting requires muscle memory developed with training and regular target practice at varying distances.
As with all projectile weapons, accuracy is key. A slingshot is a close-range weapon, fieldcraft and bush understanding are vital. Starting out, remember the old military maxim: slow is smooth and smooth is fast.
Ideal Shooting Conditions
A slingshot requires only enough space to draw the rubber bands back to the aim point on your cheek.
A clear field of fire is needed to prevent your projectile from being deflected off course and missing your target.
Type of Prey
Game birds and small game are the general targets that can be harvested with ease. Headshots are recommended to preserve the meat from impact damage.
A slingshot will need to be powerful enough to penetrate the skin and break bones.
Ammunition
Aerodynamics is the key. The rounder and smoother the projectile the better it will hold its course when in flight.
A stable flight path will keep your projectile on its course and improve your accuracy.
Weight and size are next, too light and you cannot impart enough energy to the projectile to reach any meaningful distance with the punch needed to drop your target.
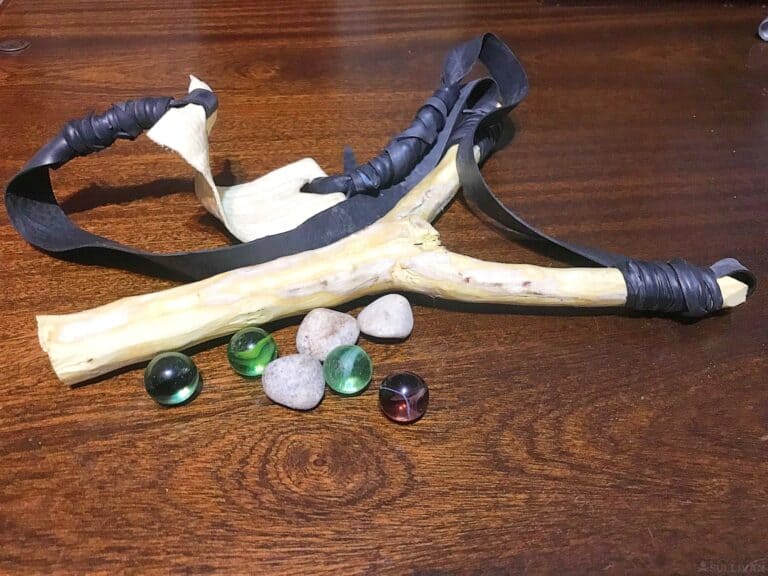
A projectile with the necessary round shape, think a marble or iron ball bearing, about 8mm to 10 mm in size and a weight of 8 to 12 grams.
This will give you the best power-to-weight ratio to achieve the knockdown you require when hunting.
The draw weight of your slingshot is similar to that of a bow for roughly the same performance, about 45 to 50 lbs. at full draw depending on the elasticity and rigidity of the rubber bands.
This will deliver approximately 200 to 400-foot paces of velocity.
For better performance stronger rubber bands may be required, depending on your hand strength and overall muscle condition.
Bear in mind my ten-year-old can draw a slingshot with enough power to drop a pigeon, so don’t drive yourself crazy with performance tables.
Materials
- A forked stick, strong enough to withstand the pressure of the brands when the weapon is drawn.
- The advent of modern materials allows for metal or aluminum slingshot frames. These can be made at home but require tools and the right thickness rods to mitigate weight.
- A latex inner tube, not the butyl ones. If you use an inner tube stretch it out, if stretches but does shoot forward with any power don’t use it, it lacks the stretch to produce the amount of energy to propel your ammunition.
- Surgical tube, latex resistance bands, or any other strong rubber product.
- Two six-to-eight-inch lengths of elastic rubber bands.
- Six to eight rubber pieces cut thin of 10 to 12 inches in length.
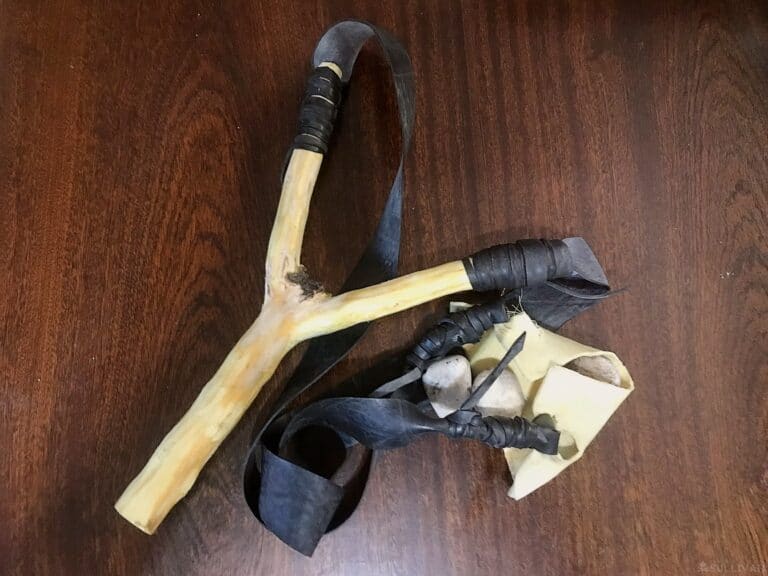
- A leather patch cut into a rectangle of 1.5 inches by 3 inches for the pocket (which will hold the ammunition).
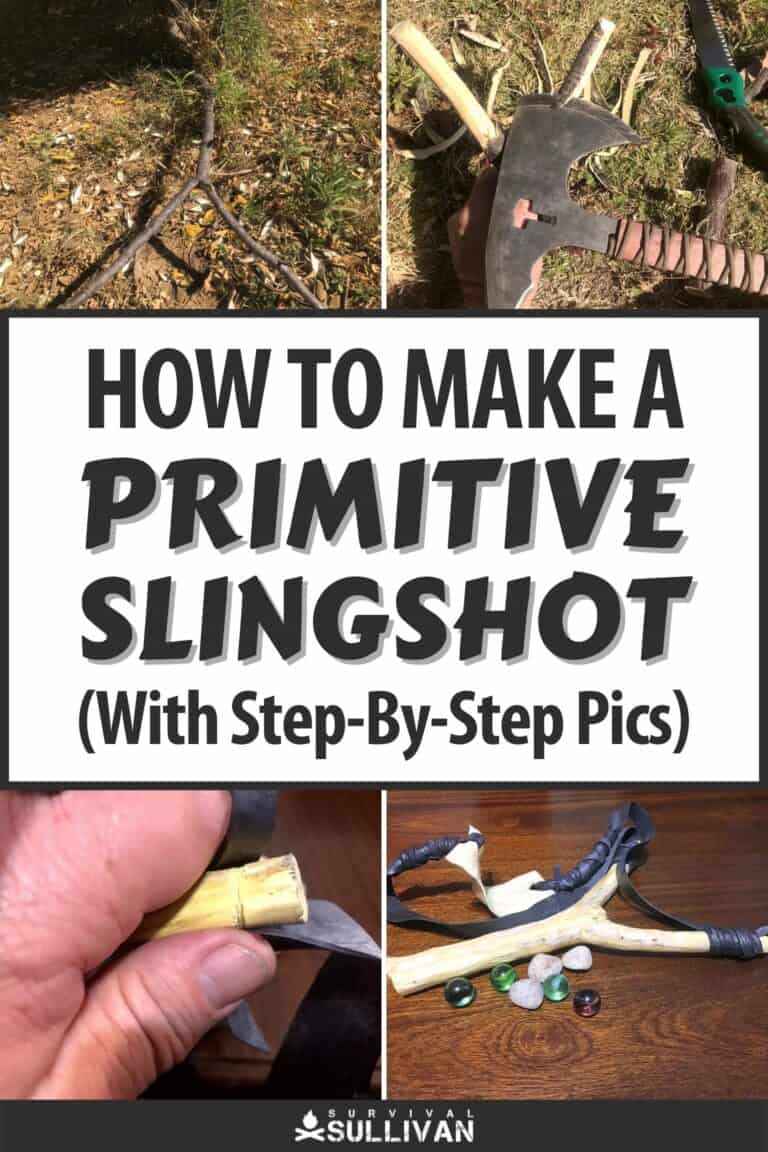
Steps To Makeing a DIY Slingshot
- Find a Y-shaped forked branch, you can cut one from a tree or use a pick-up.
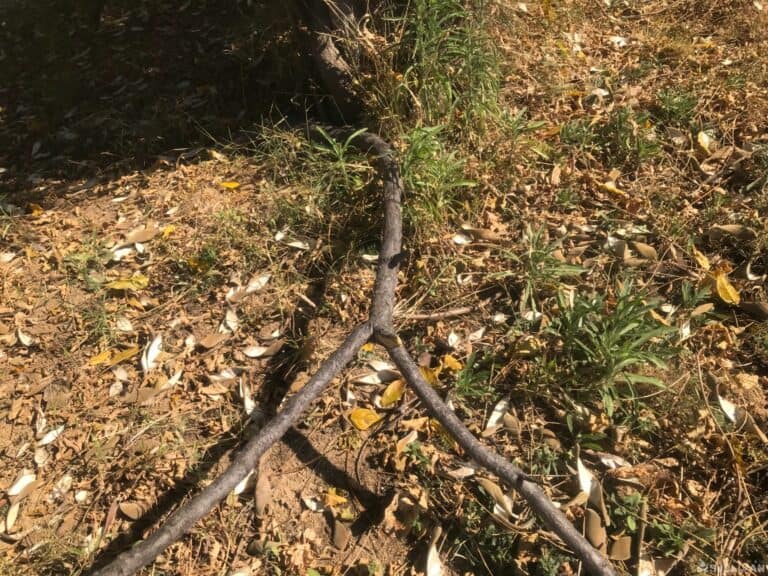
- Trim the branch into a Y-shaped frame. Make sure you cut the handle big enough or long enough to fit your hand comfortably, around 2 to 3 inches. Cut the load-bearing arms of the Y frame 2 inches long.
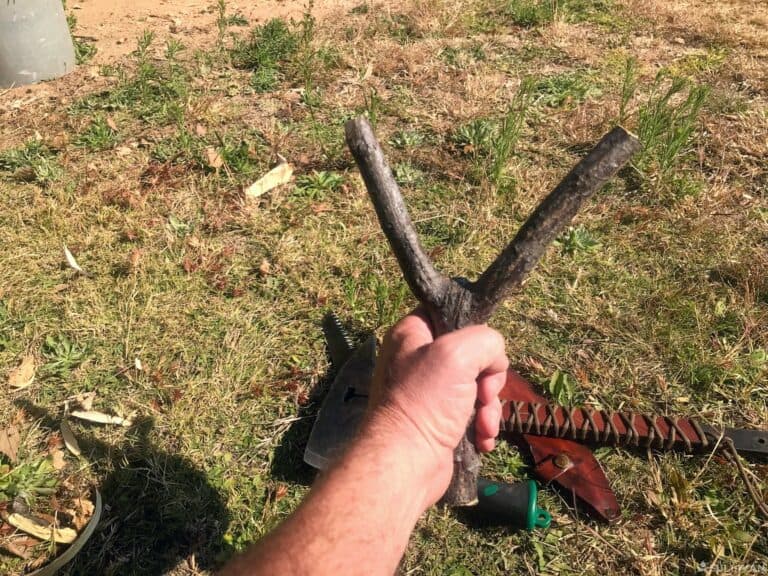
- Clean off the outer bark and leave it to dry in the sun or near an open fire. The wood will shrink when dry, and your fitted parts will not come loose.
- Cut a notch into the ends of the load-bearing arms. This will be the point where the rubber bands are attached. The notches will give your binding a place to sit, securing the rubber bands.
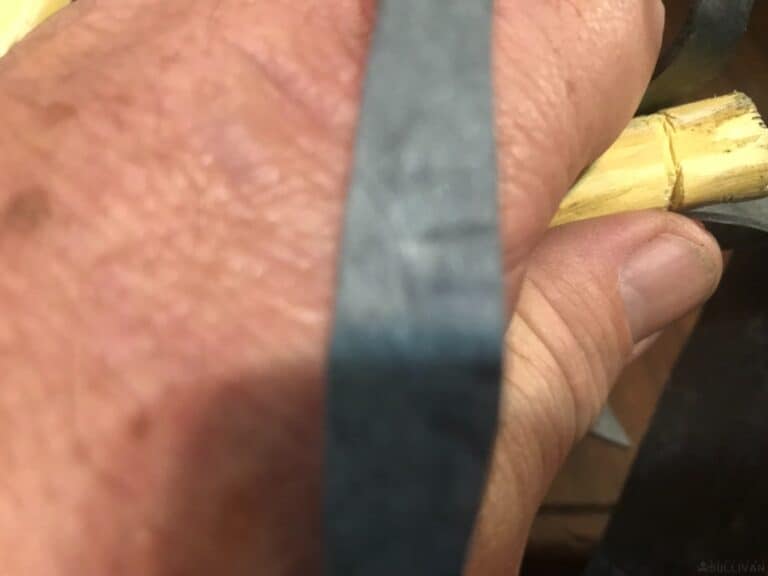
- Attach the rubber arms to each of the Y-shaped branches’ ends. You can use thinner strips of inner tube rubber to attach them to the forked branches.

- Use the thin rubber strips you cut earlier to secure the rubber to the load-bearing arm.
- Cut a square piece of leather and then cut a hole into the short sides of the patch. This will be where you attach the other ends of the rubber tabs.
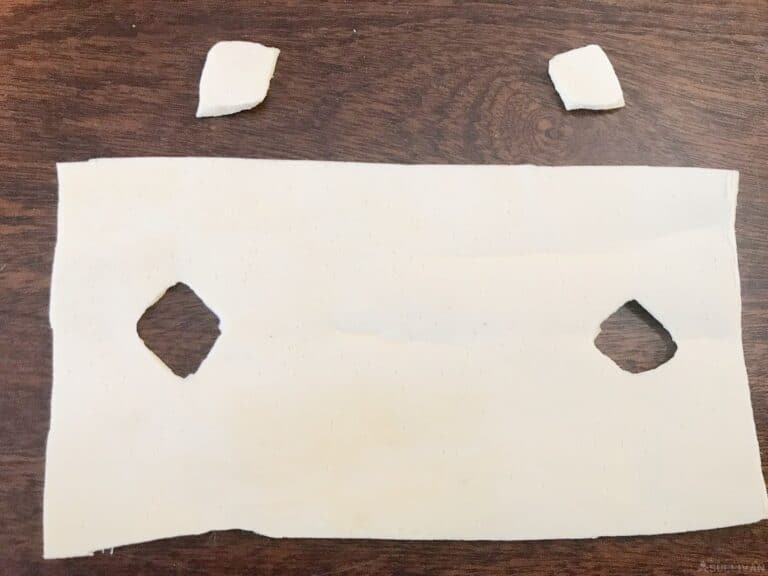
- Attach the ends of the rubber bands to the patch. Use the thin pieces of rubber you cut to secure the rubber ends together.
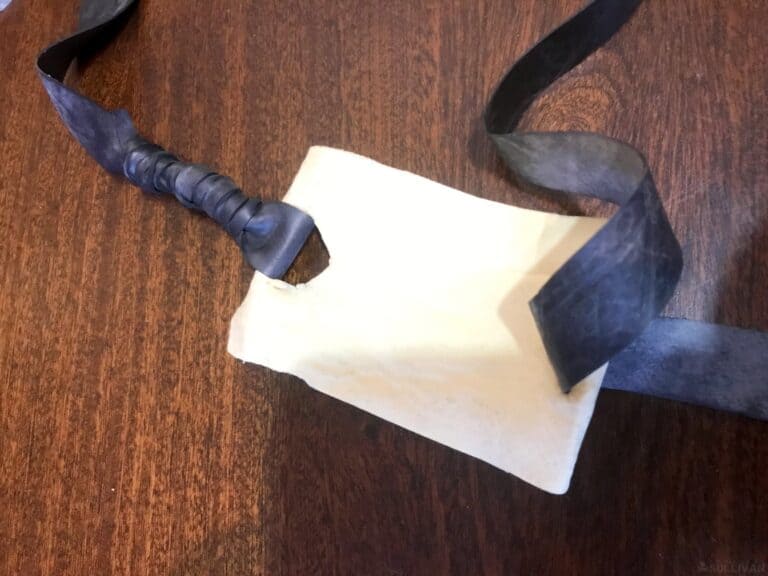
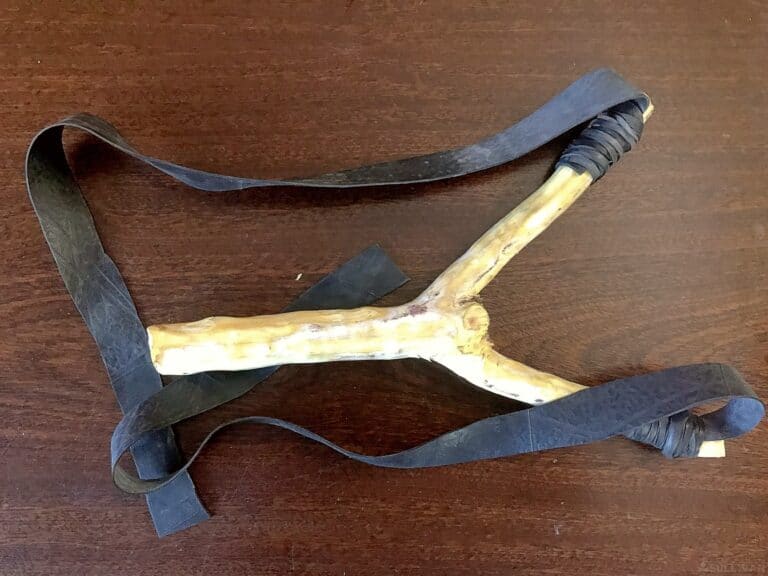
- Your slingshot will be complete and look like this after assembly.
Final Shot
A slingshot may be simple to manufacture and as easy to use but should be underestimated as a deadly weapon.
It can be used to fatal effect and deliver crippling injuries. It must be used with caution and good judgment.
As a survival weapon, it cannot be underestimated and with technological advances, the humble wooden slingshot and inner tire tube rubber have developed into a formidable, silent hunting weapon.
The slingshot has been combined with arrows and can be delivered with deadly accuracy to take large game and is excellent for taking fish.

Harrison Caine is a soldier, a hunter, a trained expert in hand-to-hand combat, hunting. He’s trained soldiers, fought wars, and provided defense services to refugees and U.S. officials. His experience in tough wilderness scenarios is unmatched