
Fire is one of the single most important resources you can have at your disposal in a survival situation. Accordingly, the means to start it is one of your most important pieces of equipment. But whether you have a lighter, ferro rod, matches, or some other piece of kit, it’s easy to forget the tinder.

Tinder is what will help you get larger pieces of fuel burning no matter the environment. You can buy over-the-counter fire starters, but you can save money and still get great performance by making your own with a little bit of beeswax. It’s super easy and quick. I’ll tell you how to do it below.

Tools and Supplies
Beeswax: just pure, simple beeswax. You can use the stuff scavenged from your own beehives if you have them, the leftovers from candle making, or any other source you can come up with.
Pine Cones: pick completely dry, fully opened pine cones that are sturdy and have plenty of petals left on them.
Natural Twine: or any other kind of string. Jute works best. Avoid synthetic string or other cordage here. It will burn readily enough, but not as well as the natural stuff, and it will emit some toxic gases while it melts.
Double Boiler: for melting the beeswax. A purpose-designed double boiler or specialty wax melter is ideal for this project, but you don’t even need that. You can set a smaller pot or saucepan inside a bigger one and get great results, so don’t stress it.
Spoon: helpful for stirring the chunks of wax as they melt.
Step by Step Instructions
Step 1: Gather materials and clear workspace. The first thing to do is get all your supplies together and prepare the workspace. You’ll be working with hot, melted wax, so you’ll want to avoid any slips, stumbles, or spills. Protect your countertop or other work surface with some old newspaper, foil, towels, or something similar.
Step 2: Cut twine into sections. Next, grab scissors or a knife and cut pieces of twine into 5-inch sections. You’ll need one piece for each pine cone fire starter that you’re going to make.
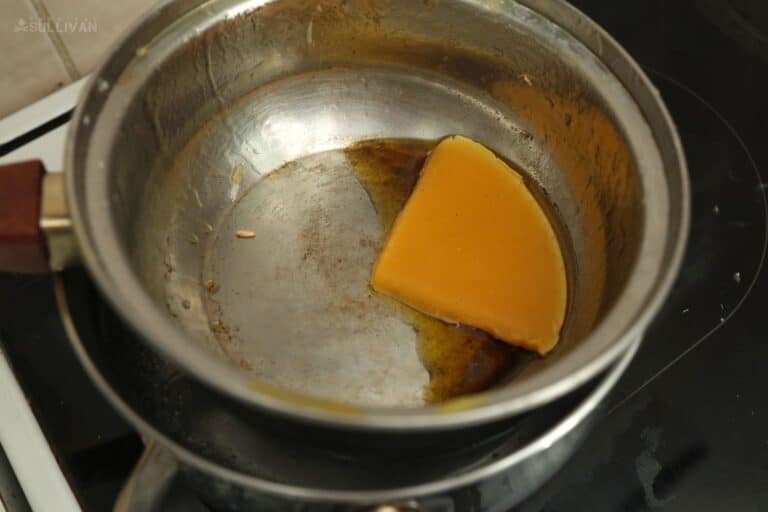
Step 3: Melt beeswax. Get your double boiler or wax melter setup going, break up the beeswax into chunks, and add them to the pot. It will take them a little while to melt, but keep an eye on them because you don’t want to overheat the wax. You can move on to step four while this is occurring.
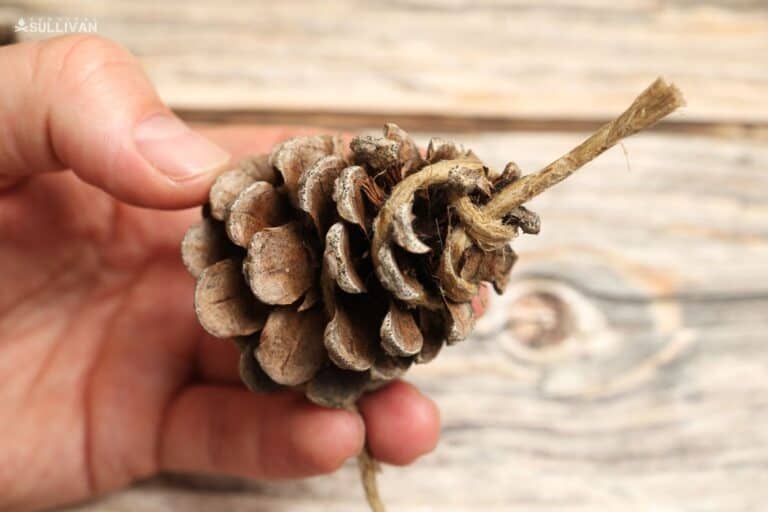
Step 4: Tie twine around top of pine cones. Now take a pine cone and a single piece of twine, and tie the twine around the neck, that is, the narrow upper part of the pine cone, so it looks like a little wick sticking out of the top. Arrange the pine cones in an orderly fashion, sitting upright, on your work surface.
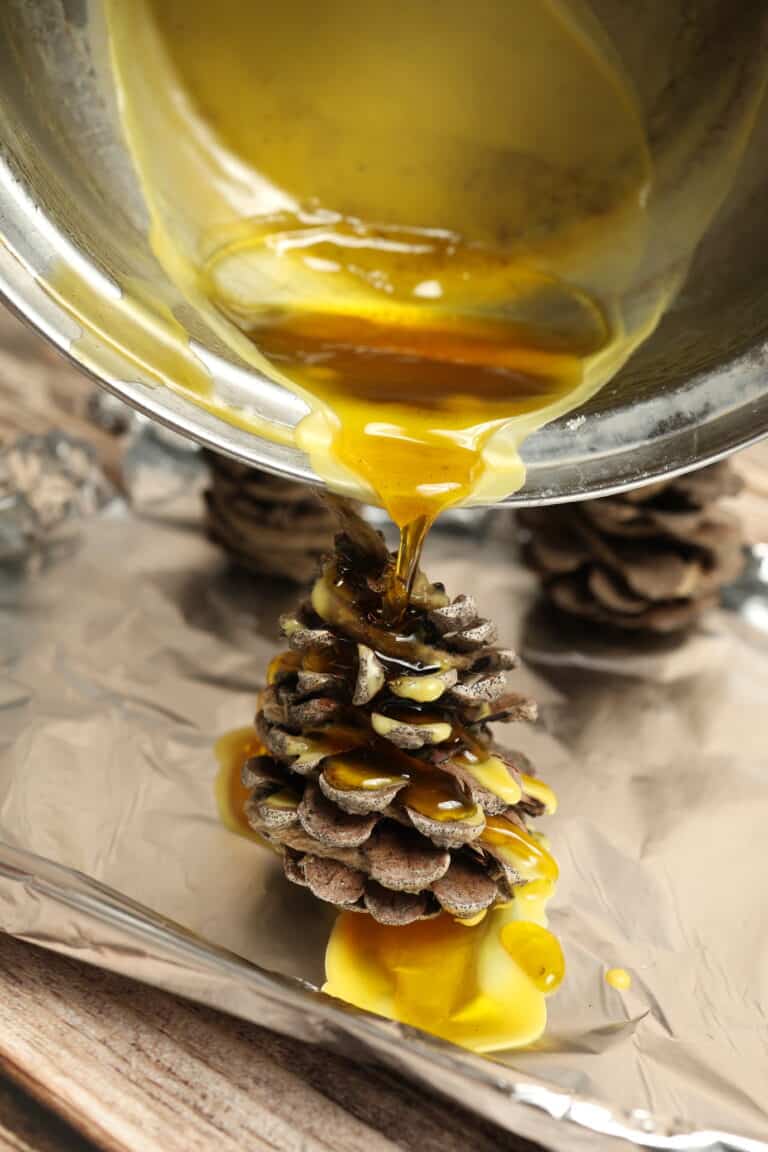
Step 5: Carefully pour wax over pine cones. Check on the wax to make sure it is fully melted, stirring until it is a uniform consistency. Once it is, remove the pot from the heat and cautiously dribble some of the wax over the top of each pine cone, trying to get a little bit on all sides. Note that you don’t need to completely coat the pine cone, and you can always come back and add more if you have extra.
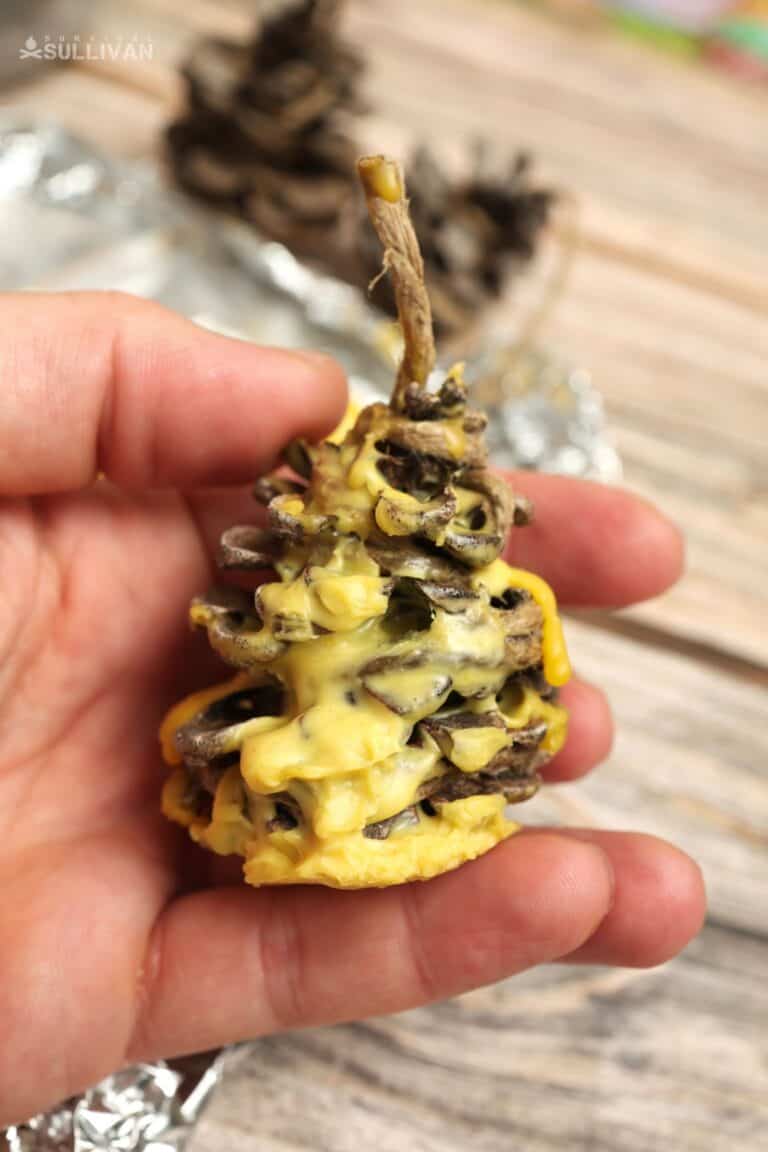
Step 6: Let cool and store. Leave your pine cones sitting for at least 15 minutes to allow the wax to fully cool and harden. Once this happens, you can store them in a can, plastic container, or wrapped in parchment.
Step 7: All done! You are finished, and your beeswax pine cone fire starters are ready to use.
Using Your Fire Starters
Nothing to it, all you’ve got to do is light them by the string on top and it will slowly and steadily burn up the wax-covered pine cone below, giving you more than enough heat and duration to ignite even the stubbornest fuels.


Tom Marlowe practically grew up with a gun in his hand, and has held all kinds of jobs in the gun industry: range safety, sales, instruction and consulting, Tom has the experience to help civilian shooters figure out what will work best for them.