As you know, there are many different survival shelters to choose from. Some are little better than an animal burrow; others are sophisticated structures used by primitive cultures in various parts of the world. All have their pros and cons.

In a survival situation, especially when you are on your own, you need the right combination of ease and efficiency. That’s where the A-frame shelter comes in.
It requires few or even no tools, it’s quick to build with all-natural materials, and it is surprisingly warm and comfortable. Even better, it is adaptable to many different environments. Keep reading, and I’ll tell you how to build it yourself, and you’ll find out why it is my go-to design.
What You’ll Need
If you get dropped into the woods with basically nothing except the clothes on your back, chances are good you’ll still be able to build the trusty A-frame. That said, a couple of classic prepper tools and some choice materials definitely help.
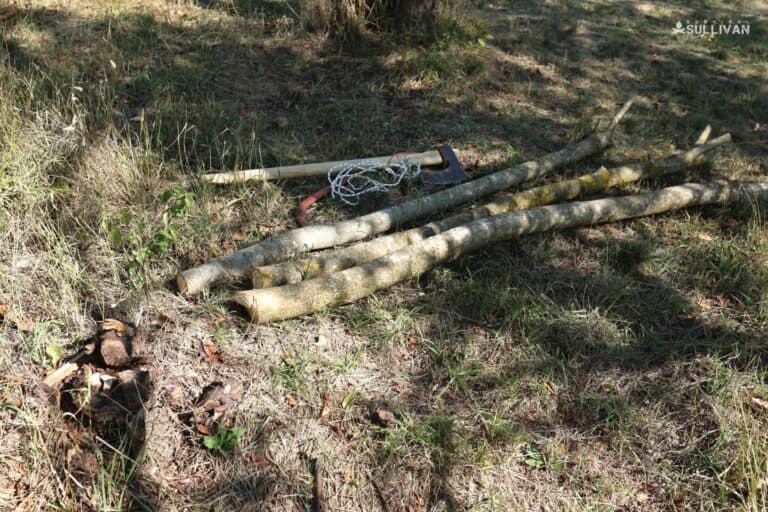
Sturdy Branches (approx. 2-3” dia.): A variety of reasonably straight and sturdy tree branches, measuring between 3 and 6 ft in length, will form most of the A-frame structure. Note these don’t have to be devoid of smaller twigs and branches; those will work as attachment points for adding insulation.
Ridge Branch (approx. 3-4” dia.): This is the main structural part of the A-frame, and it forms the backbone of the roof and walls. This should be slightly thicker than the wall branches for maximum durability and, again, reasonably straight.
Smaller Sticks: As you harvest and prep the other branches, save the smaller ones that you find, that break off, or that you cut off. These will be woven or thatched between the larger branches on both sides to provide space for tucking and attaching the insulation material that will block wind and rain alike.
Insulation Materials: Same old, same old here – grass, leaves, pine needles, and other dry, natural detritus that can keep wind out and heat in. Gather all that you can; more is better when it comes to protection from the elements and comfort.
Camp Saw, Axe, or Hatchet: For cutting your branches to length or cutting them off trees if absolutely necessary. Note that you shouldn’t do this to live trees if you’re just practicing this building technique!
Paracord, Twine, or Accessory Cord (optional): Not strictly needed, as it’s possible to build an A-frame without any cordage at all. That’s one of its big advantages! Nonetheless, sometimes a few lashings can add strength or make your life a little easier.
Building Instructions
Step 1: Find and clear a suitable site. Like every kind of survival shelter, picking the right spot is of paramount importance. Don’t build anywhere that might flood, where a rock fall or avalanche is likely, or under any trees that are dead and ready to fall, or trees that have dead or hanging widowmaker branches.
You’ll have an easier time building your A-frame if your site also has a convenient tree stump, low branch, or big rock you can use to prop up one end a little higher than waist-high.
Step 2: Gather your branches. Sturdy and reasonably straight is what you need. The ridge branch should be pretty smooth, but the slightly smaller branches you use for the sides can have smaller branches sticking off them. Plan on having at least four or five larger branches per side, but more is better; it will reduce the size of the gaps you have to cover with insulation later.
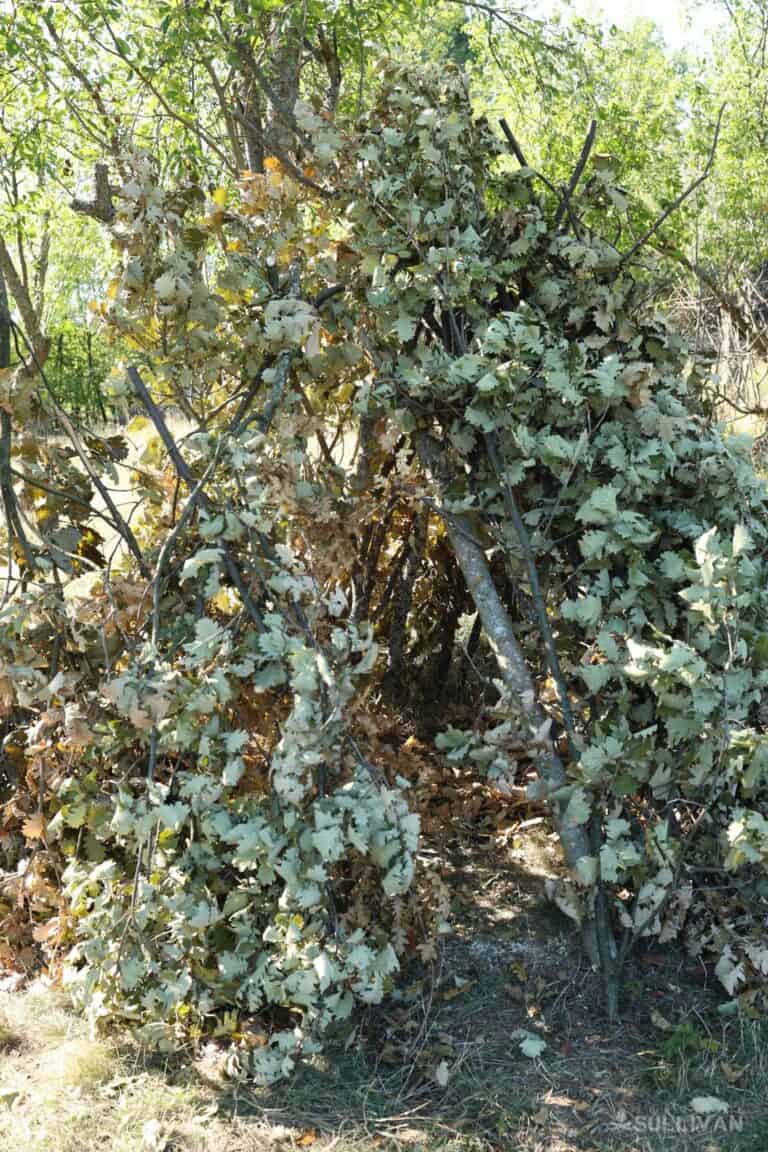
Step 3: Set ridge branch by propping it up. Start the build by propping up one end of your ridge branch. It should be a little higher than waist-high, as mentioned. Stick the other end in the ground so it is solid and secure. Yes, the A-frame shelter has a tapering design. It works better this way, stays warmer, and requires less material.
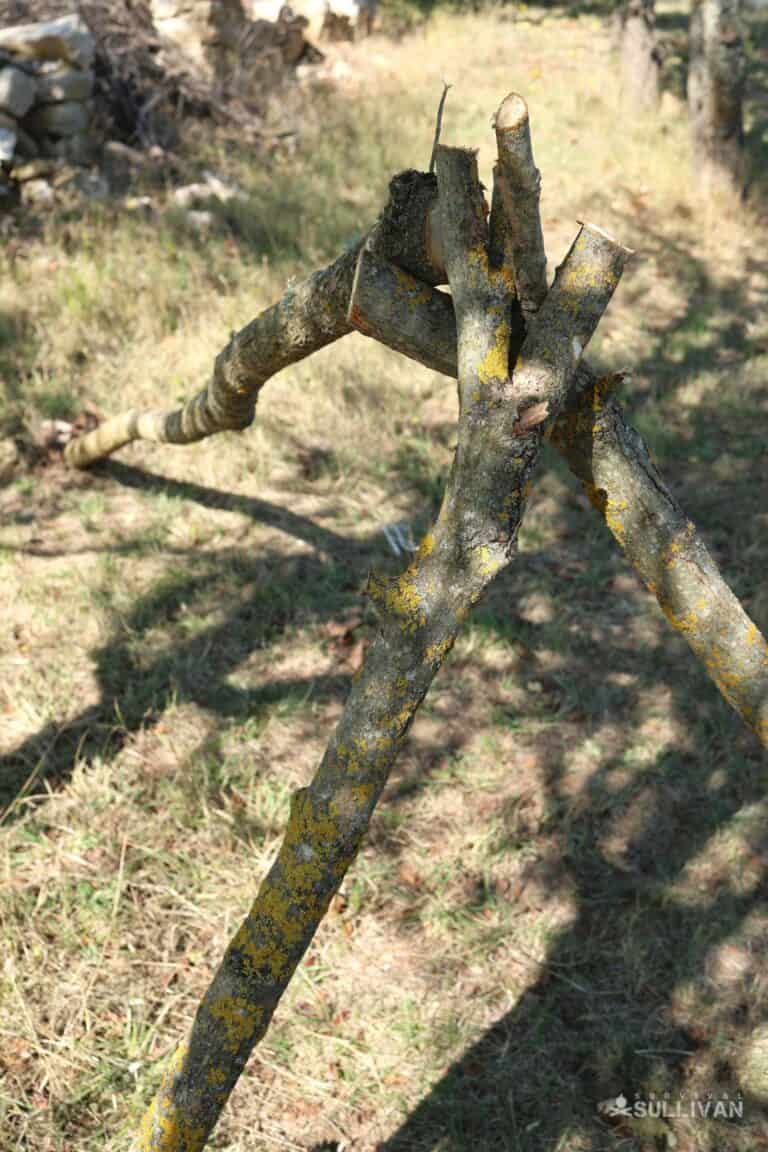
Step 4: Set other two branches. Position the other sturdy branches on both sides of the ridge branch. This is the step you’re literally making the A of the A-frame!
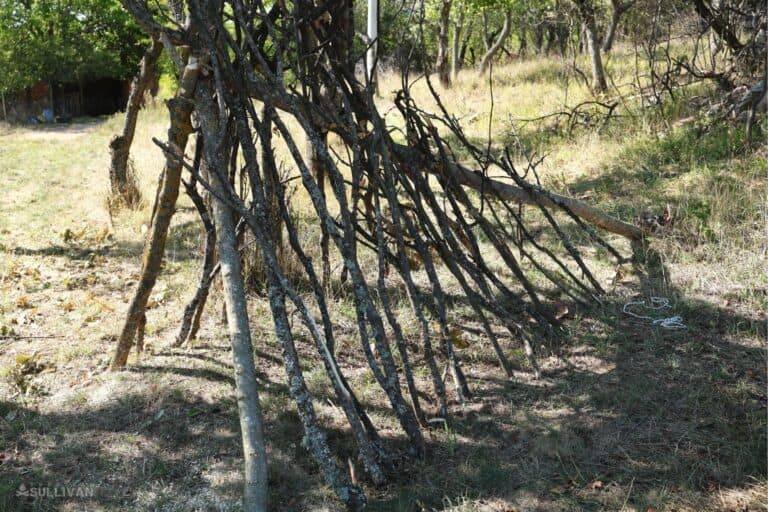
Step 5: Lay other branches on either side of ridge branch. Now start laying the slightly smaller branches on either side of the ridge branch, nestling them together and tying them with cordage if needed. Spread them out so that the interior width of the A-frame is just a little bit wider than your shoulders; snug is the way to go because it’s easier to keep warm!
Repeat this process using shorter or longer branches as necessary until you have completed the walls, but it’s okay if they stick up over the ridge branch a little bit.
Step 6: Place smaller sticks between branches to make “walls”. Gather up smaller sticks that you cut off the branches or found in the wild. Working on one side at a time, weave them between the branches forming the walls.
These little sticks will help to snag and hold down the insulation…
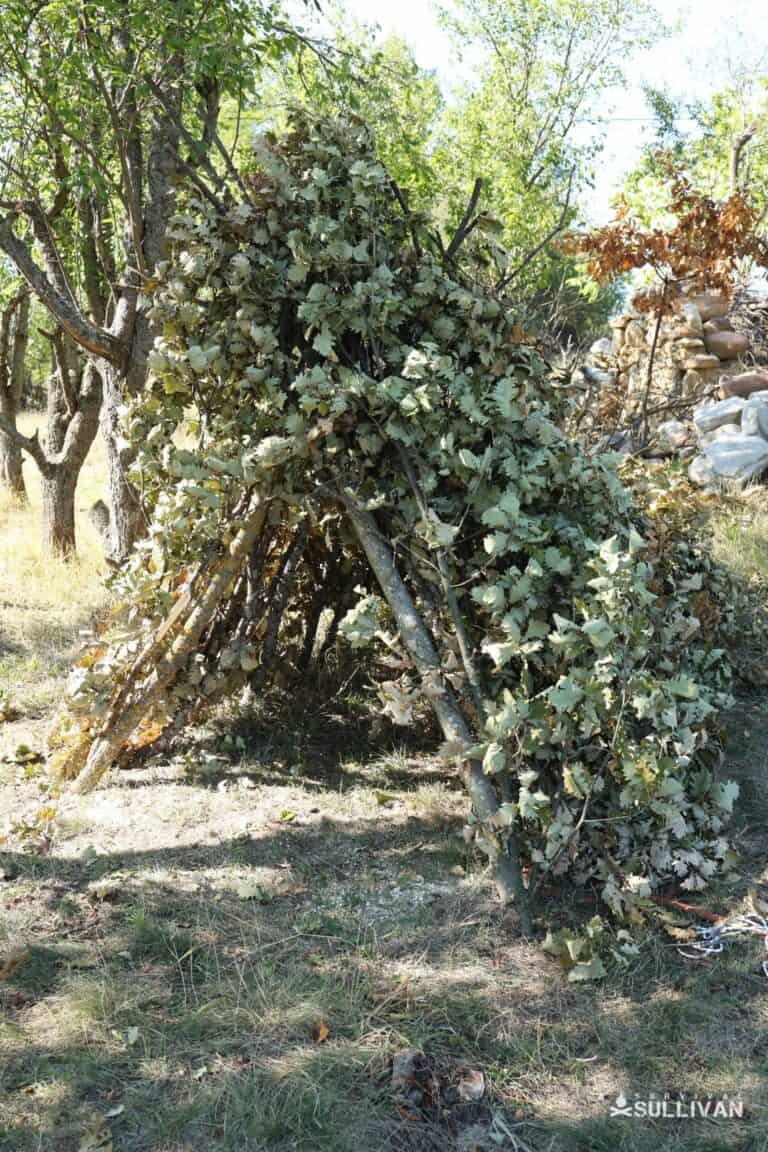
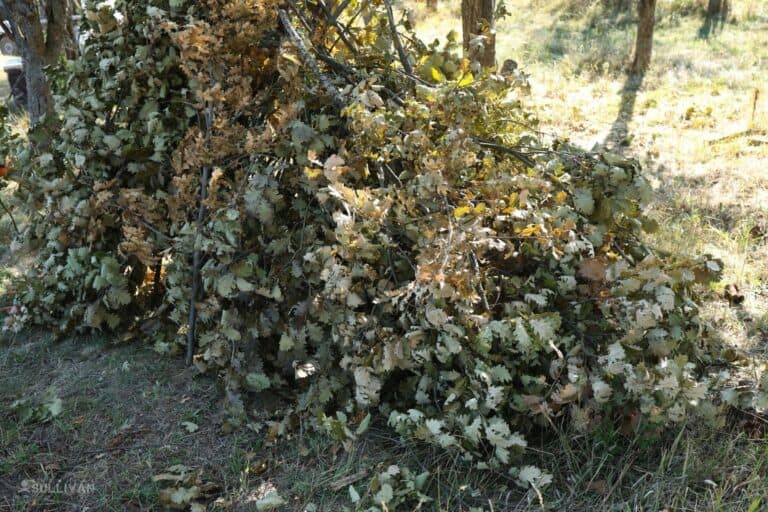
Step 7: Gather and layer insulation on all sides. We’re getting close! Start grabbing fistfuls of leaves, pine needles, and any other dry material you can find and add it to the walls, stuffing it in between the sticks and the branches and adding more sticks to help hold it down if required.

More is better, as said, and the better job you do here, the better your shelter will resist rain and wind.
Step 8: Lay a thick bed of insulation inside. Put down a thick layer of leaves, pine needles, or leafy boughs on the ground inside the shelter to keep your body off the ground. Being in direct contact with the earth will suck all the heat out of your body, no matter how warm and cozy your shelter is!

Step 9: Close low end of A-frame with a pile of insulation. Grab a little more insulation and pile it up over the low end of the shelter. At the top of this pile, leave a hole to the interior about the size of an apple to provide ventilation and cut down on condensation, which can make you wet and hypothermic.
Step 10: Pile insulation at entrance of A-frame. Make a big pile of insulation at the front opening. You will pull this closed in front of you after you get inside and settle down, serving as a kind of door that will block out more wind and trap heat.
Finished! Congratulations, your A-frame shelter is complete. It’s a tight fit, but this is one of the very best and most comfortable shelters you can make with a minimum of effort, and combined with a fire and decent clothing or a sleeping bag, it can help keep you warm even during freezing conditions. 😀


Tom Marlowe practically grew up with a gun in his hand, and has held all kinds of jobs in the gun industry: range safety, sales, instruction and consulting, Tom has the experience to help civilian shooters figure out what will work best for them.