Man’s pressing need to survive has provided the impetus for invention and ingenuity. Living off the land encompasses all aspects of survival, including utilizing whatever is available to enhance survival.
Our need to hunt and protect ourselves was probably the motivation for early men to pick up a stick and use it as a tool.
The stick is the simplest of all tools and yet it has evolved from a simple tree branch to a sophisticated weapon incorporating aerodynamics, an understanding of weight and balance, and the concept of velocity vs weight to magnify kinetic energy.
It is a weapon that will take small game such as:
- rabbits and hares
- pheasants
- partridges and turkeys
- water fowl
- and even small antelope and deer if you score a direct hit
The stick is mighty, and it has evolved over the centuries. It is the most valuable basic hunting tool you can have by your side in a survival context.
A Short History of the Sticks Evolution
A 300,000-year-old throwing stick found in Germany to ancient Egyptian hieroglyphs depicting throwing sticks used to hunt waterfowl, from Sudan, Asia, and the America’s, the throwing stick has literally found its mark.
Early archaeological finds indicate that the throwing stick was a fundamental and vital part of everyday life.
The Egyptians organized throwing stick sports events and the Aboriginals of Australasia praised the Gods for the stick.
The boomerang is considered the most enduring symbol of the Aboriginal peoples of Australia.
Throwing sticks and boomerangs were initially not designed to return to the thrower.
Hunting sticks follow a direct line of flight while returning throwing sticks and boomerangs follow a curved flight path which takes many more flight variables into account in order to be accurate.
Overview of the Throwing Stick
Throwing sticks are the easiest primitive weapons to make and are the first weapons you should contract if you ever find yourself in a survival situation.
Level of Difficulty
The throwing stick is easy to make. Literally any stick can be used irrespective of shape or length.
Skill Level Needed
- Accuracy is the key. Shaping the stick to have an aerodynamic profile requires a simple understanding of shaping an aircraft wing.
- No skill is needed to throw. It is as simple as picking it up and letting loose.
- To be accurate requires constant practice. You will develop muscle memory with practice, the throw will become instinctive.
- Starting out remember the old military maxim: slow is smooth and smooth is fast.
Ideal Conditions
The stick can be thrown as long as you have enough space to produce a swing and generate enough kinetic energy to propel the stick with sufficient momentum to kill or disable the target.
Type of prey
Small to medium game animals and birds. Effective against larger animals with direct hits to the cranium.
Materials
- Length of branch approximately as thick as your wrist
- Heaver woods are preferred, but you can use whatever is available. Lighter woods are not going to provide you with enough weight to be effective.
- Ideally, the branch will be curved through the middle although a straight branch will work
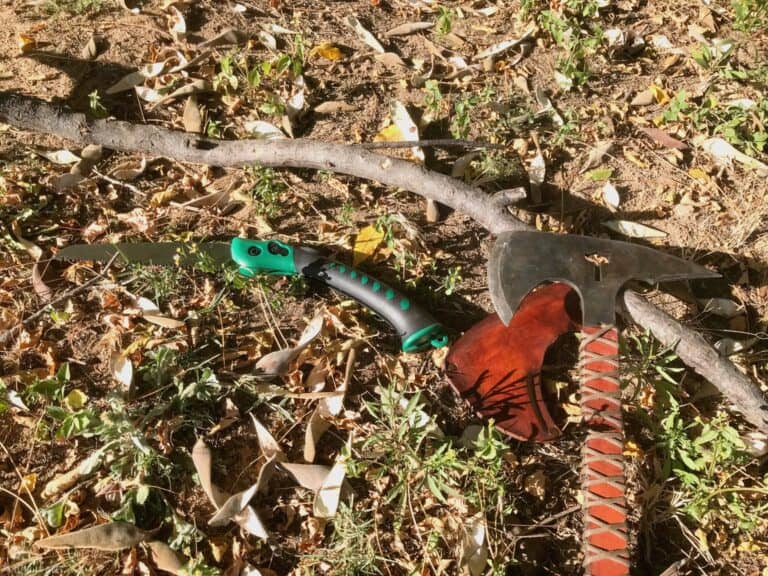
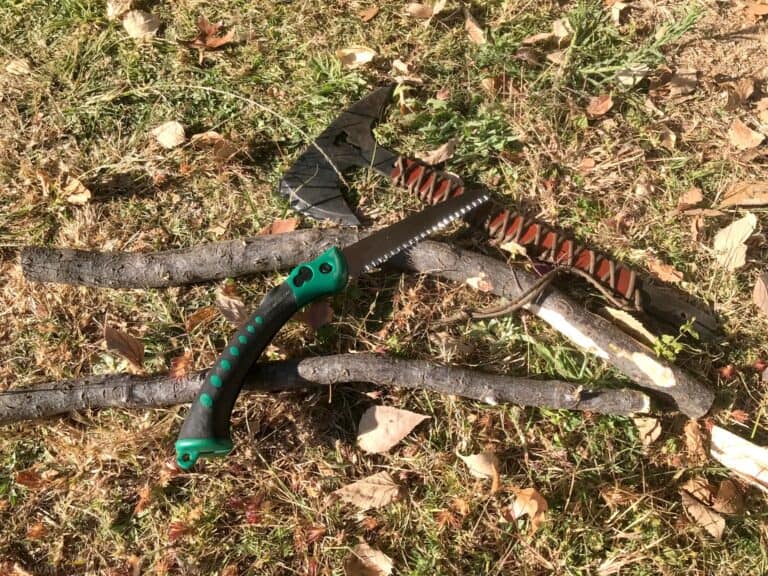
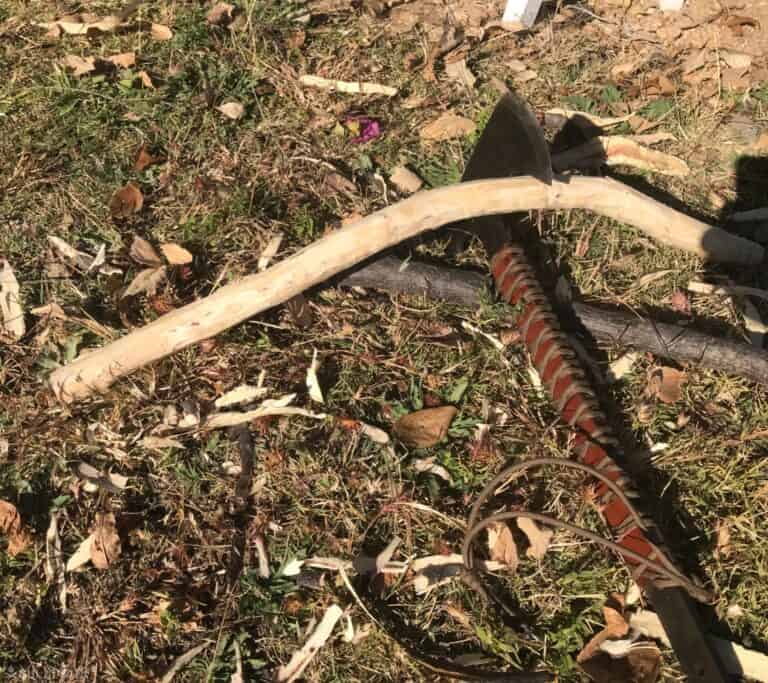
- Hatchet or small wood saw and sharp knife
Steps To Making a Throwing Stick
1. Cut or pick up a branch that is rough 3 to 4 inches in diameter. Pickups will make your life easier in that you don’t have to expend energy chopping down branches and the wood is fairly dry. Choose a heavy wood; its weight will provide the necessary knockdown needed to drop your game.
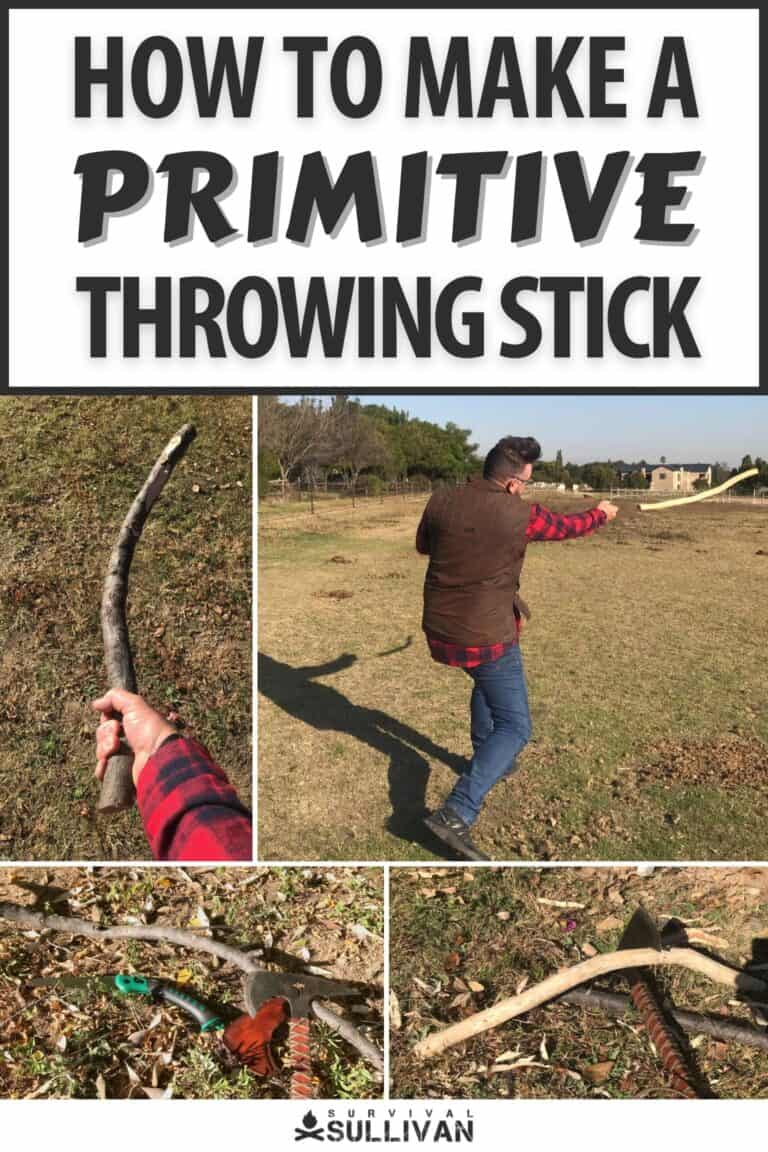
2. Cut a piece roughly two feet long and slightly curved, keep a boomerang design in mind. A straight stick will work, but a slightly curved one will give you more balance, and therefore be more accurate.
Remember once cut there is no going back, so cut your stick a little longer. You can always trim the extra as you fine-tune the throwing stick.
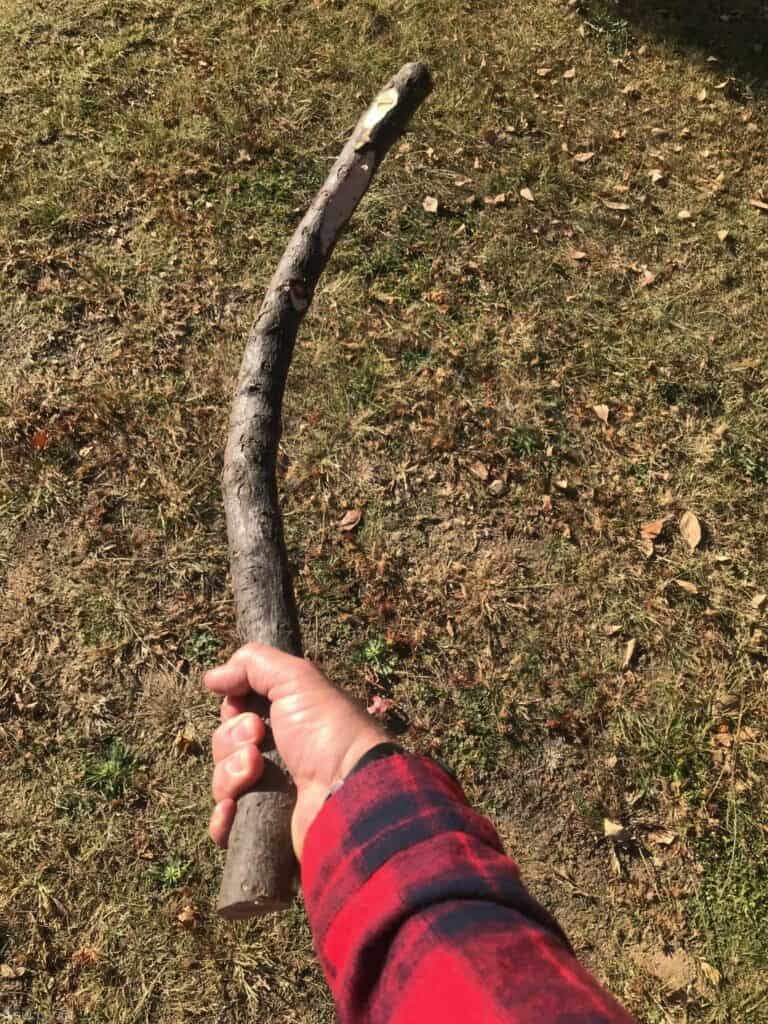
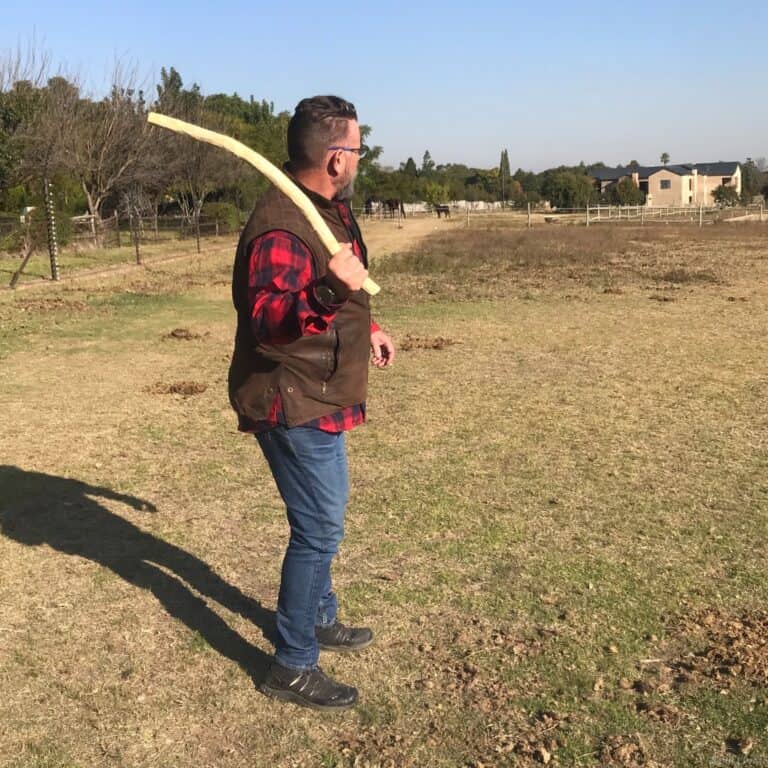
3. Once cut it will be rough but ready to use. The heaver end of the branch will be the grip. When thrown the heavy end will whip through the air as the stick spins providing further striking power.
4. Clean the bark, small branches, and knots off the stick, this increases the aerodynamic profile of the stick, with a little work the stick can be shaped until the desired aerodynamic shape and a weight of 250 to 350 grams is attained.
It must be a comfortable weight for you to handle, but not less than 200 grams or your stick will lack the weight to be useful.
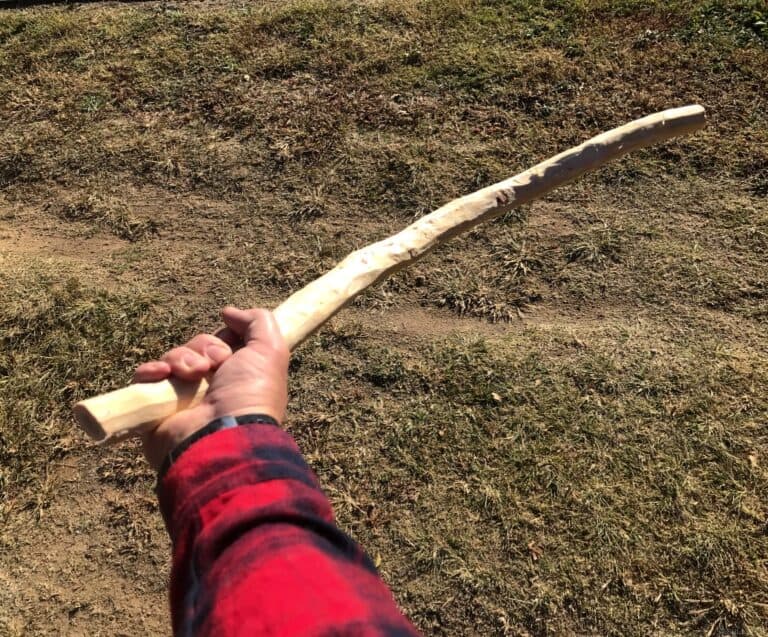
5. Feel for the balance, the weight of the stick will have a natural “seat” in your hand, this is called the sweet spot, the point at which the stick and your throwing arm are in harmony and will deliver the optimum power to the stick.
Now it’s time to practice, practice and more practice to develop the muscle memory to make the throw and its deployment automatic.
How To Throw a Throwing Stick
1. Starting out take up a stance with the stick in your dominant hand and your non-dominant foot forward. Orientate your body towards the target and cock your throwing arm over your shoulder.
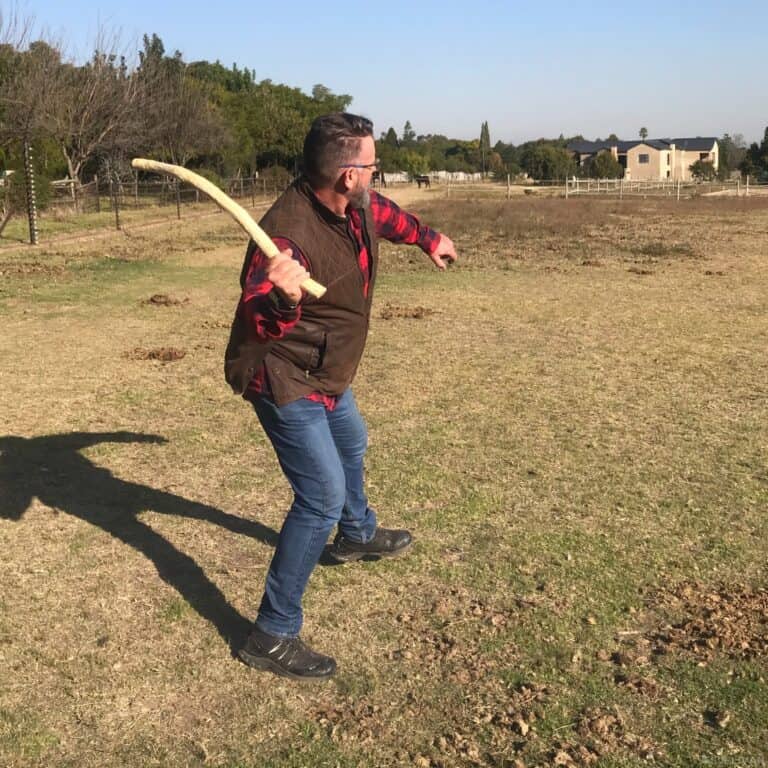
2. Preparing to throw, “load up” by winding your arm back and transferring your body weight to your back foot. By doing this you will be able to transfer as much potential energy to the stick when you rotate forward using your hips.
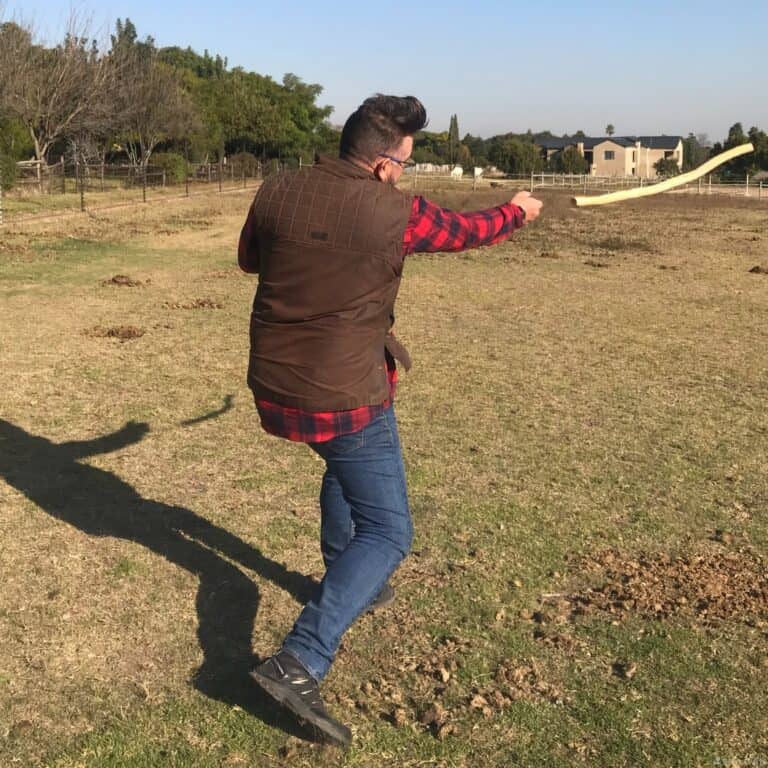
3. Rotating forward through the hips, swing your arm forward keeping your eye on the target. Release your stick just before you are aligned with the target. You will have to practice this to get the “feel” of when to release. The release, with practice, becomes intuitive.
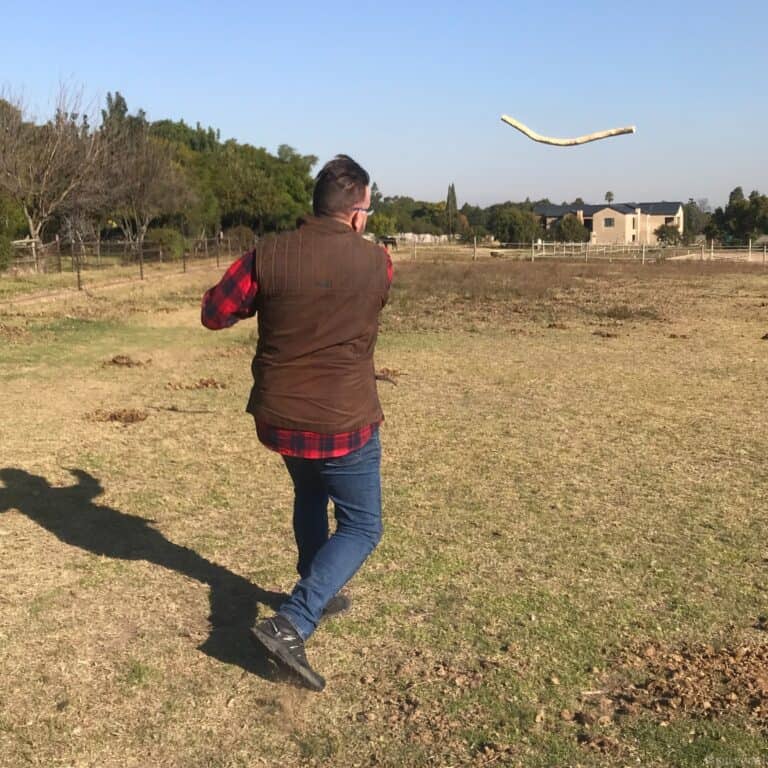
4. Once the stick is launched and in flight, maintain eye contact with the target and continue to rotate through the throw.
Let your throwing arm continue on with the throwing motion after the release of the stick. This is called follow-through. Maintain alignment with the target; do not stand up or move forward just yet.
Moving off target will cause you to lose track of your prey. If you only wound or break bones, your target will scurry for cover, maintaining eye contact you will be able to follow your target’s movement.
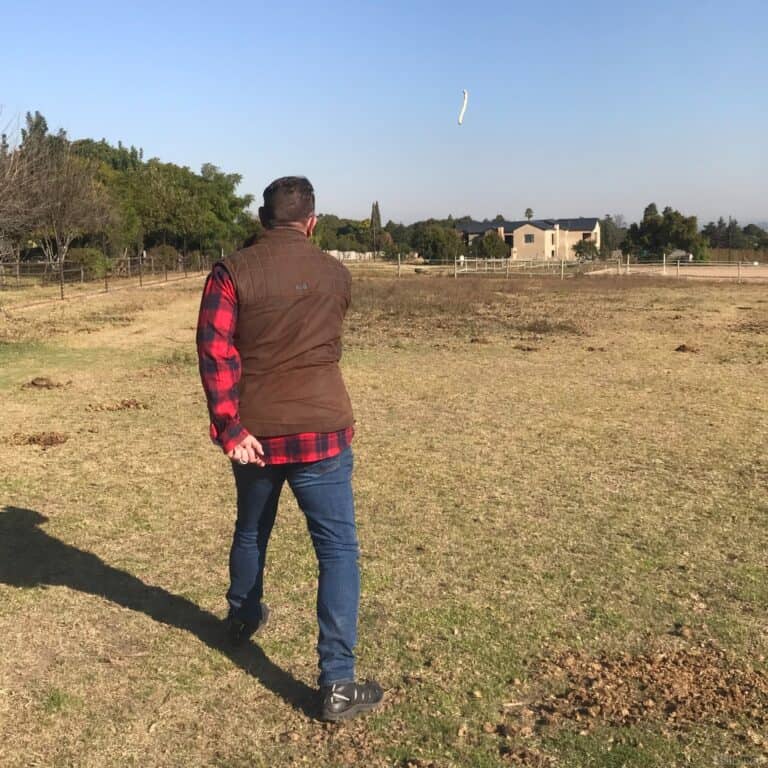
5. Your stick is now on track to the target and you are maintaining your alignment with the target.
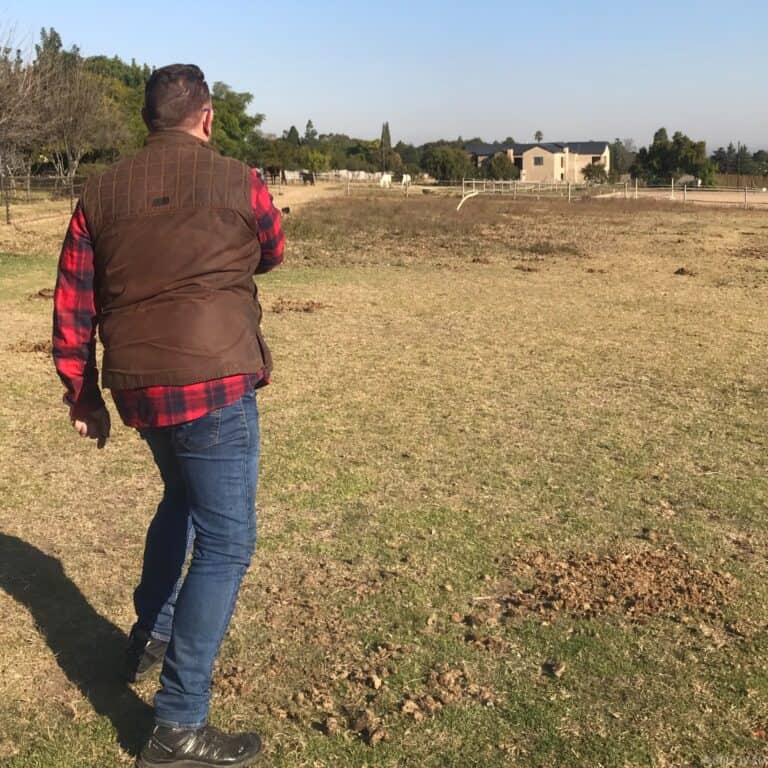
6. The stick is tracking straight and on target while you are maintaining posture and ready to move once the target is struck.
Pro tip: When starting out practice throwing by hand with a pile of stones, this will help develop the hand-eye coordination required when using the stick.
Throwing the stick is similar to throwing a Frisbee, using a side swing across your body while keeping the target in focus.
With continued practice, your body will make automatic corrections, don’t overthink it. This is muscle memory, the coordination between hand and eye.
Your ability to judge distance is enhanced by practicing hitting targets at different distances and terrain perspectives.
Change your angles to train your eye to make adjustments for uphill angles, downhill angles, across the angles, and at moving targets.
Moving targets require you to aim a little ahead of your target. This will time the release of the stick to the anticipated point where the target will be as it moves, rather than where it is. This is called the lead or giving your aim lead.
Pro Tip: Be aware that some woods are poisonous and can affect your physical well-being.
For example, I was working with Syringa wood, or China Berry tree as it’s known in the US, and breathed in a fair bit of sawdust, I got very ill from it.
Once my body had purged the poison from my system, however, there was no lasting effect.
These trees are often used by birds and insects so that is not a reliable gauge of toxicity.
Besides identification, it is best to work the wood with gloves and wear a light particle mask when sanding. Dry wood has less of an impact than wet wood, the only exception is if you burn it.
Final Thoughts
Practice till it becomes instinctive and natural. The Egyptians hunted with the throwing stick and used it for sport, recreation, and as a weapon of war.
The humble stick has a very long and rich heritage, keep that in mind when you have to rely on it for your survival.
A curved shape is better than a straight edge. Smooth lines and an aerodynamic shape will gain you distance and accuracy.
Weight is important, too heavy and you will require a lot of physical strength to throw the stick and too light a stick will have no weight behind it when making an impact.
Your action needs to be intuitive, instinctual, and flow from muscle memory built on practice.
When hunting your window of opportunity is usually very short. Don’t overthink the action just do it.

Harrison Caine is a soldier, a hunter, a trained expert in hand-to-hand combat, hunting. He’s trained soldiers, fought wars, and provided defense services to refugees and U.S. officials. His experience in tough wilderness scenarios is unmatched