
Trees produce lots of edible goodness, from nuts to fruit, and sometimes even their needles, but did you know that tree bark is also edible? It’s true, or at least some kinds of tree bark are edible! Birch is one such variety, and if you can believe it, a variety that has been eaten for ages during times of famine and feast in the form of flour.
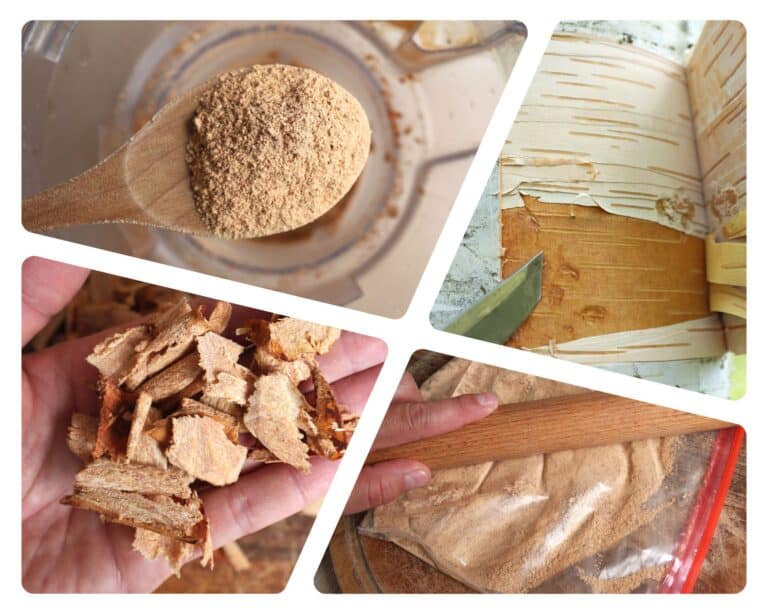
Birch bark flour can be used in almost any other recipe where flour is called for. It adds a wonderfully earthy, dense texture to baked goods, and has a subtle sweetness and flavor that is sure to thrill you and your guests.
It’s also really easy to make and is a great place to start if you want to get into actual tree bark recipes. Believe me; it’s easier, and tastier, than you might think!
I’ll tell you all about how to harvest, process, and store birch bark in this guide. Grab your apron and let’s get a move on! 🙂
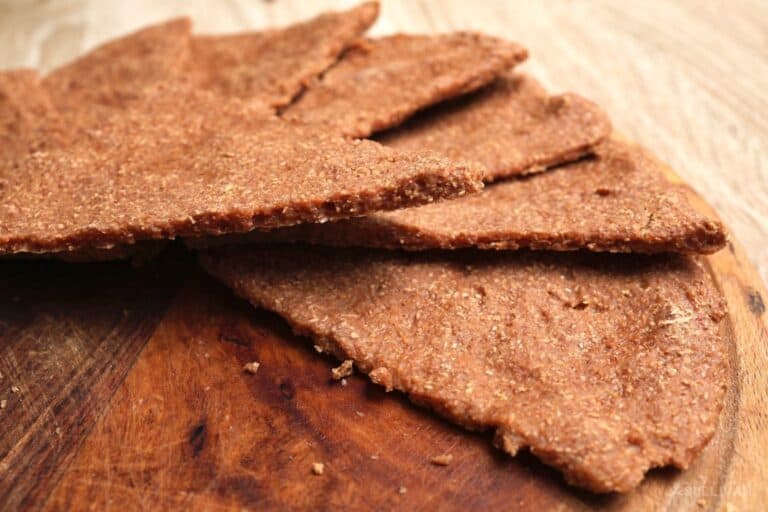
Can You Really Eat Tree Bark!?
Yes, this isn’t an April fool’s joke. Tree bark, or rather a specific layer of the bark called the cambium and phloem, is edible and nutritious. Of course, this assumes that the variety of tree is itself safe to eat.
The good news is that many common ones like pine, maple, oak, and of course, birch are as long as you know how to prepare them properly.
And this isn’t something that people would just eat when they had absolutely no other options during periods of famine, either.
Many Scandinavian countries and Native Americans utilized this nutritious bark in different ways… as an ingredient in different dishes, but especially baked goods like bread, cakes, crackers, etc.
How to Harvest Birch Bark
I’ve got news for you, if you want birch bark flour, you’re going to have to get it and then make it yourself unless you want to track down a specialized, and expensive, supplier online. This is beyond a specialty or niche ingredient; it’s ancient and esoteric!
The good news is that birch trees are plentiful and found all over the place, and their bark is pretty easy to harvest compared to other kinds of edible bark.
The bad news is that you’ll have to put in some work in order to get it. We aren’t after that papery outer layer that makes such a good fire starter. What we want is the inner or middle layer of the bark called the cambium, and the thin, soft innermost layer called the phloem.
Working on a standing or fallen tree that is still fresh, meaning it isn’t rotting or diseased, you first want to peel away the papery outer layer of the bark and then, using a draw knife or scraper, part that inner bark from the actual wood.
Take care not to dig into the wood and gouge out some of that along with the bark.
Once you’ve collected your fill, all you need to do is dry it out and then grind it into flour. That’s it! However, there’s a little more you must know before you harvest so read the next section and then we’ll get into the recipe.
Caution: Always Harvest Bark Responsibly!
Don’t harvest bark from birch trees, or any other trees, carelessly. It doesn’t grow back as quickly as you think and anytime you remove any amount of bark from a tree you open it up to disease and infestation by parasites.
Because of this, smart and ethical harvesting behavior usually consists of taking bark only from trees that are imminently about to be cut down, have already been cut down, or have been knocked down by natural causes like wind or other problems.
As mentioned above, you should only ever take bark from trees that are fresh and healthy, not old, dried out, or rotting.
If you do decide to take bark from a living, standing tree, you only want to take a few vertical strips from it.
Never take bark from the entire circumference because that will absolutely kill the tree, or if it doesn’t, stunt its growth forever. That’s a process actually known as girdling.
You’ll probably see this demoed in various articles an YouTubes, but I caution against it. Instead, do it as per this Facebook vid. You can see the guy harvesting a pane of around 70 or 80 square inches (500 square centimeters). That should be enough for your first recipe.
By the way, you can also take from large branches that are cut off or fall down as long as they’re fresh and healthy.
It would be a terrible shame to kill a tree of any age just because you wanted to harvest a little bit of bark to make flour. Pay attention, and harvest responsibly!
Tools and Ingredients
Birch Cambium: this is the inner, hard layer of bark that’s just beneath the papery outer bark on the birch tree. You can scrape or break it off with any hard tool, but a draw knife works best and will make short work of the process.
Oven / Food Dehydrator: you’ll need one or the other for thoroughly drying the inner bark.
Food Processor: a food processor will grind up the dried birch bark into tiny pieces that can then be processed into flour.
Ziploc Bag: if you are using a rolling pin to completely process your birch bark, it helps to put the processed pieces inside a plastic zipper bag so you don’t make a mess.
Rolling Pin: your food processor won’t grind up the bark into the fine, powdery consistency that is flour. To finish the job, you’ll need to go back and forth over it with a rolling pin or crush it up in some other way.
Mortar and Pestle (optional): if you have one, it’s a great alternative to using a rolling pin. This will make short work of processing the ground bark into flour, and also goes a lot easier than trying to use a rolling pin for the purpose. The finished product will also be finer and a better quality.
Instructions
Once you actually get the bark in hand, turning it into flour is easy. Nonetheless, go on and read through these steps before you start so you know what to expect.
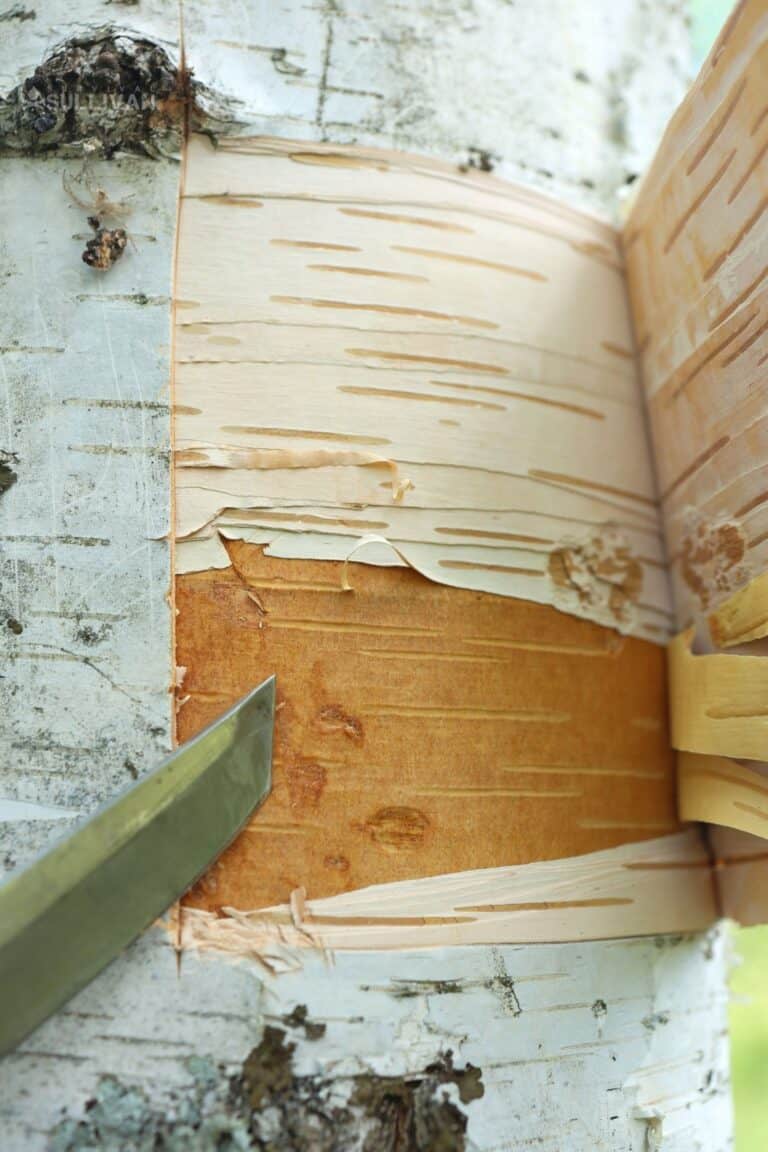
Step 1: Harvest bark. You’ll need four large handfuls of inner bark to make about a cup of bark flour.
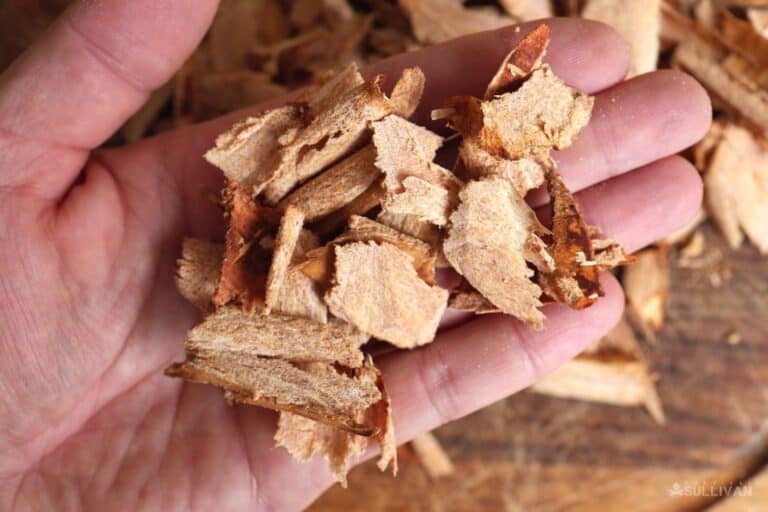
Step 2: Dry bark. Pop the bark chips into your oven or dehydrator set for 250°F (120°C) or a little less. Give it at least 30 minutes to dry out. It’s important to dry the bark, or you won’t be able to break it down into powder.
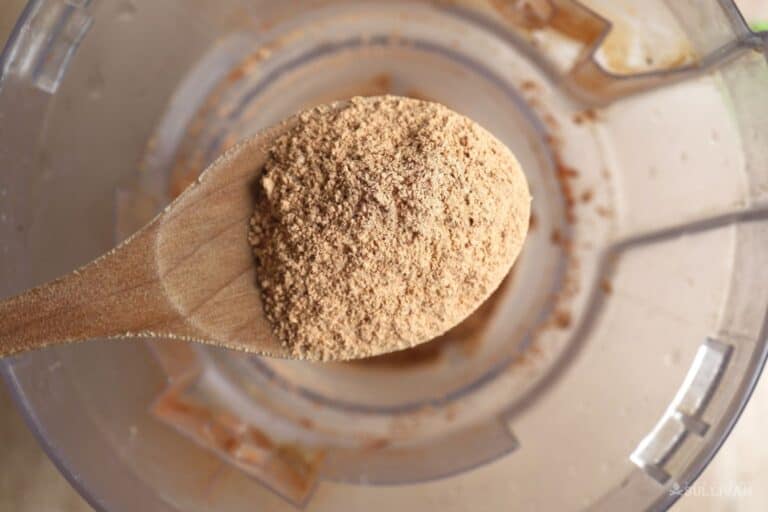
Step 3: Grind dried bark. Toss the bark chips into your food processor with a sturdy blade installed. Pulse repeatedly for about a minute until your bark has the consistency of crumbles or aquarium gravel.
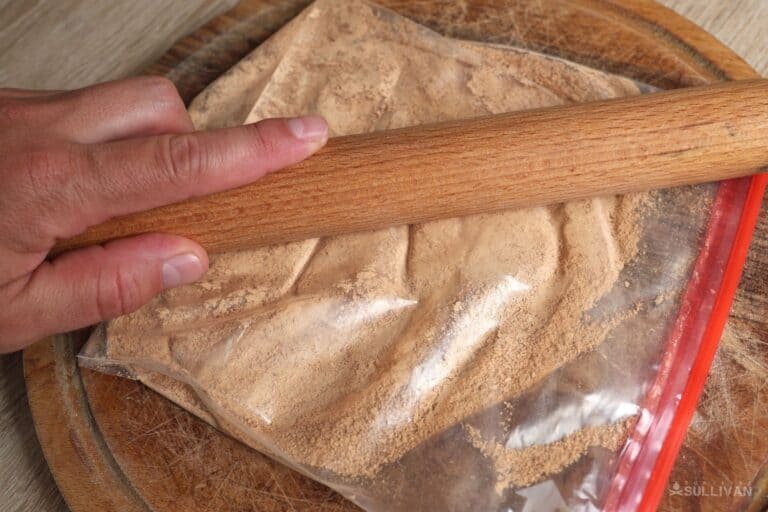
Step 4: Pulverize bark pieces. Put those reduced bark pieces into your plastic bag and then start making passes using your rolling pin. Occasionally shake it around to redistribute it and keep going until it has the consistency of powder.
If you have a mortar and pestle, load a handful of the ground bits into the mortar, then work it over with the pestle until it has turned into a fine powder. Remove that batch to a storage container and add more crumbles until you’ve processed the whole thing.
Done! Your birch bark flour is ready to use. Store it as you would any other type of flour.
Storing It Properly
You can store your birch bark flour like you would any other kind of flour. Your best bet is a glass or earthenware container with a top to keep out pests and help keep out moisture. Always make sure you store it in a cool, dry, dark location.
If you want to really maximize storage life, put it in the freezer or refrigerator. If you go with the freezer, have a plan for it when you take it out of storage because you don’t want to refreeze it again. That will severely hurt the quality.
Using Birch Bark in Recipes
The rule of thumb you should follow for adding birch bark flour to any recipe is to substitute no more than a third of the amount of flour called for with the birch bark variety. You’ll find that it has a crumbly texture and tends to fall apart if you use too much. So when in doubt, err onb the side of less, not more. You’ll still taste the difference, trust me!


Tom Marlowe practically grew up with a gun in his hand, and has held all kinds of jobs in the gun industry: range safety, sales, instruction and consulting, Tom has the experience to help civilian shooters figure out what will work best for them.