
The mark of a truly prepared prepper is self-sufficiency and self-reliance. This naturally includes creating the resources that you need from scratch when the situation dictates. And when it comes to sheer versatility, hardly anything is better than pine pitch.
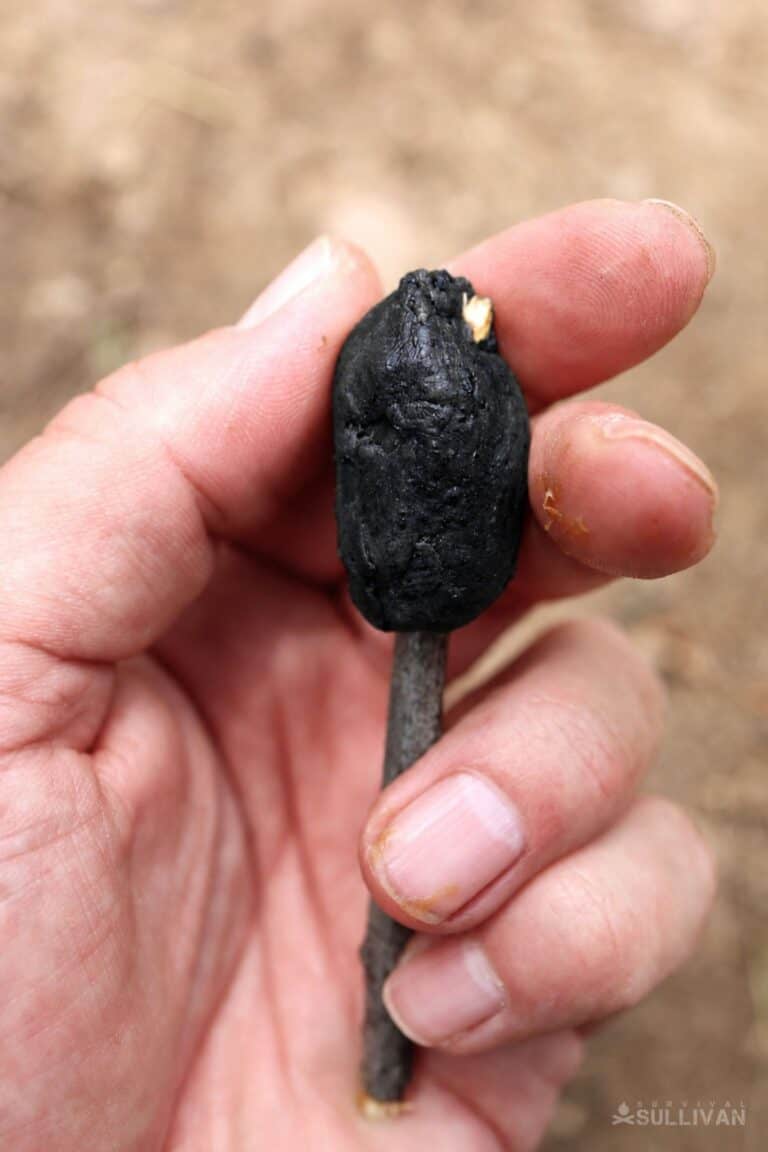
You might have heard your great-grandparents talk about this stuff, and there’s a good reason for it: it can do a lot for you in a lot of different situations, especially in a wilderness survival scenario! And though it has been commonly used throughout history, especially by American Indians, it has become increasingly forgotten in our era.
But that ends today. With this guide, I will walk you through easily making your own pine pitch, step by step.
What is Pine Pitch Used For?
The uses of pine pitch are many. It’s been historically used, and is still used today, for tasks like waterproofing surfaces such as wood and leather (especially on kayaks and canoes), sealing cracks and gaps, and serving as an all-natural but surprisingly strong adhesive for making primitive arrows, pottery, tools, and more.
It’s also invaluable to campers and other outdoorsmen as a fire starter; this stuff is totally waterproof and burns readily. It makes a great component for a long-lasting and slow-burning torch.
Pine pitch can also be processed with other ingredients to make natural varnishes and leather preservatives, and it’s been used in various cultures as a natural topical medicine for cuts, burns, bites, and more.
In short, this stuff is a survival multi-tool and something you’ll definitely want to add to your kit. More importantly, you’ll want to add the knowledge of how to make it to your own bag of tricks!
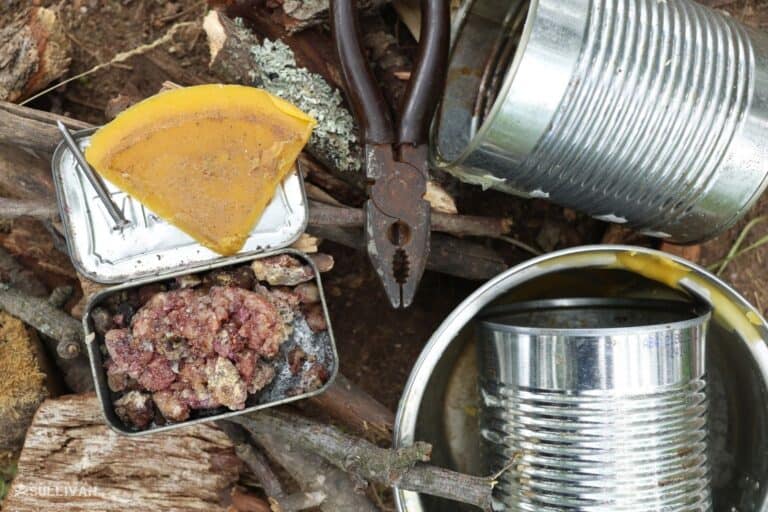
What You’ll Need
You don’t need much to make pine pitch. Gather the following materials and tools, and we’ll be ready to get started.
Pine Resin: You can find hardened pine sap (called resin) on any kind of pine tree. Just look for those clear or amber crystals or other deposits on the outside of the tree. Check knots, broken branches, and any other damage in the bark or the limbs themselves. Trees damaged by windfall, lightning strikes, or the attention of animals or insect pests are great sources.
Note that you can cut branches or injure the tree so that the sap will start flowing if you’re in a hurry, but understand this will negatively impact the health of your trees, so think twice before you practice on the ones on your property.
Filler Material: We need more than sap to make pitch. Filler will bulk up the melted sap and improve consistency. You have lots of choices here. My favorite is hardwood ash, as you might be making it already with a campfire, and if not, you should be able to easily locate some. Other good options are sawdust, dried fibers from plant stalks, or bone dust.
Believe it or not, traditional pine pitch was often made with thoroughly dried animal poop! That will certainly work, but we’ve got easier and cleaner options. To make a regular batch of pine pitch, you’ll need no more than a tablespoon.
Binder Material: Aside from filler material, you’ll need a binder material to give your pitch flexibility and the right texture. Animal fat is a traditional choice, specifically beef tallow.
If you don’t want to go that route, use beeswax. You don’t have to risk getting stung by bees in the wild, though, if you have beeswax flakes on hand or natural beeswax survival candles. The amount varies depending on the consistency you want.
Large Flame-proof Metal Container, x1: A large, metal vessel of any kind will work for this project as long as it can withstand prolonged exposure to heat, and your smaller containers will fit inside of it in a sort of double boiler arrangement. Camping mugs or pots work just fine, but you won’t want to use your primary gear because they’ll probably get really messy. An improvised option is a large food can.
Small Flame-Proof Metal Containers, x2: A pair of preferably identical flame-proof metal containers. Standard or small-sized food or soup cans work perfectly for this if you are scavenging, or you can keep a couple before you toss them out specifically for this purpose. Alternatively, a small metal camping mug will do the trick.
Note that you will need two of them, and it is imperative that both will fit inside the larger container we just talked about.
Nail, Awl, or Punch: Use a common nail, or any other suitably hard punch for making holes in the bottom of one of your smaller containers. If you’re in a real pinch, you can always use the tip of a knife, but it’s going to be really hard on it.
Tongs or Can Lifters: Whatever metal container you choose, they are going to get blazing hot during the production process. Long-handled, sturdy metal tongs, specialized can lifters, or even a sturdy wire bale handle will help you lift and maneuver the cans when needed without burning yourself terribly.
Sticks: You’ll need a few handy sticks for this operation. One larger one for melting the sap initially, and a smaller one or two, sharpened on one or both ends, for collecting and holding the finished pitch.
Heat Source: An intense heat source is a must for this process. You can use a camp or cook fire, a camping stove (as long as you have plenty of fuel), a portable burner, a grill, or anything else that’s similar.
Lighter (to melt pitch for use): Most uses of pine pitch require it to be melted for application. A lighter can help you do that quickly, easily, and on the go without the need to build a fire. A lighter can also help you reshape the blob of finished pitch for storage.
Water: Water comes in handy for protecting your hands when shaping and molding the finished pitch. This stuff is often very sticky when it’s warm or hot, and you definitely don’t want a hot blob to stick to you by accident!
Caution: Sap and Resin are Extremely Flammable!
Before we get to the actual “how-to,” I’ve got to impress upon you just how flammable pine pitch, and even sap, are. Both contain volatile compounds that will readily catch fire and burn extremely hot.
Because of this, you need to take precautions and keep your work area clear of any additional flammable material. Likewise, never work directly over your containers; if overheated, the melting sap or the pitch itself will catch fire and produce, basically, a volcano! This can burn you savagely.
One of the tricky parts about making pine pitch is getting it hot enough to melt and flow without catching it on fire, which will carbonize it. Our double boiler approach helps in this regard, but you’ll also need to manage your heat, which requires paying close attention.
Keep that in mind as you read over the steps in the following section. All right. The next section will tell you how to create your pine pitch and do so safely.
Making Your Pitch, Step by Step
I know you are eager to get started, but read over all the following steps to get familiar with them before you begin.
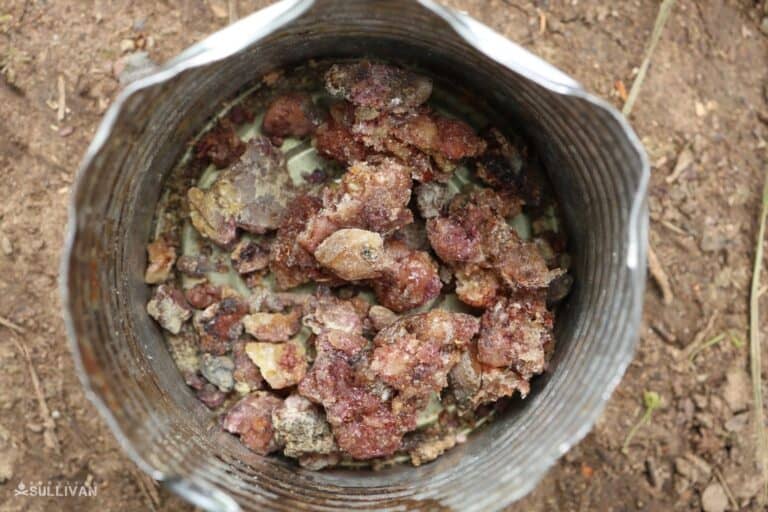
Step 1: Collect pine sap. You’ll need a decent quantity of sap to make this whole process worthwhile. A solid batch that will cover basic tasks can be created when one of your smaller containers is about a third full. Remember, hard, crystallized sap will still work just fine because it will melt when we apply heat.
Step 2: Gather filler and binder. Figure out what sorts of materials you want, or have access to, for adding to your pine pitch. I’ll be using hardwood ash and beeswax in this walkthrough, but any of the materials I talked about in the previous section will work.
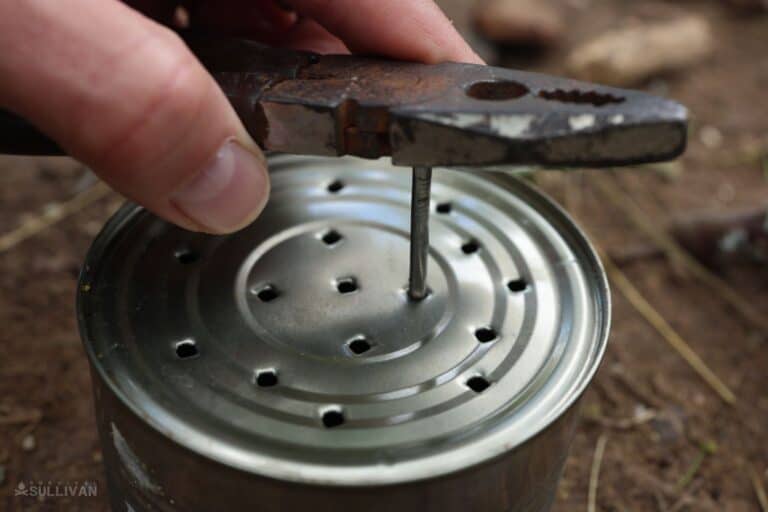
Step 3: Punch holes in one of the smaller containers. Using your nail or some other punch, perforate the bottom of one of the smaller metal containers. A good rule of thumb for a container about the size of a regular soup can is to punch 10 to 12 holes in the bottom.
Step 4: Turn on heat source. If you’re doing this in the wilderness or over a fire pit in your backyard for practice, get your fire going good and hot, but keep it low enough where you can work closely over it.
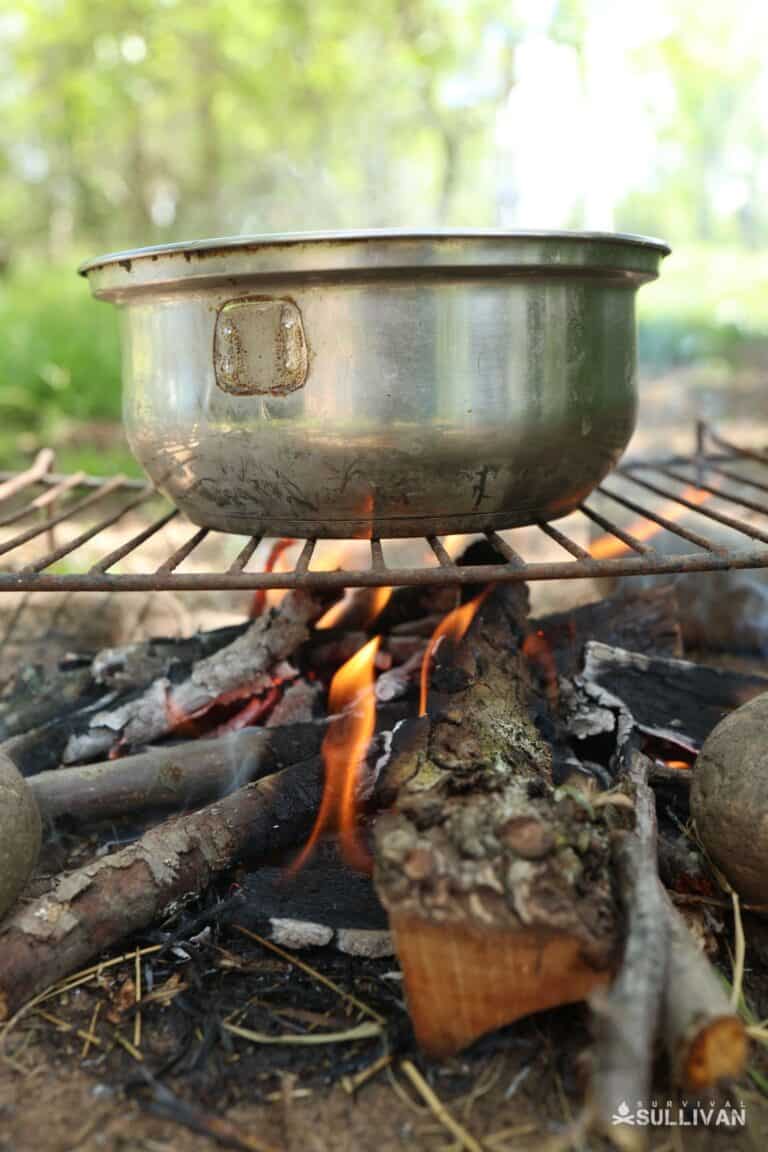
Step 5: Place larger container over fire. Get your large container positioned securely over the fire. You can use a cooking rack or pot.
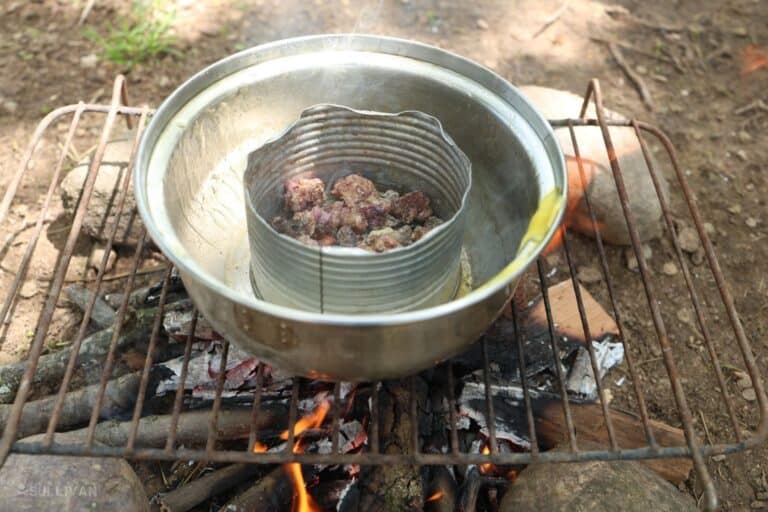
Step 6: Load sap into small container with holes, place in large container. Take your pine sap chunks and remove as much debris from them as you can. Place them in the container that you punched holes in the bottom of.
If you have your pieces loosely packed, filling about 3/4 of your small container, that should be enough for a decent batch. Once filled, place the small container inside your larger one.
Step 7: Stir sap pieces with a stick. Using a large stick or any other convenient metal tool, constantly stir the pine sap chunks to make sure they are being heated through evenly. You should notice them starting to melt and then flow out the bottom of the small container into the larger one.
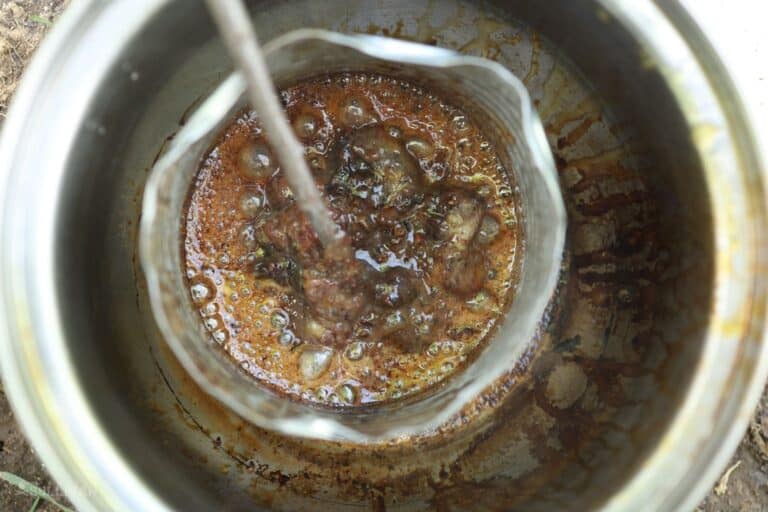
Step 8: Control heat, keep stirring. Watch for the sap to start smoking. If it gets too hot, it will burst into flames. A little smoke is okay, but if it starts billowing smoke, you’ve got a problem. Move the larger pot carefully away from the hottest part of the fire to help control heat, or even pull it off of the fire entirely to let it cool slightly. Keep stirring the sap chunks the entire time.
Step 9: Press larger chunks into the bottom of the container. Your larger chunks of sap might not melt evenly, so use your stick to push them down to the bottom of the can. The little holes will act like a strainer and keep any larger chunks of debris out of your pitch.
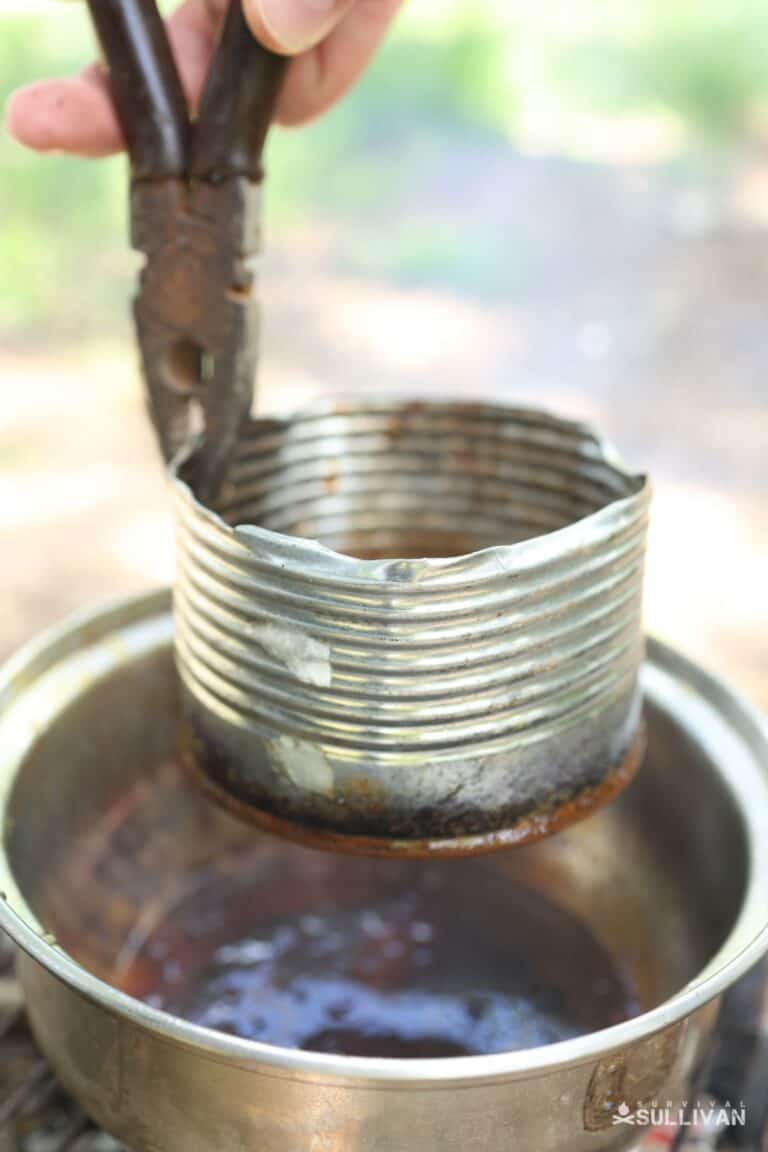
Step 10: Remove the smaller container, catch drips. Using your tongs or other tool, carefully lift the smaller container out of the larger one. Be sure to catch the drips of liquid sap that are still flowing out of it or stuck to the bottom. Once that is done, set the small container aside well away from the fire.
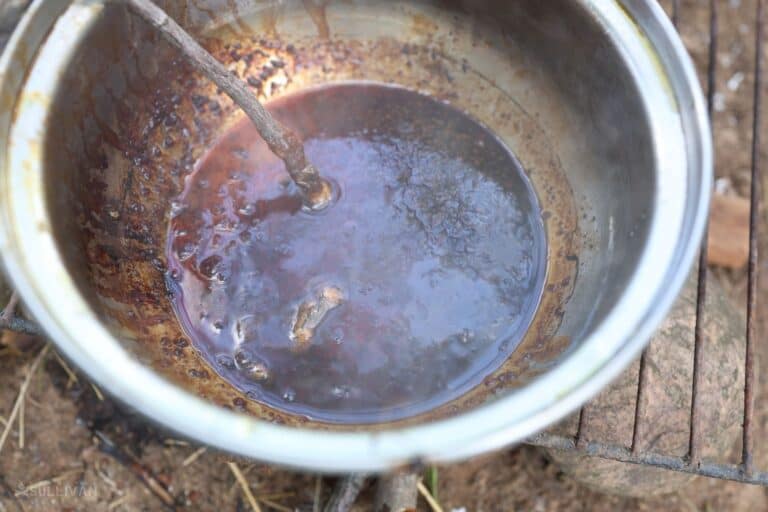
Step 11: Stir sap in large container until completely liquid. Return your attention to the larger container. If you kept it hot, the sap should be liquid, but keep the heat on and keep stirring until it is a uniform consistency and flows freely. Again, don’t let it ignite, and remove it from the heat for a time if it gets too hot.
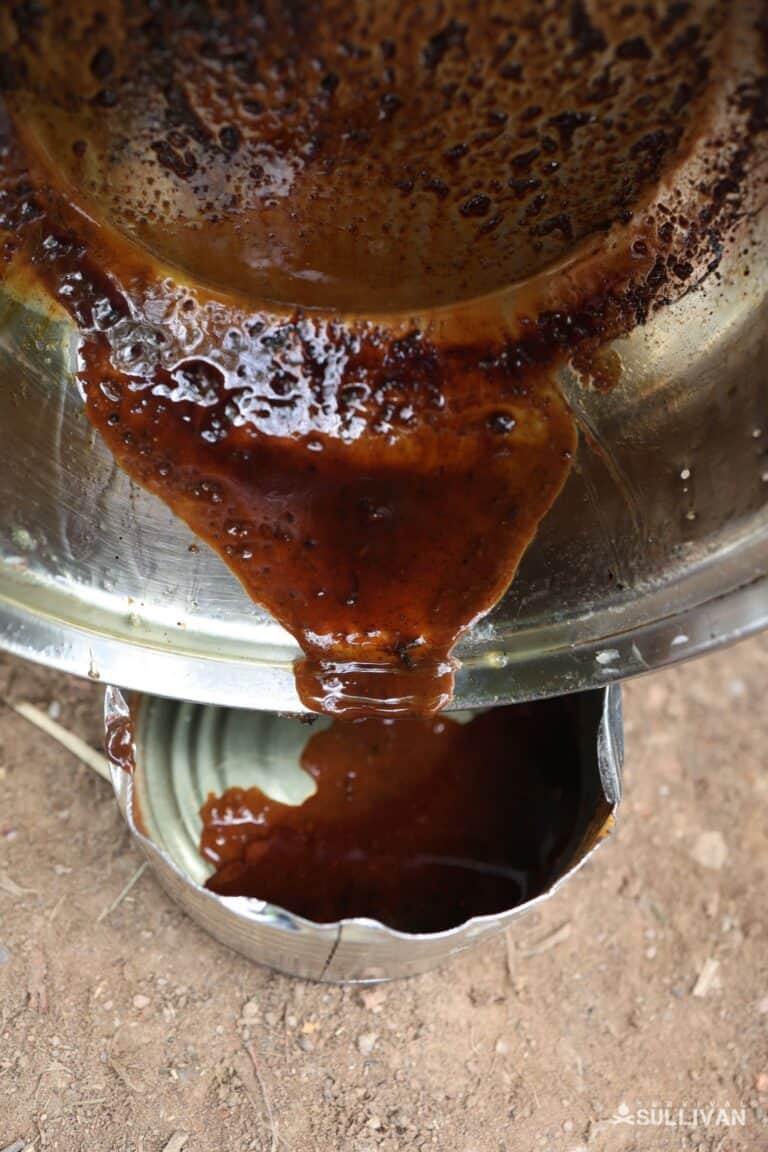
Step 12: Transfer liquid sap to a clean container. Working quickly, carefully pour the hot sap into the second, clean small container, the one without the holes in the bottom.
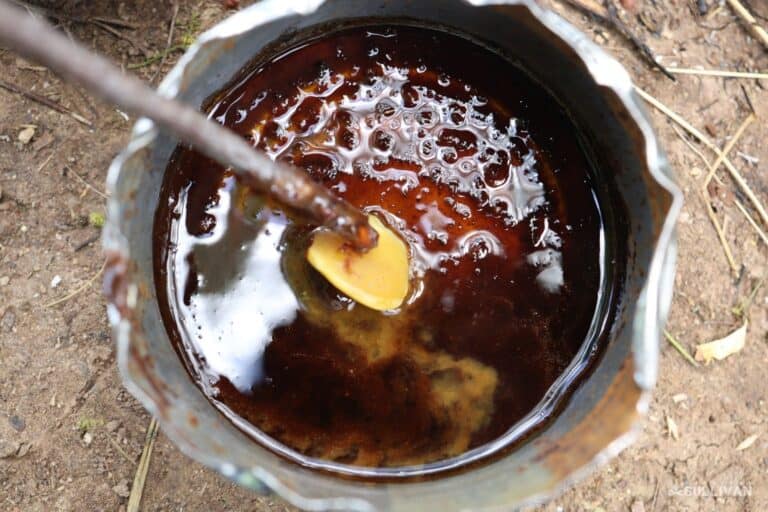
Step 13: Add binder. Stir in the binder material slowly, keeping the thickened sap liquid using your heat source. Adding more binder makes for a more rubbery, flexible pitch when finished. Less binder makes it harder but more brittle.
If you plan on using your pitch as a flexible glue, you’ll add a little more. If using it for glue to hold two flat, hard surfaces together, add less. Start with about a tablespoon of beeswax and stir everything together. You can add more if needed.
Keep stirring over heat until everything is dissolved and the consistency is uniform. It should now have the texture and appearance of thick tar.
Step 14: Add filler. Now add your filler material to the still-liquid sap. Add about half a tablespoon, or two generous pinches, then stir everything together. The sap should noticeably thicken. If it still seems thin, add another half tablespoon or two more generous pinches. Stir everything together.
Step 15: Test. Remove the pitch from intense heat but keep it nearby so it does not solidify. It will start to harden quickly, so work fast. Grab a small, sharpened stick and scoop up a small amount. Let it cool off for a short time. Wet one of your hands, and then gingerly try to mold the cooling pitch.
It should be rubbery and flexible while still warm. Once it is completely cool, check to see if you are happy with the consistency. If it is too hard, put it back on the heat and add more binder before testing again.
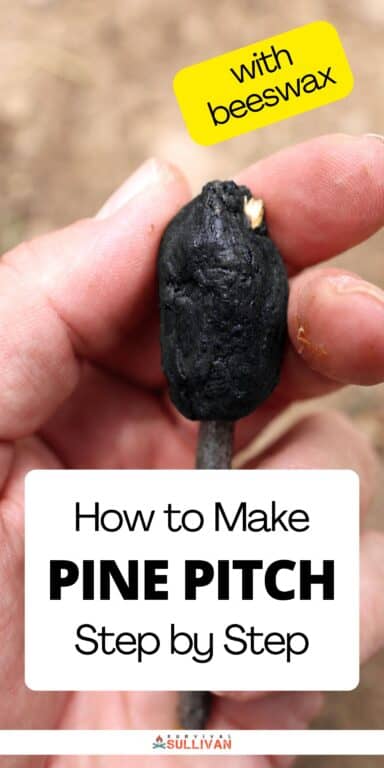
Step 16: Scoop onto stick. Once you are happy with the consistency, take a clean, sharpened stick and scoop up all of the pitch onto the pointy end. When the pitch cools to a “doughy” consistency you are ready to scoop. Wet your hand as before, and then mold it into a sausage shape for storage.
Once it is completely cool you can put it away. Be very careful that you don’t get burned during this step! If it hardens too quickly, gently heat it until it is pliable but still safe to handle.
Step 17: Done! Once the pitch is molded and cooled on your stick, it will be easy to transport and ready to use.
Using Your Pitch
You’ve got lots of options for using your pine pitch or tar, the hardened version of pitch. If you need a little bit as a fire starter, break or carve off a small piece from your stick and then light it as tinder. You can also melt it, smear it on something, and then light it that way.
You can use it as glue or sealer just as it is while on the stick. Light just the tip of the sharp stick, and as the pitch starts to melt and run, you can drag the point of the stick along the gap, tear, or whatever as a sort of primitive glue gun.
Larger gaps can be filled by heating the pitch until it’s just pliable and then molding it where you need it like clay, and once it hardens, it will be set.
Is Pine Pitch Edible?
Surprisingly, yes, it is. However, there’s no good reason to eat it, and the taste is pretty awful. It has basically no caloric value, though it has historically been used in various traditional curative methods or for its supposedly health-boosting properties.
Also of note, back in the day it was used as a substitute for chewing gum, although I obviously don’t recommend it!


Tom Marlowe practically grew up with a gun in his hand, and has held all kinds of jobs in the gun industry: range safety, sales, instruction and consulting, Tom has the experience to help civilian shooters figure out what will work best for them.