
When it comes to outdoor survival, fieldcraft skills separate real preppers from the pretenders. Creating shelter, building a fire, finding food, filtering water, and so forth. But there’s one skill that even seasoned survivors often lack, and it’s a real shame because it’s a true game changer.
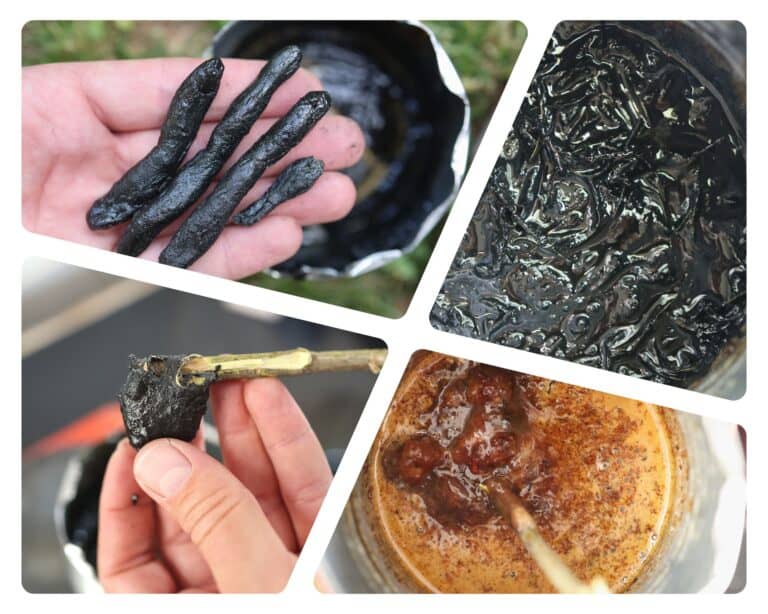
I’m talking about making glue, and specifically pine pitch glue. This is an ancient technique that is just as viable, and just as useful, today as it was in long-forgotten times.
The resources needed to make it are plentiful and can be found anywhere sap-producing conifer trees grow. It’s easy to make and this stuff is tough enough to repair tents, boots, tools, traps, and a whole lot more. This is a skill you’ll want in your survival repertoire, I promise, and in this guide I’ll tell you how to make it…
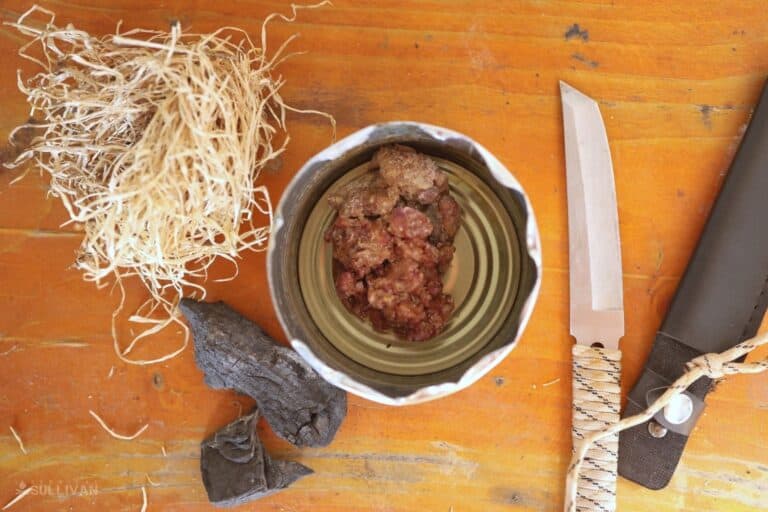
Supplies
You don’t need much to make this glue in terms of ingredients and equipment. Most things you’ll be able to gather or craft, but basic tools like a knife or other scraper come in handy, as will tongs or some other implement that will help you handle a hot pot or pan.
Pine Resin: This is the hard resin that you’ll often see on the outside of pine, spruce, and other coniferous trees. It has a cloudy, almost milky consistency once it is hardened. This is the primary ingredient and you can harvest it from any trees that are damaged and, often, from deadfall. Snap or scrape off chunks that are clean and free of any obvious contaminants.
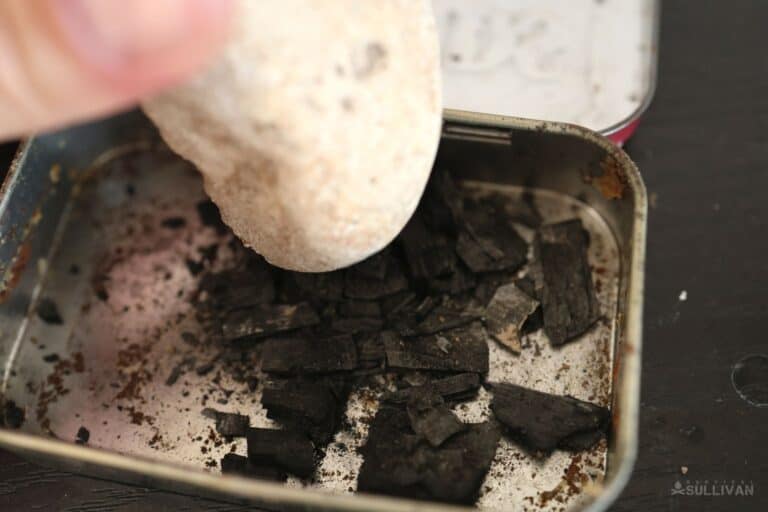
Crushed Charcoal: Charcoal is another vital ingredient, and it gives the glue body and toughness. You’ll need about one part charcoal for every three parts of resin. You can make it yourself by burning wood or bring it with you specifically for the purpose. You’ll just need to crush it into a fine powder. Rocks and flat metal tools work great for the purpose.
Binder: This helps hold the other ingredients together in the mixture and resist shearing stresses that could cause your glue bond to crack or break and come apart (a.k.a. tensile strength). You’ve got lots of choices here. Hair, fur, plant fibers, dry grass, or powdered antler and bone all make great binder components.
The amount you’ll use will depend on the ratio of the other ingredients, but generally you only need a pinch so don’t go crazy collecting it unless you’re making a massive batch.
Believe it or not, traditional pine pitch was often made with thoroughly dried animal poop! That will certainly work, but we’ve got easier and cleaner options. To make a regular batch of pine pitch, you’ll need no more than a tablespoon.
Pot, pan, or similar: For heating the pine resin so it turns liquid and combining all of the ingredients. Note I don’t recommend you use an actual cook pot for this unless you’re desperate; this recipe is hideously messy and it’s difficult to thoroughly clean the pot or other vessel after you’re done. Consider repurposing some other container for the purpose or even cutting a can in half for the job.
Long spoon or green stick: For stirring the melted resin and glue mixture and fishing out any contaminants that might be in there. Also comes in really handy for applying the finished glue and spreading it as needed. If you’re using a stick I recommend you use a green one because it is less likely to burn and ignite if you’re working over an open fire.
Tin or other storage container: You can bring your finished pine pitch glue with you once it cools and hardens. You want to protect it from light and heat and also from dirt and dust in the meantime, so stash it in a storage container.
Heat source: If you’re outdoors you can do all of this over a campfire. Indoors, you can use a workshop burner or even your stove. Just be careful.
Caution: Hot Resin Can Burn Savagely!
I hope it will be obvious, but I must tell you here that you should be careful during this process. When melted, pine resin is hot enough to cause significant burns, and getting molten glue on you will cause terrible burns that you cannot easily deal with until it cools down on its own. Hardened glue on top of burned skin will cause real complications, too.
Be careful, pay attention, and don’t do anything I wouldn’t do.
Instructions

Step 1: Gather resin. Look for chunks that are an opaque, milky color. Choose these over fresh sap that’s still runny or tacky. Smooth and completely hard is best. Gather several good-sized chunks or numerous smaller ones and move on.
Step 2: Clean dried resin as best you can. Once you are ready to start, take the time to pick out any chunks of wood, dirt, or other contaminants from your pieces. It’s easier to do it now when it’s hard rather than when it’s melted and sticky.
Step 3: Add resin chunks to vessel. Try to crumble up the resin chunks into small, roughly uniform pieces then place them in the pot you’ll use for melting.
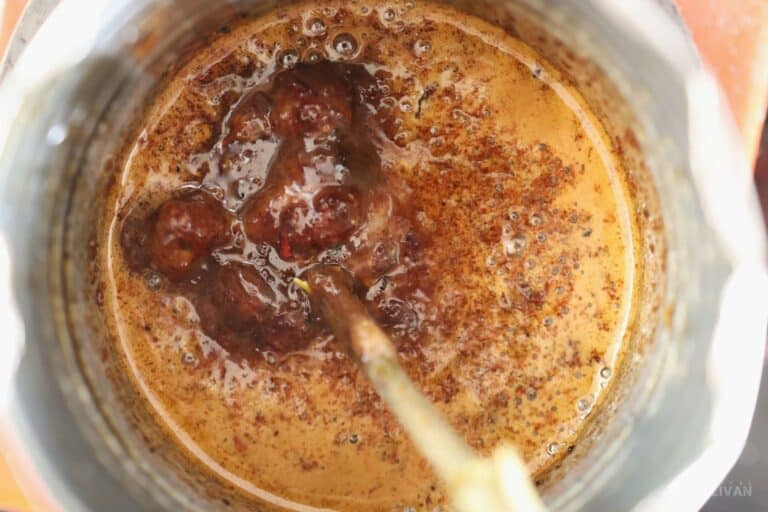
Step 4: Heat vessel, stirring as needed. Place the can near your heat source. Not directly in the fire or on a blazing hot burner! You need gentle heat to just melt the resin. If you scorch it or burn it, it won’t work and the resulting glue will be useless. It won’t be glue at all!
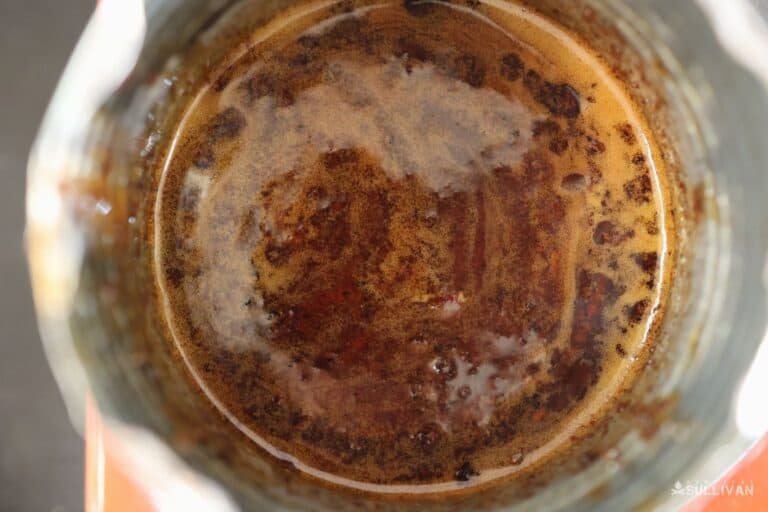
Step 5: Control heat, add resin until completely melted. Carefully and slowly adjust your heat or move your vessel around until the resin starts to melt. Stir, poke, and prod with your spoon or stick to facilitate this and add more as needed.
Again, keep a close eye on the process and take all measures necessary to prevent scorching. Once the resin is all melted, move on.
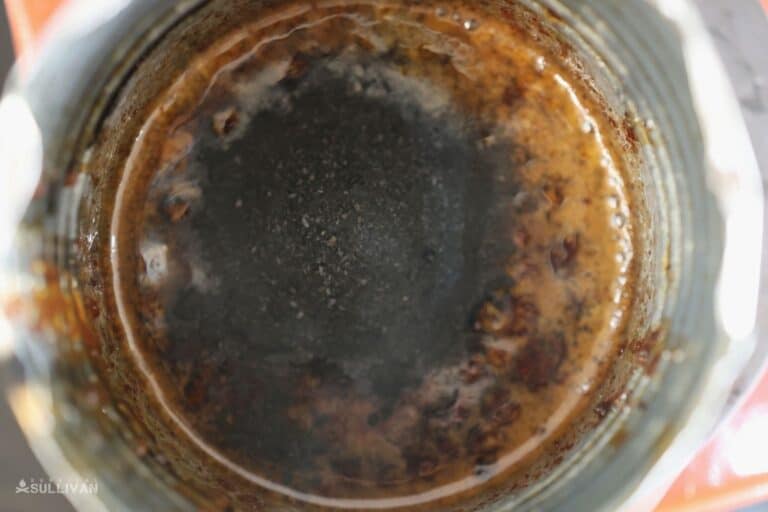
Step 6: Add charcoal, stir until combined. Take your crushed charcoal and add it to the melted resin, minding the correct ratio; one part charcoal to three parts resin. Stir as you add it and stir thoroughly once it’s all in there to make an even, dark mixture.
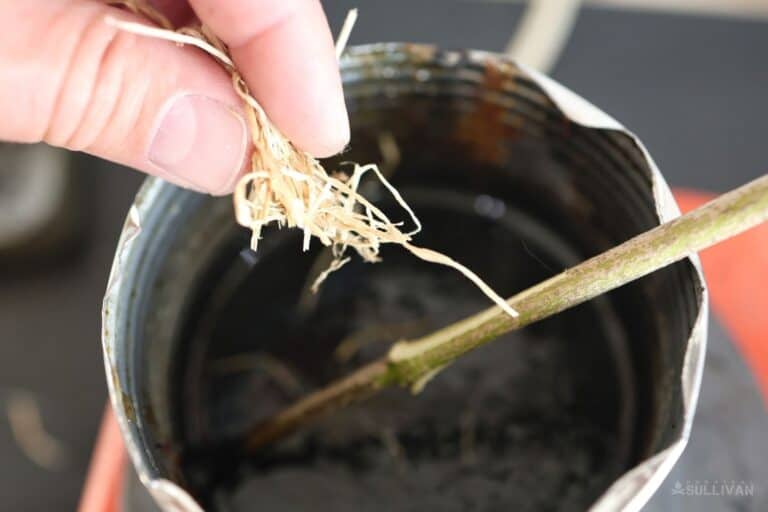
Step 7: Add binder, stir thoroughly. Now add your binder, whatever it is. Compared to the amount of charcoal you’ll only use a pinch here. Stir everything briskly so it’s fully combined. The glue mixture should start to noticeably thicken here.
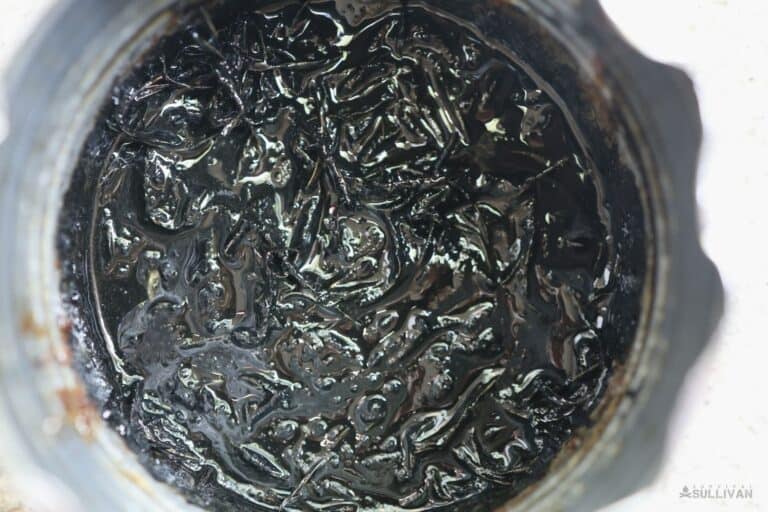
Step 8: Test mixture, keeping glue hot. Grab a clean stick or other tool and test your mixture. It shouldn’t be thin and runny, and it shouldn’t be chunky and clumpy. It should have a consistency a little bit like road tar or a thick frosting. If you smash a glob of the hot glue onto a surface you should be able to spread it pretty easily without it running all over the place.
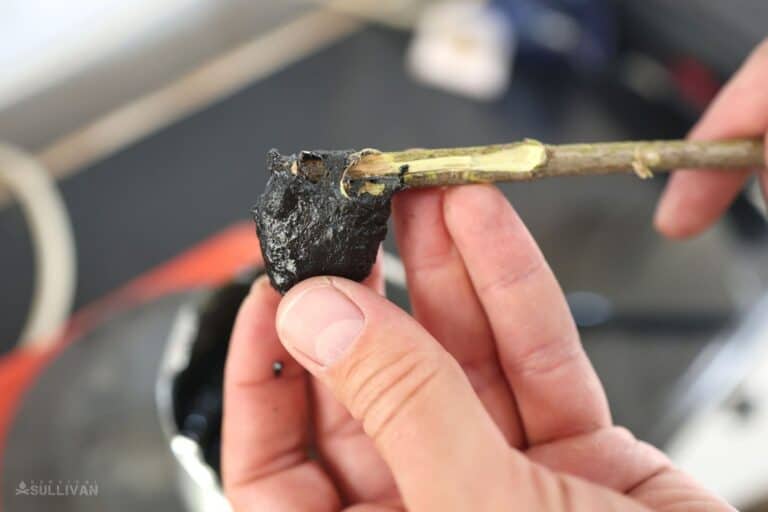
Step 9: Adjust ratios as needed. Your glue might not behave as intended right now and that’s okay. Simply add more of the ingredients as needed. If it is too thick and crumbly, add more pine resin. If it’s too runny add a little more charcoal and assess. If it’s still too runny, add a tiny bit more binder.
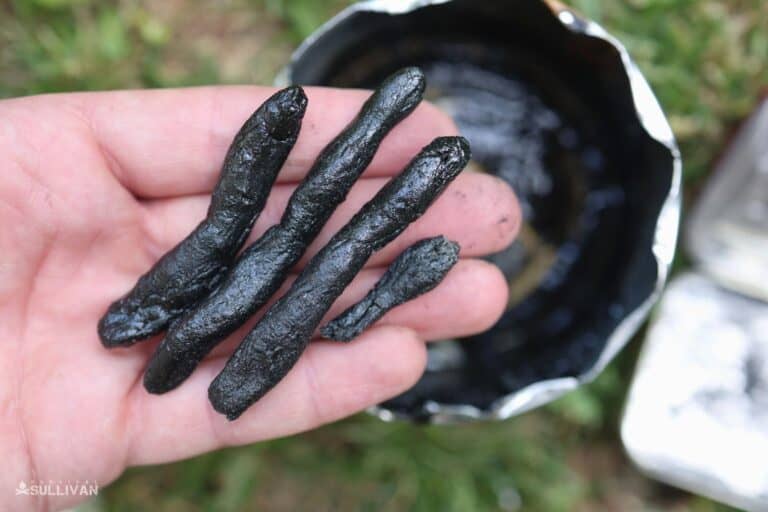
Step 10. Roll into sticks. If it cools off too much, heat it back up. If you want to use it later, remove the pan from the heat entirely, let the glue cool slightly and then roll it out into logs or sticks for easy storage. Put them away once they’ve completely hardened. Melt the pieces whenever you need them.
Done! You’re all set. Congratulations on making old-fashioned pine pitch glue! Once you’re happy with the consistency, your glue is ready to use as long as it stays hot.

Tom Marlowe practically grew up with a gun in his hand, and has held all kinds of jobs in the gun industry: range safety, sales, instruction and consulting, Tom has the experience to help civilian shooters figure out what will work best for them.