If you have made the decision to prepare in case of an SHTF situation, then canning can be a great way to prepare ahead of that time. We can grow lots of fresh fruits, and vegetables, which can become overbearing on us at harvest time.
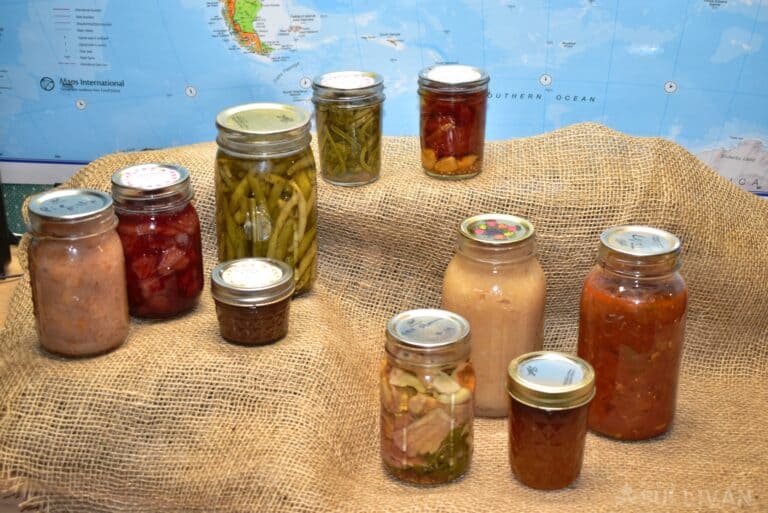
Perhaps you aren’t growing the fruits and vegetables yourself, but you run across that great sale at your local store. You buy up as much as you can. Now you want to put them away for later. Then canning is one way you can store your food for years.
Another plus is water bath canning can be done over an open fire or wood-burning stove. Therefore, eliminating the usage of electricity.
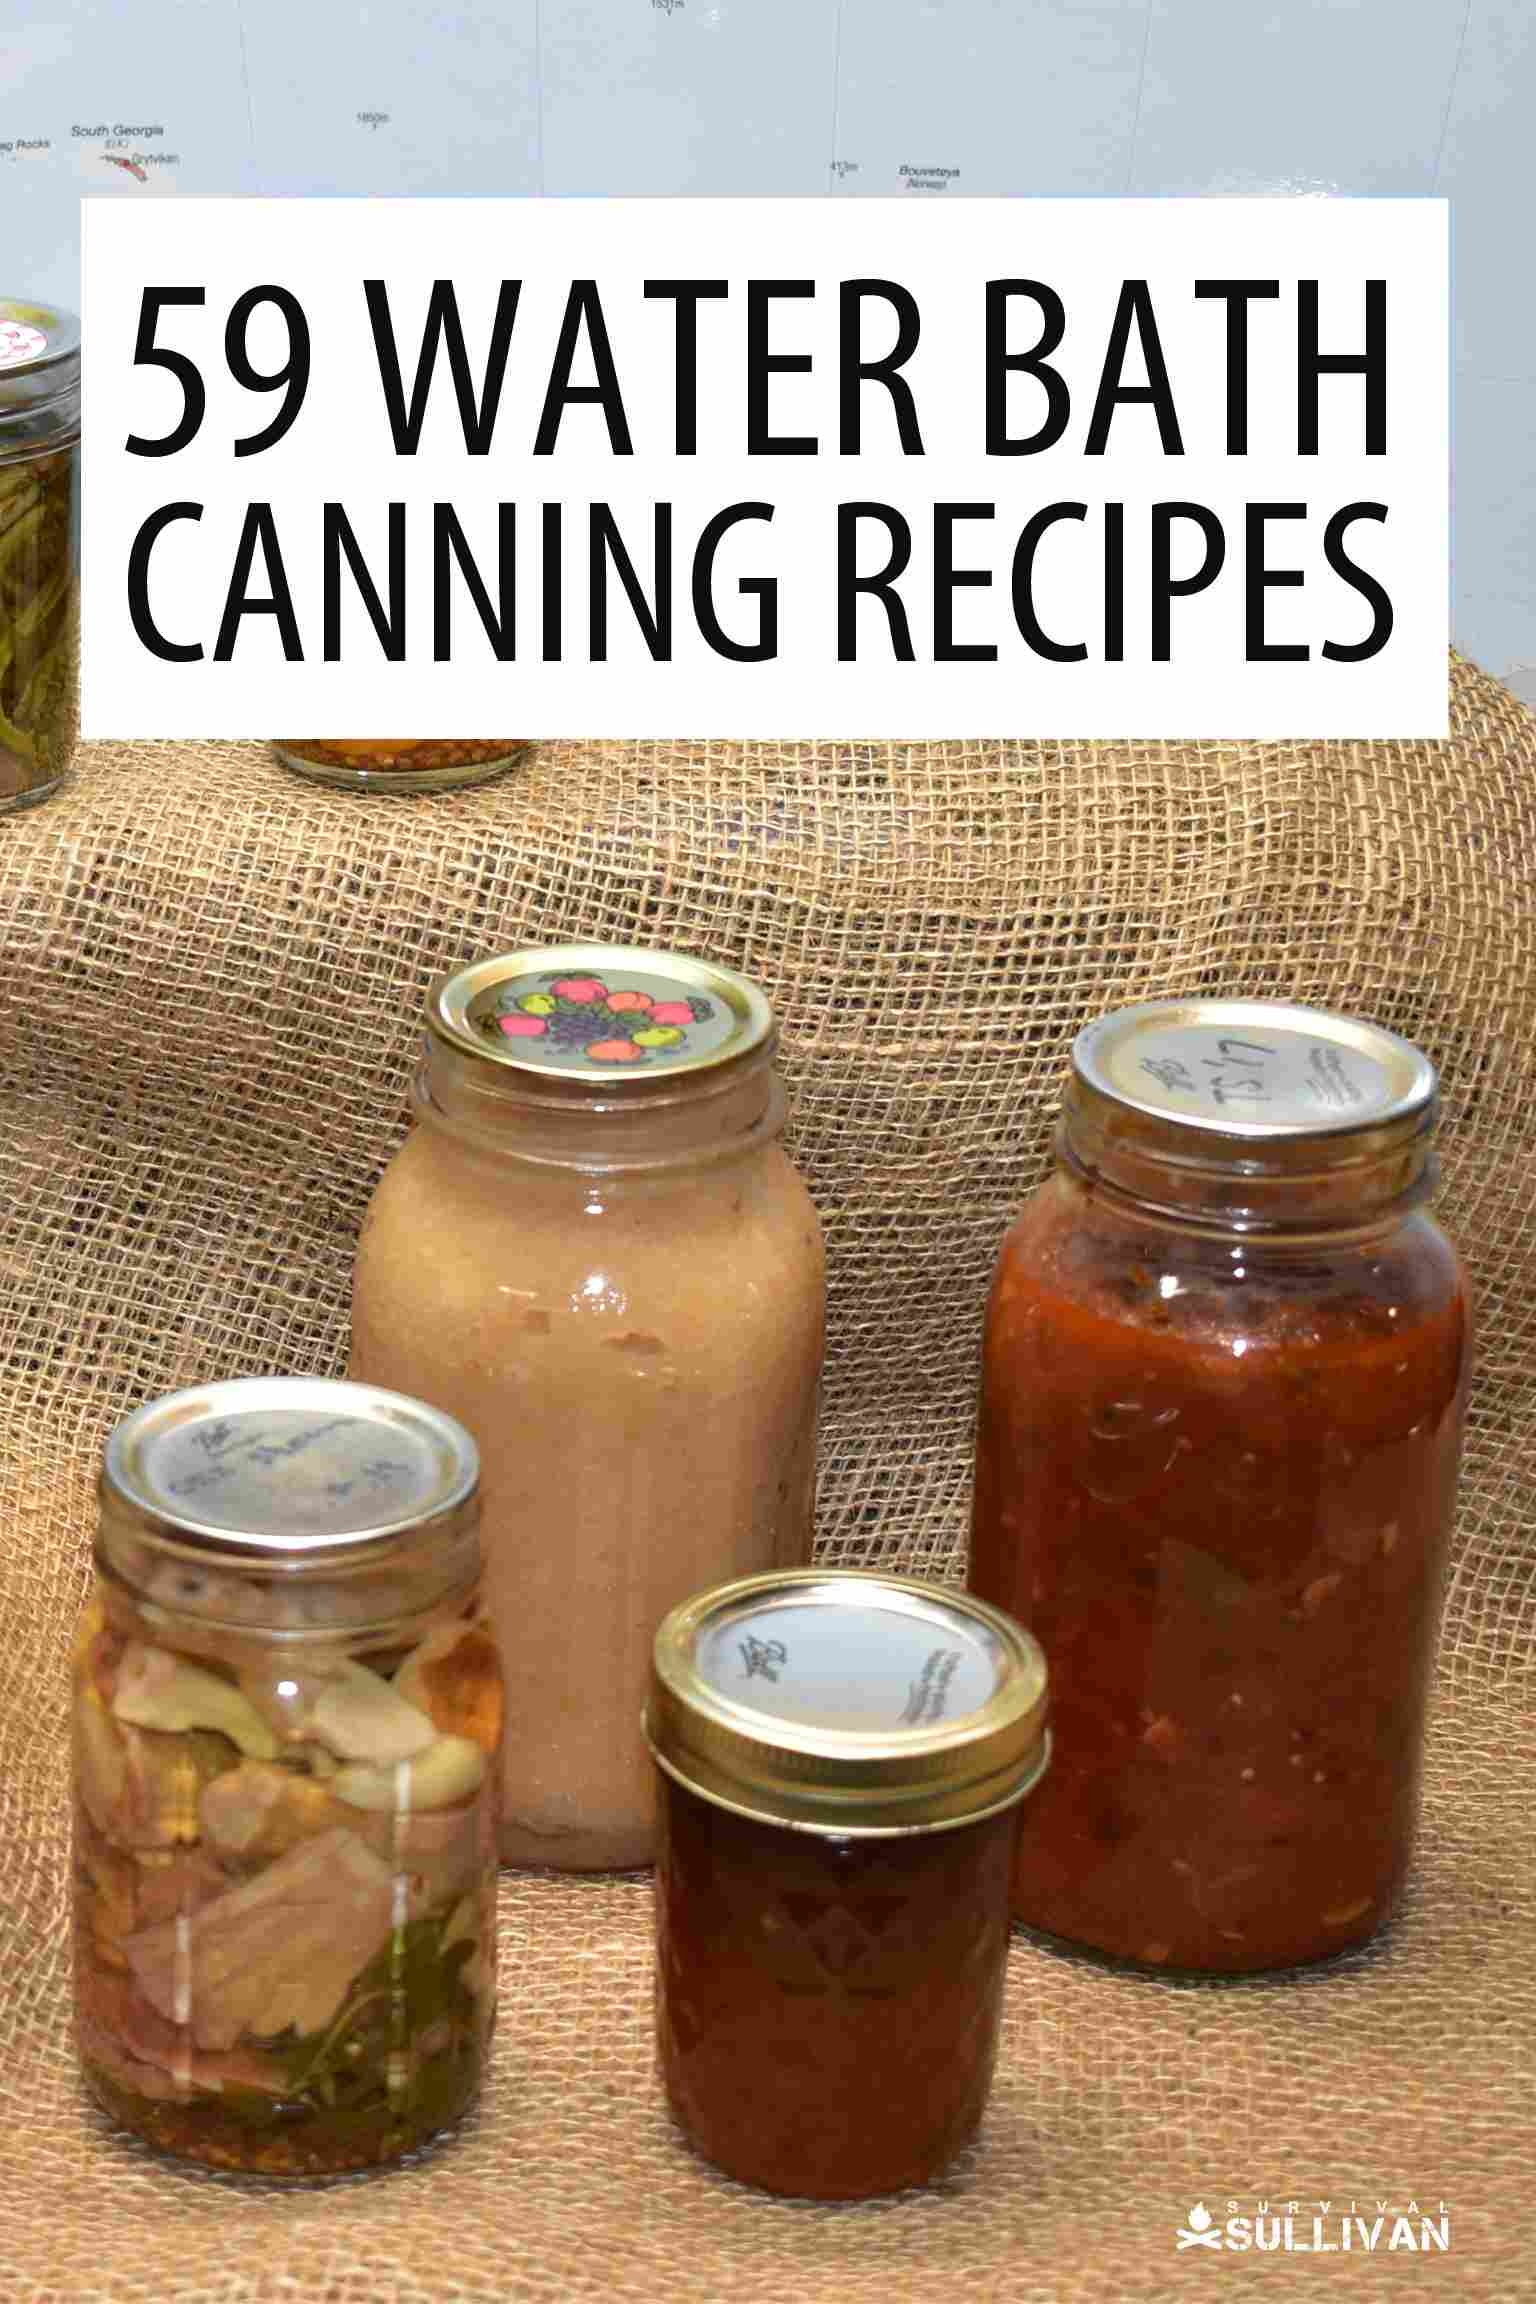
In today’s post, we focus on the first thing you need to have to survive: food. It has to be food that does not occupy too much space, offers a lot of calories per serving, and can last a long time. Simply put, I am talking about preserves by water bath canning.
The USDA recommends a shelf life of one year to preserve nutrients and taste. Many homesteaders have discovered that is just a recommendation and have been successful at keeping foods processed by water bath canning for a longer period of time.
What Can Be Canned in a Water Bath?
If you’re wondering why you should use a water bath canner, know that it should only be used if the food is high-acid or acidified in some way. If that is not the case, you must use a pressure canner.
The boiling temperature of 212 degrees Fahrenheit – which is reached in a boiling water bath – helps to kill yeasts, molds, enzymes, and certain types of bacteria. Processing times are generally given for an altitude of fewer than 1000 feet above sea level.
You can generally can the following items in a water bath canner:
- Fruits
- Preserves, jams, jellies, marmalade, and preserves
- Tomatoes, tomato sauces that do not contain meat, tomato juice, and salsa (often, you must add vinegar or lemon juice)
- Fermented or pickled foods (like pickles or sauerkraut)
Jams and sauces have a high sugar content, which amounts to a lot of calories. While there are other foods like breads that can last as long, it is important to remember that jams and sauces can last longer, are tasty, and also, they occupy very little space so you can stock as many of them as you want.
I’ve also included a recipe for canning lemons, which you can use to can other fruits like oranges, pineapples, peaches, and apples. They are cheap to make compared to other foods and are great on your taste buds.
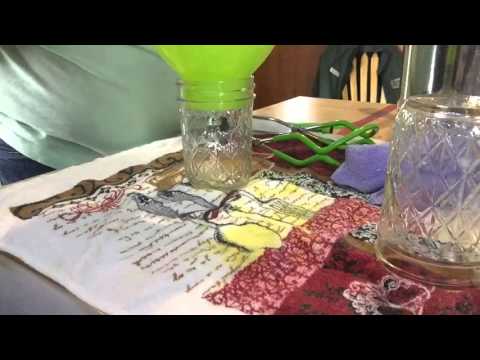
What Do You Need for Water Bath Canning?
Disclosure: This post has links to 3rd party websites, so I may get a commission if you buy through those links. Survival Sullivan is a participant in the Amazon Services LLC Associates Program. As an Amazon Associate, I earn from qualifying purchases. See my full disclosure for more.
To get started with water bath canning, there’s not much you’ll need. Here’s a basic list of supplies:
- A water bath canner – you can buy a canner specifically for this purpose or use an old stock pot with a lid
- Canning jars (pint or quart)
- Lids and bands (you can reuse the bands each year, as well as the jars, but do not reuse the lids)
- Jar lifter or set of tongs
- Old dish towels
- Bubble remover tool
- Pots, pans, and assorted utensils for cooking
And, of course, you will need a detailed recipe to follow! Keep reading to learn more.
The Water Bath Canning Recipes
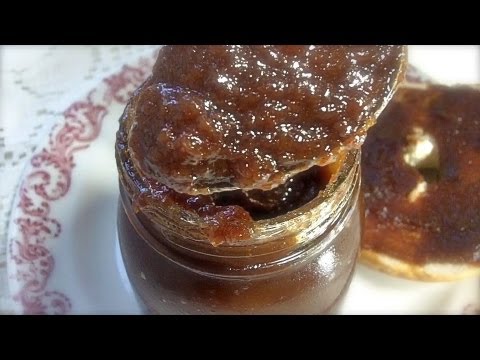
Apple Butter Recipe
This recipe may require about two days to make but it is totally worth it.
What you need
- 1 tsp of ground cloves
- 1 tbsp of ground cinnamon
- 3 cups of sugar or 2 cups of honey
- 4 pinches of allspice
- 2 gallons or 16 pints of applesauce (preferably homemade)
Procedure
- Using a pot with hot water and soap, start off by washing your Mason jars.
- Pour out the water and put it in fresh water. Warm it but don’t boil. In this water, you can put in your jars, the lids, the rings, and one clean towel.
- Pour your applesauce in a pot till it is nearly full and heat until it is half full and heat over medium heat till bubbles start rising. Turn to low heat and let it simmer.
- As your applesauce simmers, add in your sugar or honey, your ground cloves, cinnamon, and allspice. Personally, I prefer using honey because it brings a new flavor to your apple butter. You can of course substitute sugar for natural sweeteners if you like to experiment a little. Remember, for every cup of sugar, you substitute for 2/3 a cup of honey. Stir the mixture well.
- Heat the mixture over medium, low, heat for around eight hours. Make sure to scrape the sides and stir a little before letting heat again overnight or for a minimum of 7 hours occasionally stirring. If you do not stir, some of the mixture will stick to the bottom and sides of the pot.
- Stir in the rest of the applesauce and more sugar or honey (preferably a cup), because after boiling overnight the mixture’s volume is bound to have reduced. Stir well and let it heat over medium-low heat for about 3 more hours.
- Remove the apple butter and set aside to cool before blending it or mixing it in a mixer. Some may prefer to leave it as is but the reason for blending or mixing is that mostly, the apple butter at the top tends to be thicker than the one at the bottom. So you mix to give it uniform consistency and become smooth.
- Remove the towel and twist it so that it is damp but not wet. Wipe the jars with your warm damp towel until dry. Pour the mixture into your sterilized jars making sure to leave ¼ inch of space. Put on the lids and secure them with rings. Place them in boiling water and leave them for ten minutes. Remove them from the water and let them cool.
- Store them in a cool and dark place.
Since apple butter is acidic, you do not have to worry about bacteria getting in. Make sure to leave about a quarter inch of space in your jars before sealing them. To remove any trapped air, just tap the sides of the jars and the bubbles will rise to the top.
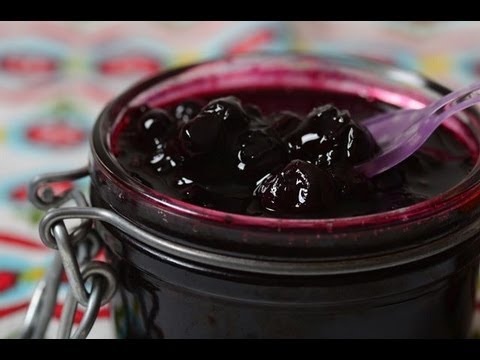
Canning Blueberry Sauce
You will be surprised at how well blueberry sauce goes with pancakes. What is great about this recipe though is that it only takes about 30 minutes to make.
What You Need
- 4 pounds of blueberries
- 1 1/3 pounds of honey or 2 pounds of sugar
- 2 tbsps. of cornstarch
- 1 juiced big lemon
- Lemon zest
Procedure
- Using a pot with hot water and soap, start off by washing your Mason jars.
- Pour out the water and put it in fresh water. Warm it but don’t boil. In this water, you can put in your jars, the lids, the rings and one clean towel.
- Put your blueberries in a wooden bowl and mash them with a potato masher so that most juices are released. Alternatively, you can use a mortar to pound the blueberries in a wooden bowl. Add in the honey or sugar and keep mashing or pounding until mixed.
- Leave at room temperature overnight.
- Put the blueberry and honey or sugar mixture and put it in a fine mesh sieve to get the juice. Alternatively, you can use a clean cloth and twist so that the juices seep through. Add cornstarch to the juice, mix to a paste and put the mixture in a stainless steel pan.
- Add the lemon juice and lemon zest into the blueberries in the pan and cook over medium heat to a boil. Turn the heat lower and simmer for about ten minutes.
- Set aside and let cool or cool it in the refrigerator in a storage container.
- Wash your six half-pint jars in soapy hot water and keep them and their lids in hot but not boiling water. This is to soften the lids and kill off bacteria and germs.
- Boil your blueberry mixture making sure to stir so it does not stick to the sides and the bottom. Let it cool for about 30 minutes. At this point, there should be a tension layer formed on the top of the mixture. If not, boil then cool again.
- Remove the towel and twist it so that it is damp but not wet. Wipe the jars with your warm damp towel until dry. Wipe the jars with a clean towel till dry then pour the blueberry sauce into your sterilized jars making sure to leave ¼ inch space. Put on the lids and secure them with rings. Place them in boiling water and leave them for ten minutes. Remove them from the water and let them cool.
- Store them in a cool and dark place.
If you like experimenting, you can try agave instead of sugar to see which one is best for you. Personally, I prefer using natural honey because…well, it is natural. Wild honey comes with an array of flavors too so why not experiment?
Homemade Peach Jam
What you need
- Pint-sized Mason Jars
- 8 sorted, under ripe peaches
- 4 cups of honey
- 1/2 cups of brown sugar
- 2 cinnamon sticks
- 1 half freshly squeezed lemon
- 2 ounce dry pectin
- 1 tsp of butter
Procedure
- Using a pot with hot water and soap, start off by washing your Mason jars.
- Pour out the water and put in fresh water. Warm it but don’t boil. In this water, you can put in your jars, the lids, the rings and one clean towel.
- Boil some water in a stainless steel pot. Halve your peaches and remove the pits then chop into smaller pieces.
- Place your peaches in the boiling water and heat for five minutes or till they are soft.
- Coat your frying pan with oil and brown sugar, leave for a minute to heat then place your peaches in. Make sure to flip them constantly to brown each side. Use the rest of the brown sugar. Set aside to cool.
- In a blender, add in the honey and peaches then blend till you get a thick puree.
- Pour the puree in a stainless steel crock pot. Add in the lemon juice and cinnamon juice and bring the mixture to a boil over low heat making sure to stir constantly to your desired consistency. Set aside to cool then remove the solids.
- Remove the towel and twist it so that it is damp but not wet. Wipe the jars with your warm damp towel till dry. Wipe the jars with a clean towel till dry then pour the peach jam into your sterilized jars making sure to leave ¼ inch of space. Put on the lids and secure them with rings. Place them in boiling water and leave them for ten minutes. Remove them from the water and let them cool.
- Store them in a cool and dark place or refrigerate. It will be ready to serve in five days.
Making and Canning Pizza Sauce
What you need
- 32 ounces of fresh tomatoes
- 6 pounded garlic cloves
- 2 tsp vinegar
- ¼ tsp of Salt,
- A pinch of sugar and
- ¼ tsp of black pepper
- ½ Olive oil
Procedure
- Using a pot with hot water and soap, start off by washing your Mason jars.
- Pour out the water and put in fresh water. Warm it but don’t boil. In this water you can put in your jars, the lids, the rings and one clean towel.
- In a pot, bring water to a boil and add in your tomatoes. Boil for seven minutes or till you can peel off the skin. Smash in a bowl and mash the tomatoes. In a sieve remove the seeds and place the sieved puree in a blender.
- Blend your tomatoes, pounded garlic, three pinches of salt, a pinch of sugar, black pepper, and olive oil together.
- Sieve to remove any solids and voila! The sauce is ready to can.
- Wipe the jars with a clean towel till dry then pour the pizza sauce into your sterilized jars making sure to leave ¼ inch space. Put on the lids and secure them with rings. Place them in boiling water and leave them for ten minutes. Remove them from the water and let them cool.
- Store them in a cool and dark place or refrigerate.
There are those who prefer to cook the sauce which is okay if you prefer a thicker consistency. For the perfect taste, use balsamic vinegar.
Homemade Canned Pesto
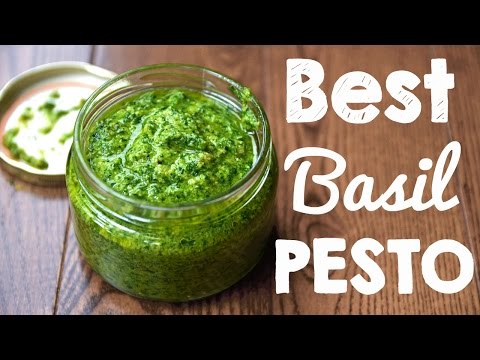
What you need
- 2 cups of fresh basil
- 2 minced garlic cloves
- 1/3 cup of extra virgin olive oil
- 1/3 cup of pignolias
- 1/3 cup of freshly grated parmesan cheese
- ¼ tsp of black pepper and salt
Procedure
- Using a pot with hot water and soap start off by washing your Mason jars.
- Pour out the water and put in fresh water. Warm it but don’t boil. In this water you can put in your jars, the lids, the rings and one clean towel.
- In a food processor bowl, combine the basil leaves, pignolias, garlic, parmesan, salt, and black pepper and start the processor.
- While it is still on, add in the olive oil and process till you have an emulsion.
- Wipe the jars with a clean towel till dry then pour the pesto into your sterilized jars making sure to leave ¼ inch space at the top.
- Unlike the others though, you will not seal the pesto because this can create an atmosphere for bacteria to thrive. Instead, you can secure the top with a small clean cloth and freeze the pesto.
Canning Lemons
This is one of the simplest canning recipes.
What you need
- 3 Pint size glass jars
- Small cotton clothes
- 3 cups granulated sugar
- 9 lemons
Procedure
- Using a pot of hot water and soap, start off by washing your Mason jars.
- Pour out the water and put in fresh water. Warm it but don’t boil. In this water you can put in your jars, the lids, the rings and one clean towel.
- In running water, wash your lemons thoroughly with a clean cloth and dry them.
- Using a sharp knife, slice the lemons to give you six lemon slices per lemon.
- Sprinkle some sugar at the bottom of the jars and arrange three lemon slices on top of the sugar. Sprinkle some more sugar on top of the third half slice then arrange three more. Arrange three more and sprinkle some sugar on top. Arrange the other lemon slices around in the jar and sprinkle some more sugar. Cover with a clean cotton cloth and secure with a rubber band. Repeat the process with the other six lemons.
- You will notice the sugar will turn into syrup. Place them in the refrigerator only taking out to use.
Homemade Canned Fig Jam
What you need
- 2 pounds of fresh figs
- ¼ cup of granulated sugar
- ½ a lemon juiced
- 1 cinnamon stick
Procedure
- Using a pot with hot water and soap, start off by washing your Mason jars.
- Pour out the water and put in fresh water. Warm it but don’t boil. In this water you can put in your jars, the lids, the rings and one clean towel.
- Sort your figs, clean them and cut them in quarters.
- Place your figs in a pan and add in sugar. Turn the heat to medium-low and cook while constantly stirring to avoid lumping. The mixture should become thicker and the color darker.
- Add in the lemon juice and cinnamon stick and keep heating while stirring for about 10 minutes or until it is thick enough to your liking.
- Remove the cinnamon stick and set aside to cool.
- Pour the fig jam into dried pint jars and secure with lids and rings. Put the jars in boiling water and leave for ten minutes. Dry off and refrigerate your fig jam.
Organic Strawberry Jam
It’s a great way to maximize your organic strawberry harvest and requires just a couple of hours to make. Plus, it tastes great on fresh sourdough! Check out this recipe for organic strawberry jam.
Dill Pickles
Dill pickles are the classic, quintessential water bath canning recipe. They’re easy and help you use up all those leftover cucumbers from the garden! Here’s a recipe to help you get started.
Applesauce
Both the adults and children in my household adore this applesauce recipe. It’s quick to make – all in all, only about two hours to complete.
Pepper Relish
Pepper relish can be sweet, spicy, or anywhere in between, depending on your preferences. Check out this easy recipe.
Tomato Sauce
As long as you add a bit of vinegar or citric acid for the necessary acidity, tomato sauce is perfectly safe for a water bath canner. Check this recipe out!
Tomato Salsa
Salsa is another popular canned food and while it can be tricky to can in a water bath canner, there are recipes out there that are safe and have been tested.
You just need to pay close attention to the ratios that the recipe calls for, since changing the number of peppers, onions, tomatoes, and so on can alter the acidity of the finished product.
Here’s one recipe you might want to try.
Bread and Butter Pickles
Although dill pickles are my personal favorite, I have tons of family members who prefer the taste of old-fashioned bread and butter pickles. Here’s a simple recipe you can try at home in the water bath canner.
Whole Tomatoes
I love having fresh tomatoes on hand for mixing into pasta dishes, salads, stir-fries, soups, and other recipes. A substitution that’s almost just as good? Canned whole tomatoes. Check out this recipe.
Water
You might be wondering why you would possibly want to water. However, if you live in an area that experiences regular natural disasters (such as earthquakes or hurricanes) it’s a good idea to keep some canned water on hand rather than relying on the street plastic jugs.
Here’s a tutorial on how to do it.
Blueberry Vanilla Jam
Strawberry jam isn’t your only option when it comes to the water bath canner! Give this blueberry vanilla jam a try, too.
Crabapple Jelly
Even if you don’t have beautiful, harvestable apples growing in your backyard, you can still make jelly. In fact, this crabapple jelly is perfect because it takes advantage of the bitter flavor of crabapples and results in a delicious end product. Check out this recipe here.
Apple Pie Filling
There’s nothing that smells as delicious as fresh apple pie coming out of the oven on a cool fall afternoon. Although I love making apple pie, I hate all the work that goes into preparing the filling. Do the work ahead of time and you can enjoy apple pies all winter long. Check out this recipe for canning apple pie filling here.
Apricot Pie Filling
Apple pie not your thing? Don’t worry – you can make an apricot pie filling instead. Here’s a recipe.
Apricot Butter
If you just can’t get enough of those apricots, give this apricot butter recipe a try.
Apricot Jam
Here’s another apricot canning recipe to try out.
Peaches
There’s nothing as delicious as fresh peaches – give this canning recipe a go. It’s not as sugary as you might expect.
Pears
Here’s an easy recipe for raw-packed canned pears.
Cranberry Sauce
Cranberry sauce is a staple during the holidays but what you might not realize is that it’s also easy to make and can for yourself at home. As soon as cranberries go on sale in the fall (or whenever they’re ready for harvest if you grow your own), go ahead and give this cranberry sauce canning recipe a try.
Plums in Syrup
Plums are delicious and can be canned on their own – but this recipe for plums in syrup is absolutely to die for!
Cherries
If you just want plain old cherries to have to snack on when the mood strikes, this recipe will help you do it.
Honey Peach Preserves
If plain peaches aren’t quite sweet enough for you, add a dash of honey for a more savory flavor. Here’s an easy recipe for some tasty preserves.
Homemade Ketchup
Having homemade ketchup at home means you don’t have to run to the store every time you want to enjoy a hot dog or a plate of French fries! It’s relatively easy to make at home and can be easily canned in a water bath canner, too. Just be warned – it takes a LOT of tomatoes to make a small amount of ketchup!
Here’s a recipe to try.
Barbeque Sauce
There’s nothing like pulled pork sandwiches in the middle of the summer. Barbeque sauce is the perfect accompaniment and it’s easy to make for yourself at home. Like most tomato-based products, barbeque sauce is safe for the water bath canner as long as you use a tested recipe.
Here’s one to get you started on the right track.
Strawberry Vinaigrette Dressing
You can make and can all sorts of salad dressings, too, further reducing your need to rely on the store for canned and prepackaged foods. Most vinaigrettes can easily be canned in a water bath canner because of their high acidity.
Here’s a fun recipe to get you started!
Forsythia Jelly
You can make all kinds of flower jellies with whatever kinds of flowers you have lying around (and are safe to eat). Just make sure you follow a recipe like this one.
Zucchini Relish
A family heirloom, this recipe for extra zucchini is a great way to get rid of all those oversized, meaty zucchini you forgot about in your garden. It tastes great on fish, hamburgers, hot dogs, and more!
Check it out here.
Pickled Asparagus
Asparagus isn’t everyone’s favorite vegetable, but if you’ve been a lifelong asparagus hater, you might want to give this pickled asparagus recipe a try.
Banana Chutney
There are few recipes for bananas that are safe for the water bath canner. This is one of them!
Pickled Beets
I’m obsessed with pickled beets – they are delicious, nutritious, and a great way to use up all those extra beets from your garden this year. Check out this recipe ASAP!
Honey and Rosemary Blackberry Jam
Love honey? Love blackberries? Got a thing for rosemary? If so, give this honey and rosemary blackberry jam recipe a try. It’s to die for!
Gingery Pickled Blueberries
“Pickled” and “blueberries” might not be two words that go together naturally in your head. However, you may want to try this recipe – it’s safe for the water bath canner!.
Sauerkraut
Sauerkraut is a great way to use up your cabbage since cabbage isn’t safe on its own for the water bath canner. Add vinegar, though, and you’ll be good as gold! Try this recipe.
Cantaloupe Pickles
Cantaloupe pickles might not be the first thing that comes to mind when you think of a delicious afternoon snack, but once you’ve munched on these once, trust me – you’ll keep going back, again and again. Here’s a recipe.
Pickled Carrots
Again, carrots are yet another vegetable that shouldn’t be canned in a water bath canner because they just aren’t acidic enough. However, pickled carrots are safe. Give this recipe a try!
Piccalilli
Piccalilli uses ingredients like green tomatoes, grown sugar, green peppers, and more (plus a healthy dose of vinegar) to make a relish substitute that’s absolutely delicious. And it’s safe for the water bath canner! Here’s a quick and easy recipe to try.
Cucumber Mint Jam
If you’re sick of pickles, then this cucumber mint jam is a great way to use up all those extra cukes from your garden. Try this recipe tonight!
Elderberry Jam
Elderberries taste great and are wonderful for your immune system. This elderberry jam recipe tastes wonderful on crackers or fresh bread!
Pickled Fiddleheads
If you’re anything like me, then foraging for fiddleheads is one of your favorite pastimes. Just make sure you follow this recipe to a T – eating undercooked or raw fiddleheads can make you sick.
Orange Fig Jam
When life gives you figs, make fig jam! There’s no better way to use these tantalizing fruits, in my opinion, than when they’re paired with orange. Here’s a simple recipe.
Dandelion Jelly
Another jelly you can make with flowers is dandelion jelly. It tastes just like honey but has a dash of lemon for a bit of extra zest. Here’s a quick recipe.
Pickled Garlic
You can make plain pickled garlic or add extra species to make it nice and hot. This recipe will show you how.
Grape Juice
If you’re sick of sugary store-bought juice, then you might appreciate this homemade recipe for canned grape juice instead!
Maple Syrup
Maple syrup is unique because it doesn’t have to go through the water bath canning process. You more or less just need to ladle it into hot jars. Here’s how to do it.
Pickled Okra
Pickled okra is another easy canning recipe to try. This recipe is my favorite way to use up okra, in fact!
Caramelized Onion Jam with Balsamic Vinegar
This savory jam tastes wonderful on crackers. Consider it your next dinner party go-to! Recipe here.
Pickled Onions
Although some types of onions, like large red storage-type onions, can hold up in storage for many months, the tiny ones that you pull from the garden might not last more than a couple of weeks before they start to spoil. Don’t let them go bad! Instead, give this recipe for pickled onions a try.
Pickled Snap Peas
I’ll be honest – snap peas aren’t my favorite vegetables. However, this recipe for dilly pickled snap peas puts them much higher on my list!
Pickled Peppers
Whether it’s jalapeno, banana, or bell peppers you’re trying to use up, this recipe for pickled peppers is a great way to do so.
Ghost Pepper Jelly
Want another way to use up your peppers? Try this super spicy ghost pepper jelly. Be warned – it’s not for the faint of heart!
Pickled Ramps
Ramps, or wild leeks, taste wonderful when they’re pickled. And when you go through the extra step of canning, you’ll have plenty to last you until next year! Give this recipe a try.
Strawberry Rhubarb Jam
Most people think of pie when they think of strawberries and rhubarb but this jam is to die for. Give this recipe a try!
Watermelon Jelly
Last but not least on our list is watermelon jelly. Watermelon doesn’t taste great when canned all by itself, but this recipe makes good use of your excess harvest.
What is the Easiest Thing to Water Bath Can?
If you’re new to water bath canning, you might be curious about the easiest way to dive into this pursuit.
The good news is that water bath canning, compared to pressure canning, is definitely the easiest way to get started. It requires fewer steps, less know-how, and in the case of most recipes, less time.
As for which water bath canning recipes are easiest, there’s no clear-cut answer. However, I would recommend skipping the more complicated jams, preserves, and marmalades for now. Working with things like pectin can be a bit tricky for a newbie.
Instead, give some of the pickling recipes mentioned above a try – they’re pretty much impossible to mess up. The same goes for plain canned tomatoes. You’re basically just canning tomatoes with the addition of vinegar and salt, so there’s not much that can go wrong.
Once you get one recipe down pat, move on and try another one! Before long you’ll be a total canning pro – trust me.
That depends on the recipe. In general, you will run your canner for anywhere from ten minutes to an hour or more.
You can process any kind of high-acid food in a water bath, including tomatoes with acid added, jams, jellies, preserves, and fruits.
It takes around 12 to 24 hours for lids to seal after canning. They can seal and unseal several times during this period, so it’s a good idea to leave them be until the cool-down process is over.
In the past, inverting jars was recommended as a way to strengthen the seal after water bath canning. This is no longer recommended as it leads to a weaker seal.
Yes. All of your jars should be submerged by about an inch of water.
Final Words
The most important thing to remember when it comes to water bath canning is hygiene. Make sure all your jars and other utensils are sterilized and that you follow the water bath recipe to the letter. Things could easily go wrong and spoil your preserves so be very careful.
When making fruit jams or sauces, it is good to remember to use stainless steel instead of aluminum. The reason is that most fruits, especially berries, tend to be acidic and therefore react to most metals.
Aluminum will stain easily giving you a very hard time when it is time to wash the dishes. Also, it gives your sauce a metallic taste, which you do not want in your preserves.

My name is Teresa Fikes. I am a Homesteader, survivalist, prepper, historian, and writer plus much more all in one package deal. I was raised on a small family farm were I was taught at an early age to survive off the land without the help of modern conveniences. I am a writer by profession and a Homesteader by Blood, Sweat, and Tears.
Hi. I love your recipes. But I have a question. How much granulated sugar can you substitute for the honey. Looking forward to hearing from you.
I’m looking for soup recipes with meat that can be water bathed and not pressure canned and still be safe.