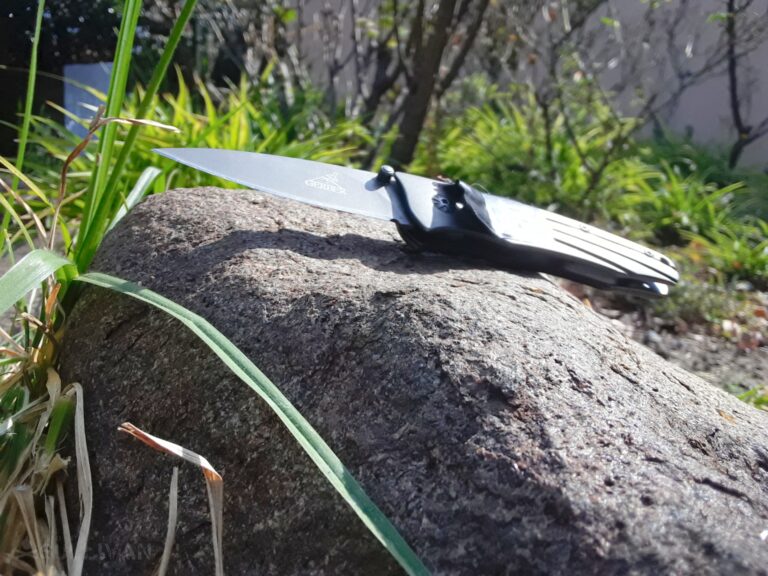
[dropcap]A[/dropcap] dull knife is about as useful as a fork in a survival situation. It is extremely important to keep your knife sharp and as close to peak condition as possible.
To constantly have your blade in cutting shape, you must carry and stockpile the proper tools. Of course, technique is another key factor.
No one wants to be in the woods or a disaster area with shoddy tools. It would add another, very avoidable, variable to the situation.
You will need a knife to gut fish, build other tools like spears and fishhooks, cut through rope, and even signal for help if the blade reflects light well. Being unable to do these tasks properly could easily spell disaster.
Moreover, if you don’t keep knives sharp they actually become more dangerous. Extra force is required to complete tasks, which makes accidents more likely. A dull knife is a safety issue.
Below is a list of materials and tips that will help you survive in the wilderness and keep your knife in tip-top shape.
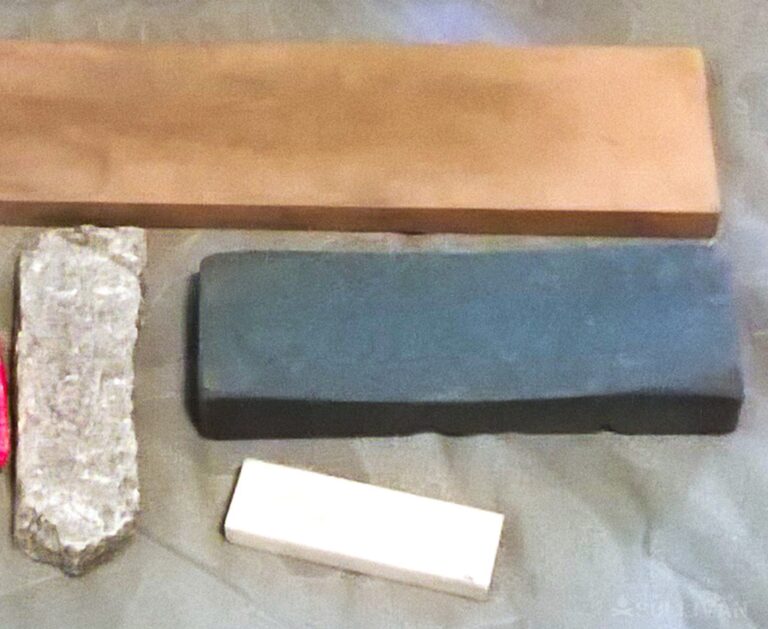
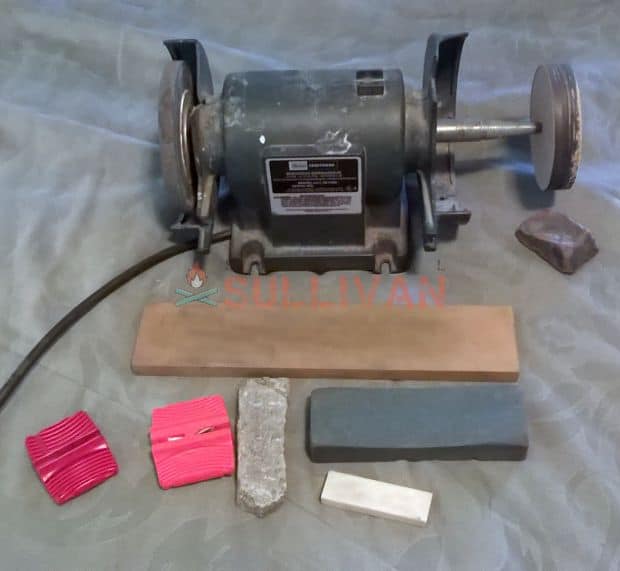
Whetstones and ceramics for knife sharpening
by Eric W. Eichenberger
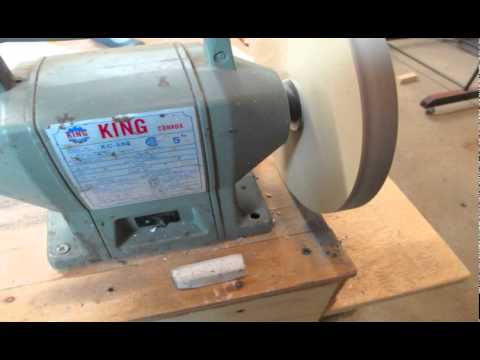
The Whetstone
Of course you can’t carry the bench grinder into the woods on your backpack to keep your knives sharp when you are in the wilds. For this you need something that offers more portability, like a whetstone or a ceramic sharpener.
Arkansas Stone
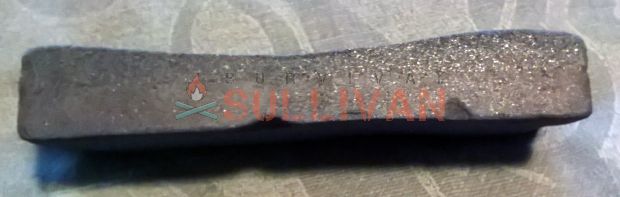
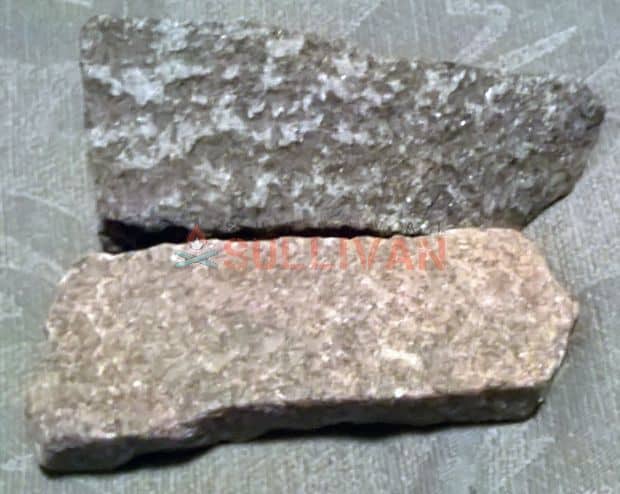
The best whetstone that you can use, in my opinion, is an Arkansas stone. But I have a couple of stones that I found next to a railroad track that work pretty well.
It’s a very unique stone in it has the ability to regenerate, in the mechanics of the honeycomb composition. They can be used like a whetstone, wet or dry, or with honing fluid.
Whetstone Grits
A whetstone is likely the oldest method of sharpening a metal knife blade, and it can be quite effective as well. Provided that you are using a quality stone and that you are using the stones properly.
Its name is not a reference to using water, it is in reference to the stone, to “whet” like hone or sharpen, and “stoning.” Whetstones have different grits, just like sandpaper does.
There are coarser stones for putting an edge on a really dull knife blade, and then you go to finer and finer stones to hone the edge to razor sharp. You can finish up with a leather strop to get the fine rough edge off.
When you are using a whetstone you must keep the stone wet with water while you are sharpening. Some use oil and commercial lubricants but water is far superior. This is because oil “gunks” up the stone.
The only real downside(s) to whetstones are that they are a lot more work, the stones wear away eventually, and they can break if you sat on it or fell and landed on your backpack just where the whetstone was.
Usually, you want to make sure to keep your whetstones good and flat. I have one large two sided stone that I like to use to sharpen my hatchet and machete that has a fairly pronounced dip in the middle of the coarse side but I like it that way. It helps when I am sharpening the hatchet.
If you are only using them at home that should not be a concern. You just have to keep them clean and conditioned. After a lot of use the stone usually develops a dip in the middle, you can fix that by using a lapping plate or flattening stone.
This is a stone or diamond tool that grinds the sharpening stone back to flat again.
Here is a good video showing how to sharpen your knife on a whetstone.

Ceramic Sharpeners
Ceramic sharpeners are another tool that you can use to sharpen your knives. These are usually devices with metal rods coated in ceramic powder that are positioned at the correct angle.

All you have to do is draw your knife through the rods and both edges are sharpened at the same time.
You can buy a table top set that have the rods either exposed or enclosed, or you can buy a pocket set that is small enough to fit in your pocket.
I keep a couple of these types of sharpeners, along with a small, two sided stone in my backpack.
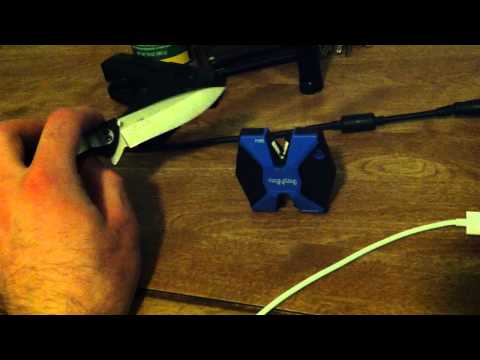
Here is a video showing a ceramic sharpener being used:
Diamond Sharpener
Have you ever seen the kitchen knife sets that are in a big block of wood? Do you recall seeing that rough looking rod with a handle? That’s a diamond knife sharpener.
You just slide the knife up and down across that rod at the correct angle and it will sharpen the knife quite well.
Here is a video showing how to use a diamond rod to sharpen a knife. He also gives a good explanation about having the correct shoulder angle helping the cutting edge be sharp.
Tips On Using Sharpening Stones
Rub Stones with Lubricant
You can buy proper lubricants, like mineral oil, at any hardware store. They prevent cracks in the stone from filling with grime and grit. Overtime, unclean cut lines will cause bigger cracks and eventual deterioration.
Also, when used while sharpening, the liquid will reduce heat. Doing this lessens the damage done to both the knife and stone. In the worst-case scenario, high heat can even permanently warp your blade.
A lubricant cannot be used as a replacement for water. Whetstones and ceramic stones will still need to be soaked for the proper amount of time. Lubricants just add to the effects of soaking.
For diamond stones, a money saving tip is that a small amount of dishwashing soap can be used as fully functioning lubricant.
Know Your Blade’s Rough Grind Angle
Every knife’s blade is built an angle that will allow it to do its specific function the best. This is called the “rough grind angle” or “bevel angle.” To sharpen your knife correctly, you should hold it at this angle.
Pocket knives usually have a rough grind angle between 25 and 30 degrees. If you have difficulty figuring out your specific knife, don’t hesitate on taking it to a local knife stop.
You could also research your knife online, call the manufacturer, or buy a guide to knives.
The function of the knife also changes the correct angle. How you sharpen the tool will depend on if it is being used for soft dicing or heavy slicing. The quality of the steel is another variable. Make sure you know your blade well before working on it.
If You Are New to Knives, Buy a Sharpening Guide
Sharpening guides are tools that connect to the knife handle to keep it stable and at the proper angle. Sharpening a knife without stability or at an incorrect angle can cause irreparable damage.
Even seasoned pros may want one of these to help teach their kids the proper technique without ruining their blades.
It can be more difficult than you’d expect to hold your knife at the correct angle for long periods of time. It is often said that sharpening knife is 90% skill and 10% the tools you use.
Your hands need to be very, very steady or you risk damaging the blade. Unless you are very comfortable with the process, buy a sharpening guide to help prevent damage to your blade.
Never use a sharpening guide on a curved blade. The rough grind angle for a blade of this type does not remain constant.
When you get more comfortable, put permanent marker on the knife’s blade when cutting. This will allow you to see if you are taking steel from the correct areas. Always be cautious. Just because you are starting to be comfortable doesn’t mean you should speed up the process.
Some may suggest taking your blade to a knife shop, but to best deal with a survival scenario you should learn how to do this yourself.
There won’t be outside assistance in an emergency. It’s good for novices to learn from professionals, but do not become reliant on others to get things done for you.
How to Sharpen a Knife
After you purchased a stone, it’s time to get down to the business of actually sharpening your knife.
Even for the experienced, a refresher course will let you make sure you aren’t skipping important steps which may hurt your blade over time.
Of note, if you are new to the art, don’t start with an extremely dull knife. This will make learning what to do overly difficult.
Softly Brush The Knife Across the Stone
Glide the blade up and down the stone. If it feels like a circular motion, you’re doing it right. Keep it up until the knife begins to become sharper. After about twelve rotations, the blade will usually start to have more cutting power.
If you’re sharpening properly, burrs and metal shavings will start to accumulate around the edges of the blade. Make sure to wipe these off.
For larger blades that are bigger than your stone, swipe up and across. This goes for curved blades as well.
Sharpen the Back of the Blade
Don’t forget to sharpen the back. This will give you knife extra cutting power and reduce the chances of breaking the handle. Use the same technique described above with the front.
Usually after six to eight rotations, the back will become sharper. Make sure to test the results (more on that below).
Turn the Stone So That The Fine Side is Upward
At its proper bevel angle, run your blade across the fine part of the stone. Get a sharpening guide if you are worried about holding the angle. Guiding it over the fine side will even out the blade and take out any bumps that popped up in the sharpening process.
Another option is a honing rod. You may have seen these metallic sticks being used by chefs. Rub the knife quickly to remove any burs from a newly sharpened knife.
Like sharpening stones, there are multiple types including ceramic and diamond rods. Honing rods are, by far, the most popular.
Test Sharpness of the Knife
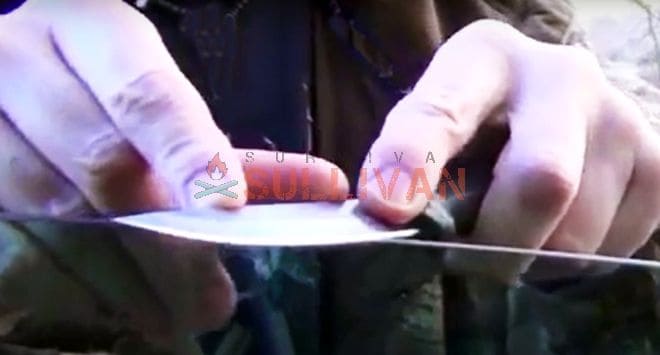
The best way to safely test a knife’s sharpness is to hold up a piece of paper and see if it easily slices down the middle. If it doesn’t, repeat the sharpening process.
Another option is to rip out a piece of magazine paper and fold it in half so that it balances itself on a table. Then see if the knife easily cuts through it. This will recreate a cutting motion.
To look for imperfections, put your knife up to light. If it reflects light, there are areas that need to be trimmed down a bit more.
What to Do If You Don’t Have a Stone
Let’s say a sudden tragedy strikes and you are forced to flee from your home quickly and you forget your sharpening stone. What do you do? You still need a sharp knife to help yourself and your family survive.
A brick is a good option in this situation. It will have rough edges that will sharpen the knife if you lightly spread the blade over it. Don’t strike hard. This could break the blade from the handle.
Another option, if available, is a ceramic mug. Simply flip it over. The circular area that holds the base will be fairly rough and bumpy. These imperfections make a good, quality substitute for a stone.
In the wilderness, look for porous rocks such as sandstone or a rock smoothed out by moving water. These will work in the much the same way as a proper whetstone.
Lubricant will be great in these situations. These options won’t have a fine side to rid the blade of bumps. Of course, you likely won’t have any lubricant if you don’t even have a whetstone.
Your own spit can be used as a last resort. It will be a thicker agent than water alone.

On to the hacks!
by Eric W. Eichenberger
The Belt Sander
How can you sharpen your knife in the wild? Well, as one who has made several knives for myself, I have determined that the absolute best method of sharpening a knife (in my opinion) is the belt sander (or belt grinder if you prefer).
Here is a video showing a guy sharpening a knife on a belt sander. He uses even finer belt grits than I do:
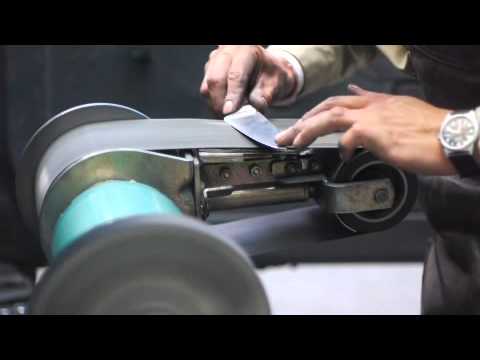
By using the belt sander you can set up a jig to maintain a consistent, proper bevel angle (usually about 15 degrees).
You can also use various grits of paper starting at 120 then using 220, 400, 600, 800, and then finally 1000 grit sandpaper belts on the belt sander. You can go even finer if you want to, it will only get better.
This not only sharpens the knife, but it polishes the blade, including the bevel, and a smooth, slick, polished blade and bevel is always the sharpest. After using the 1000 grit paper on the belt sander, I then use a buffing wheel with metal polishing compound
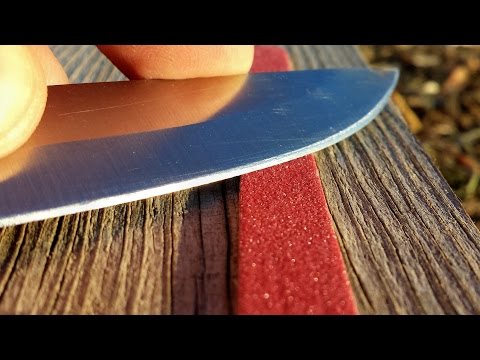
As you can see by me slicing a sheet of paper, my method of sharpening a knife is capable of producing excellent results.
I’m sure there are many people who are capable of achieving the same results (or better) just by using a whetstone.
I actually could get a knife shaving sharp on a whetstone as well, but it just takes so much longer to produce the same results.
But what if I don’t have a belt sander you may ask? Have no worries, there are other methods of sharpening your knife that can produce great results.
The MDF Wheel
Another method that I use to keep the fine hone on my knives as I use them is the MDF wheel. MDF (medium density fiberboard) is cheap, you can buy a 4’x8’x3/4” sheet for about $30 and get DOZENS of wheels.
I think you can buy smaller 2’x2’ pieces as well. They are just more expensive per square foot than the larger board.
You could also buy a “knife sharpening system” that comes with two wheels and two grits of polishing compound to make things easier. They are kind of expensive though.
For example, you can buy a Grizzly knife sharpening system at Waldo’s World o’ Chinese made products for $50. It comes with two wheels and two grits of polishing compound.
If you want to know if it works, I used a similar homemade sharpening wheel like that to touch up the edge on my knife before I shot the short video of me cutting paper with my homemade bowie knife, so yes, it works quite well.
In my experiences the knife has to already be sharpened and then these wheels take it to the next level to razor sharp and it’s easy to keep them there by just touching it up every time you cut something.
It is as good as, if not better than using whetstones and takes far less effort.
Here is a video showing a guy sharpening a knife on an MDF wheel sharpener:
Urban Knife Hacks to Sharpen Your Knife
Having some heavy duty equipment is nice, but if you do not have access to these you need to know how to use everyday things.
Or some not so usual things, but in a post collapse situation or SHTF when you need to be able to utilize what is lying around and improvise fast- here are some ideas that may help.
DIY Sand Paper
You may think you don’t have a sharpener, but it’s likely that you do. You just have to think outside the box. You can make a “sharpening stone” if you have some sand paper and a flat surface.
Glue or tape the sandpaper to the flat surface, or just wrap the sandpaper around a wood block, then use it as you would a sharpening stone.
If you use wet/dry paper then you can wet it just as you would a whetstone as well.
Use your Car Window
If you are out hiking, or you are stranded because your car broke down and you need to sharpen your knife, you can use the top edge of the car window. It works just like a ceramic sharpener.
Place your knife on the very top edge of the window. You should be able to feel its roughness when you run your finger across it. Tilt the blade up, you want it to match the angle of the grind on the knife.
Make 5 passes the whole length of the blade, flip and do the other side. It may take a few times, but it produces a nice sharp edge. Plus you can sit in comfort the whole time.
River Rocks
If you are near a creek, river, lake or the ocean you might find a smooth, eroded rounded river stone for sharpening your knife. Look for the smoothest, flattest one to get that blade in shape.
I have found rocks near the railroad tracks that are suitable for knife sharpening (pictured):
Concrete
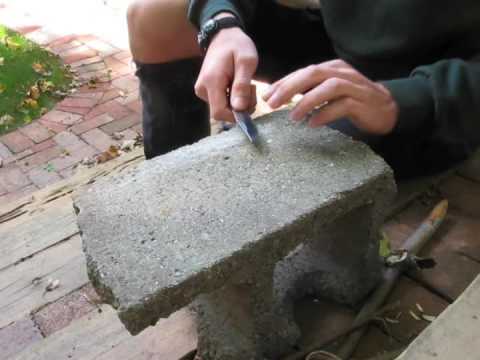
Of course when all else fails… You can even use concrete to sharpen your knife if you have nothing else.
Emery boards
These come in many grits and grade and can be used to sharpen knives; some have diamond dust added for strength too.
Here’s a video doing showing that method with concrete:
Ceramics for Knife Sharpening
Since archaeologists have proven that the manufacture of ceramics goes back to 24,000 BC. This is one of the earliest ways they sharpened weapons and blades with organic materials from the earth.
Ceramic is from the Sanskrit word meaning “to burn” and although made from simple materials, they are considered superconductors and able to withstand high temperatures due to the reaction bonding of the crystalline fusion.
- Use ceramic dishes
If you have a ceramic coffee bowl, plate, or cup you can usually flip the cup over and the bottom will have a ring that is unglazed making it plain and rough.
That ring is clean ceramic and will sharpen your knife. The commercial ceramic stones can be up to $40, so for a few bucks this is worth the effort.
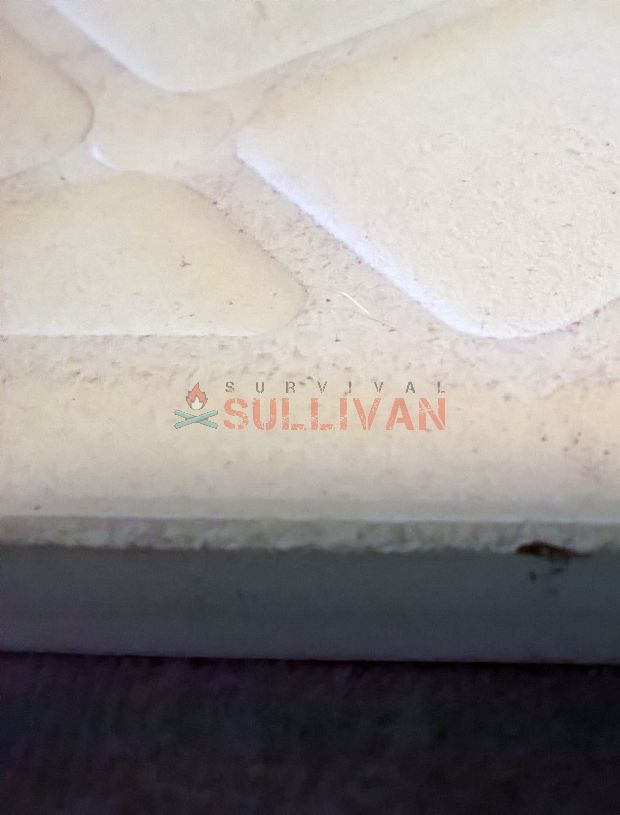
- Ceramic tile The same goes for a ceramic tile (pictured), flip it over and the bottom is plain ceramic. You can use that to sharpen your knife too. Pull in one direction.
- Flower pot Unglazed terracotta pieces can be used for the rough fine edge.
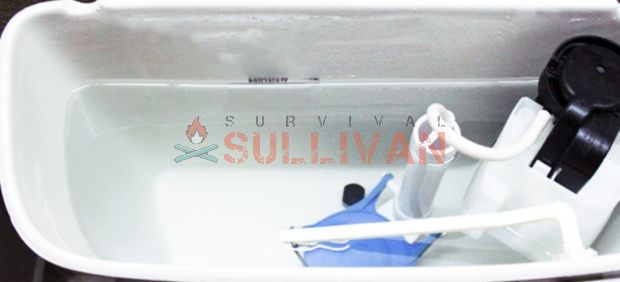
- Toilet tank lid or tank inside the lid or tank, the unglazed pieces can be used like ceramics above.
Knife Hacks for Final Sharpening
After using different methods to hone the blade, when you get to the final edge and it needs polishing, smoothing, and final removal of any burrs or bits, there are a few things you can use.
Nylon straps
The leather belt we all know about, but you can use the nylon straps on a backpack or rucksack to get the burs and smooth the metal from methods above.
Aluminum
If you can find a material covered with aluminum oxide, then that would be ideal for the last polishing and super fine sharpening step. They can include:
- Bicycle inner rims
- Spark plus insulators
- Ceramics in fishing rods the eyes on the rods are aluminum oxide and can be used.
Semi-precious stones like rubies and sapphires
Another knife edge
Use one knife to sharpen another. Take the dullest of the two and run it along the others spine. Repeat until you have a good workable edge.
Dog leash
You can use the flat leather of a dog leash to hone the edge like a strop.
To the Point
It’s like I always say, “your brain is your best weapon, and greatest tool, so use your head.”
Think about your situation, and you will usually find a solution if you just look around and put on your thinking cap. Just remember that for thousands of years man sharpened his weapons without Amazon or the hardware store, so there will be ways for you if you look hard enough!
Some methods of sharpening a knife are definitely better than others. Some are faster, some have better results.
You won’t have a belt sander and 6 different grits of belts on you at all times, but you can pretty much find a rock anywhere.
In a pinch, that’s all you really need.

Eric Eichenberger is an avid outdoorsman, skilled marksman, and former certified range officer and instructor with nearly 40 years experience handling and repairing firearms.
A skilled craftsman with a strong love for working with his hands, Eric spent 20 years as a carpenter and custom woodworker in high end homes. As a gold and silversmith he has created hundreds of pieces of jewelry over the years using the lost wax casting method.
The grandson of humble country folk, he was raised with the “do it yourself” mentality and so is accustomed to coming up with unique solutions to problems utilizing materials at hand.
I didn’t notice your safety glasses. You do wear them…..Right?
Nice presentation. More info on removing that final burr for those who don’t have access to a belt sander would
be helpful.
Thanks,
H